Rooting the LG Optimus F5 (LG-P875)

Rooting the LG Optimus F5 (LG-P875) is a breeze with Motochopper. This rooting technique is specially developed for Motorola devices and because of this reason it is named as Motochopper.
Wait?! Motorola device? I was also in a WTF state for a while before I realized that the exploit also works for other brands like LG, Samsung, etc. For the techies, you can read up on how motochopper works. Pretty neat.
Lets get on with the rooting of LG Optimus F5.
Warning: Rooting will void your warranty! Only proceed only if you know what you are doing. The author is sharing his experience in rooting the LG Optimus F5 (LG-P875) LTE non-camera and you shall not hold the author responsible if you damage your phone in the process.
Requirements
- Computer to execute Motochopper
- LG Optimus F5 (LG-P875) USB drivers from here
- Motochopper from the attachment in this post
- The LG Optimus F5 handphone
- A microUSB cable
Update on 28 June 2014
Towelroot (www.towelroot.com) is able to root the LG Optimus F5 (P875) easily. Do check towelroot out.
Installing the LG Optimus F5 USB drivers
First, before we proceed with the rooting, we need to install the USB drivers for LG Optimus F5 via LG Mobile Support Tool.
- Using a web browser, navigate to http://www.lg.com/sg/support/software-manuals
- Search for the mobile using the keyword “LGP875”
- Under the Downloads section, select the “Software Update” tab
- Download the LG Mobile Support Tool
- Install the LG Mobile Support Tool by following the on-screen instructions
- Launch the LG Mobile Support Tool once the installation completes
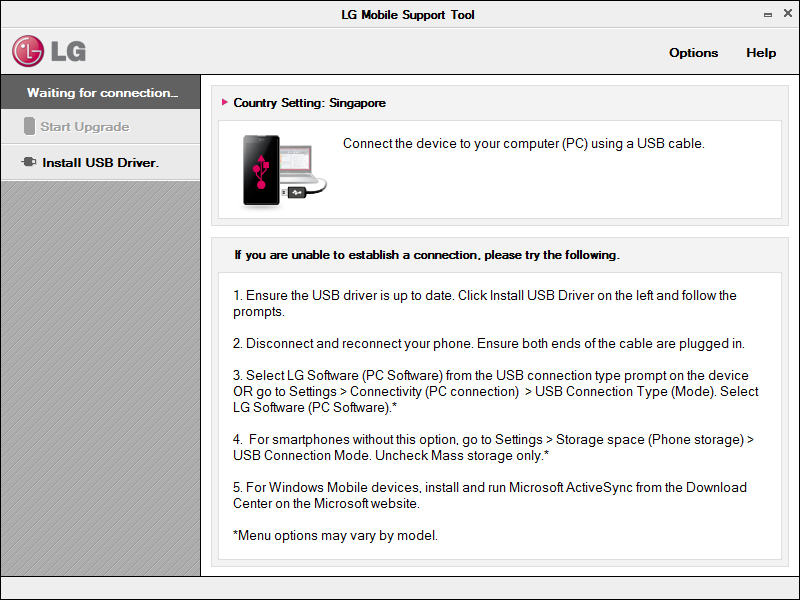
The actual USB driver installation starts here.
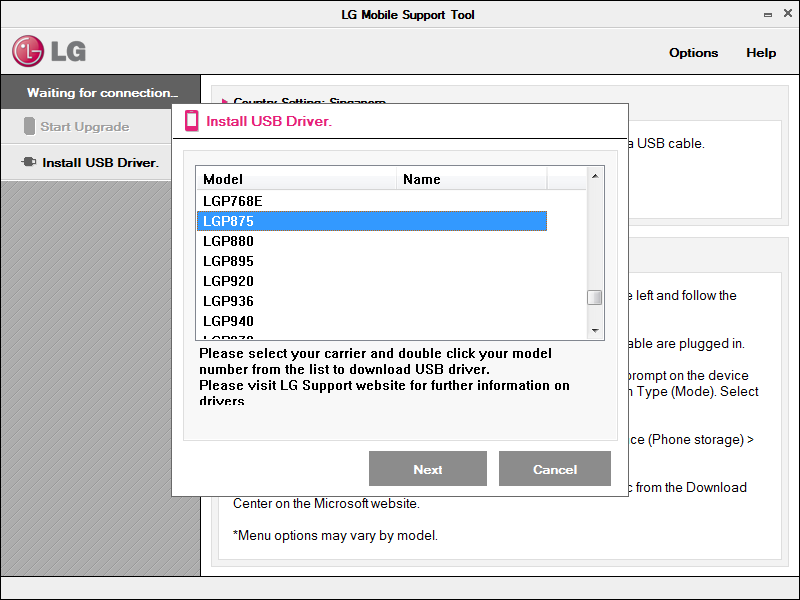
- On the left menu of the LG Mobile Support Tool, click on “Install USB Driver”
- In the Install USB Driver popup dialog, locate and choose “LGP875” and click next
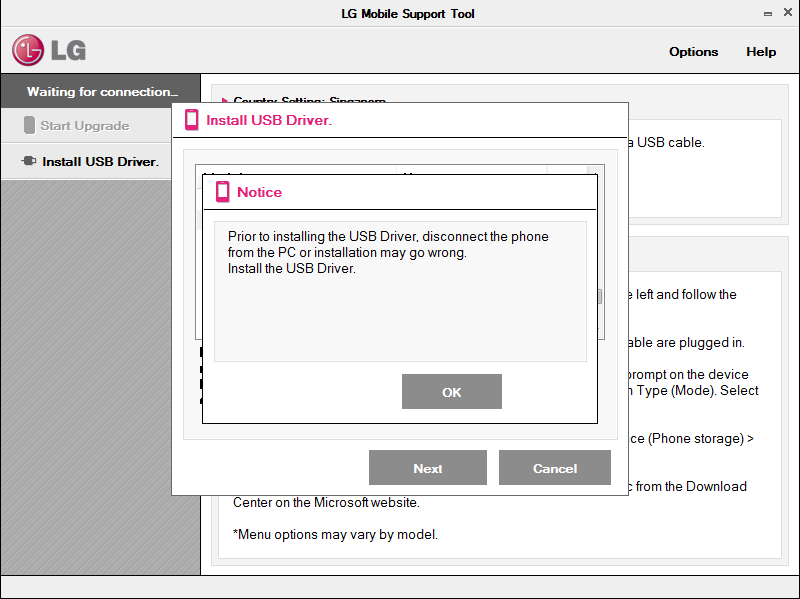
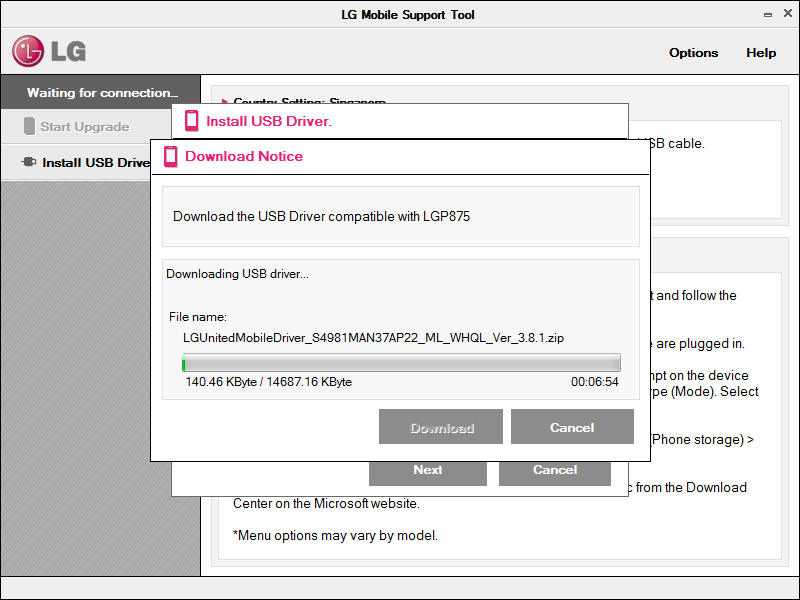
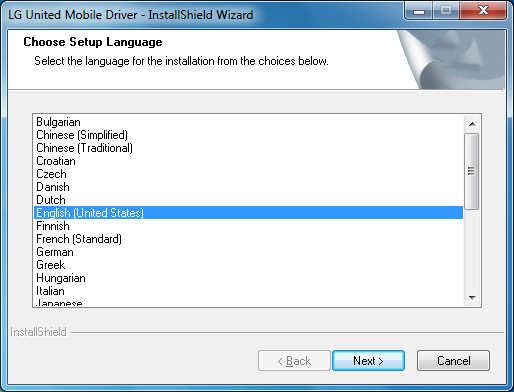
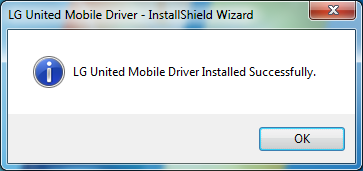
- Follow the on-screen instructions
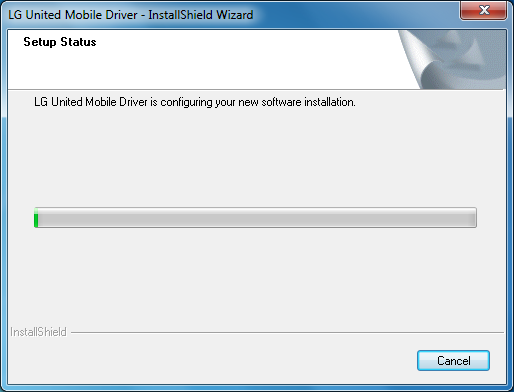
- You should see the following message once the installation is successful
Now we will need to turn on the USB debug for the LG Optimus F5.
- On the LG Optimus F5, navigate to Settings –> Developer options
- Ensure that “USB Debug” is enabled/checked
- Exit Settings
Test whether the USB drivers are installed correctly by connecting the LG Optimus F5 (powered on) to your computer using the microUSB cable. The Windows operating system should detect the LG Optimus F5 and the drivers should install automatically without errors.
Preparing the motochopper environment
Once the USB drivers are set up and tested, we shall proceed to download the Motochopper package and extract it to disk.
- Download the file “motochopper” highlighted in the Requirements section above
- Extract the contents to your hard disk (e.g. D:\motochopper\)
- Using Explorer, navigate to the directory that you have extracted the files (e.g. D:\motochopper\)
- Ensure that files are extracted (e.g. run.bat is present)
Alright, it appears that the environment has been set up and ready for rooting. Lets proceed with the rooting.
Rooting the LG Optimus F5 (LG-P875) using Motochopper
Great! You have set up the USB drivers for the LG Optimus F5, got your computer to recognize the LG Optimus F5 over microUSB cable and have got Motochopper on your computer. Do ensure that your LG Optimus F5 has got at least 50% battery before proceeding with the rooting process. You would not want the LG Optimus F5 to shutdown in the middle of the rooting process.
The rooting process should take less than 2 minutes and you will be notified once it completes.
- Using the Command Prompt, navigate to the location where you have extracted Motochopper (e.g. cd D:\motochopper)
- Ensure that you are in the correct directory by doing a directory list (using the “dir” command)
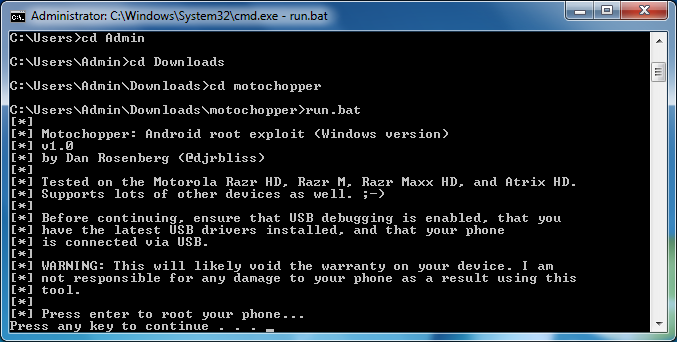
You should see a list of files and one of them is run.bat - Start the rooting process by executing run.bat using the command “run.bat” (and hit <Enter>)

Starting the motochopper with administrative rights - Follow the on-screen instructions
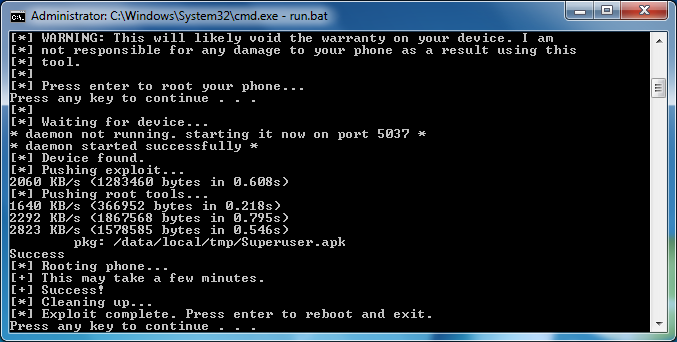
You should see that the script is trying to exploit the phone and install superuser
The rooting is successful - Your LG Optimus F5 should automatically reboot
- Once your LG Optimus F5 has booted up, install Root Checker to verify that you have root access
Congratulations! Have fun with your rooted LG Optimus F5.
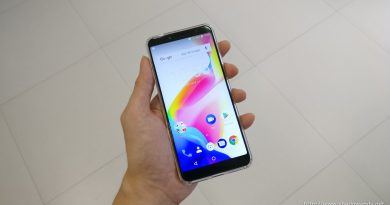
Other miscellaneous pictures