Synology DiskStation DS1515+ Review – Introduction
| Review At A Glance | |
|---|---|
| Product | Synology DiskStation DS1515+ [product link] |
| Summary | An ultra-performance NAS designed with reliability and versatility in mind to meet the demanding needs of SMB, photo enthusiast or someone (e.g. me) who values immortalised (digital) medias of his family. |
| Pros | + Quad-core Atom 2.4GHz processor + Hardware AES-NI accelerated data encryption + Easily scalable to 15 disks with 2 Synology DX513 units + Upgradable to 6GB RAM |
| Cons | – Cannot really seem to find one. Price? Actually I do find the price reasonable for such performance. But again, who doesn't mind cheaper products? - Doesn't run virtual machines directly on NAS like QNAP's Virtualisation Station. |
| SRP | S$1153.00 (at time of post) |
| Other parts of the Synology DS1515+ Review | |
|---|---|
| 1 | Introduction |
| 2 | Migration between DiskStations (DSM 5.2) |
| 3 | Adding new Hard Drive to Expand Storage Capacity |
| 4 | A Look at DSM 5.2 |
| 4.1 | Docker – A highly Portable and Lightweight Software Container |
The Synology DiskStation DS1515+ was released back in November 2014 to meet the demanding needs of small and medium-sized businesses. It is a powerhouse 5-bay NAS that is designed to be reliable, powerful and versatile.
In today’s digital age, memories are often captured in digital forms. Hence, it is worthwhile to invest in a reliable storage solution. My choice is the Synology DiskStation DS1515+ to safe keep my family’s pictures and videos. At the same time, the DS1515+ is versatile enough to meet my multimedia needs – streaming videos and music to my Chromecast and iTunes and yet sufficiently powerful enough to address my tinkering needs by running application platforms on Docker.
The hardware specifications of the Synology DiskStation DS1515+ is splendid. Coupled with the DX513 expansion units, you can (practically) expand up to 90TB of storage (6TB x 15). If you need a boost in transfer throughput, simply install a couple of SSD as cache drive(s).
| Synology DiskStation DS1515+ Specifications | |
|---|---|
| Processor | Intel Atom C2538 (Quad Core 2.4GHz) |
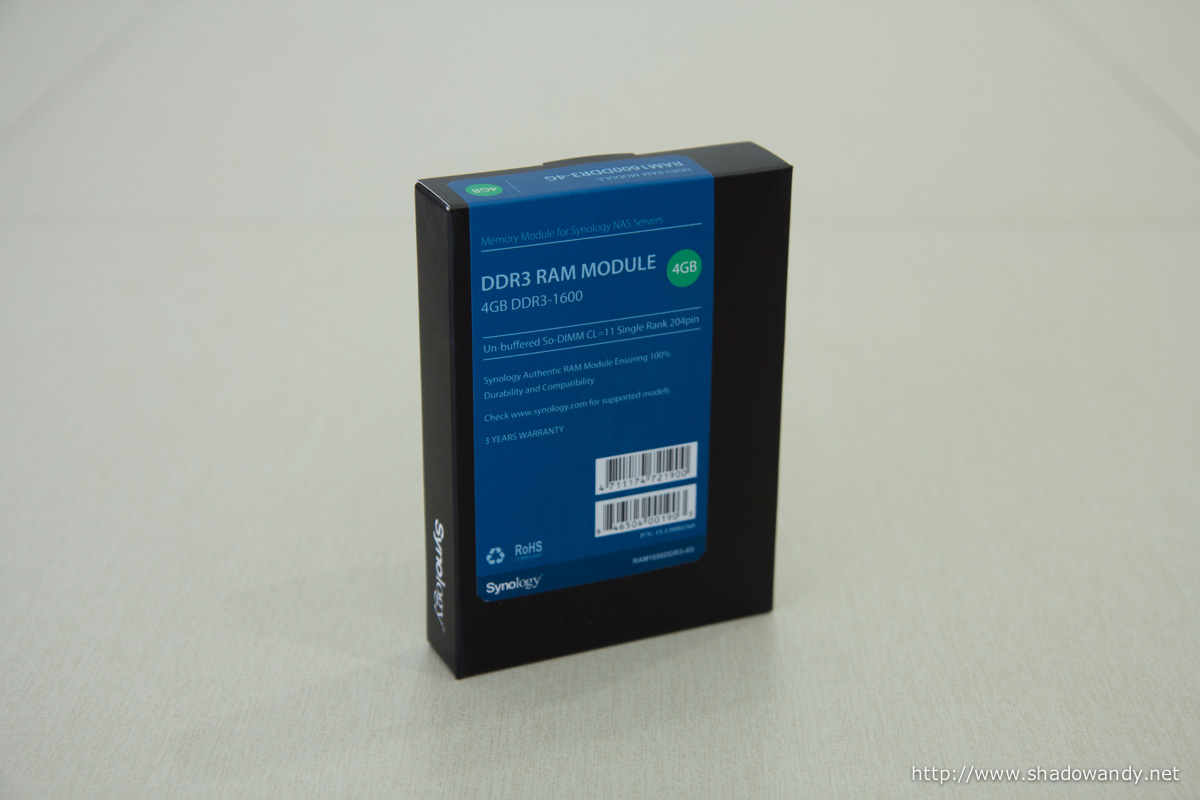
| Memory | 2GB DDR3 Expandable to 6GB (2GB + 4GB) |
| Encryption | AES-NI Hardware Encryption Engine |
| Storage | 5 x 3.5"/2.5" SATA II/III; Hot Swappable Maximum of 15 drives with DX513 Expansion Unit |
| SSD Support | SDD as Read/Write Cache TRIM support |
| RAID Levels | Single Disk JBOD RAID 0/1/5/5 + Hot Spare/6/10/Synology Hybrid RAID |
| Capacity | up to 30TB (5 x 6TB) |
| iSCSI | Target & Initiator |
| Networking | 4 x 10/100/1000 Mbps Supports Link Aggregation/Failover |
| Connectors | 4 x USB 3.0 2 x eSATA |
| Fan | 2 x 80mm |
| Dimensions | 157 (H) x 248 (W) x 233 (D) mm |
| Weight | 4.17kg |
| Power Consumption | Sleep – 21.63W Operation – 38.39W |
| Noise Level | 22.3 dB(A) |
Unpacking the Synology DS1515+ Package
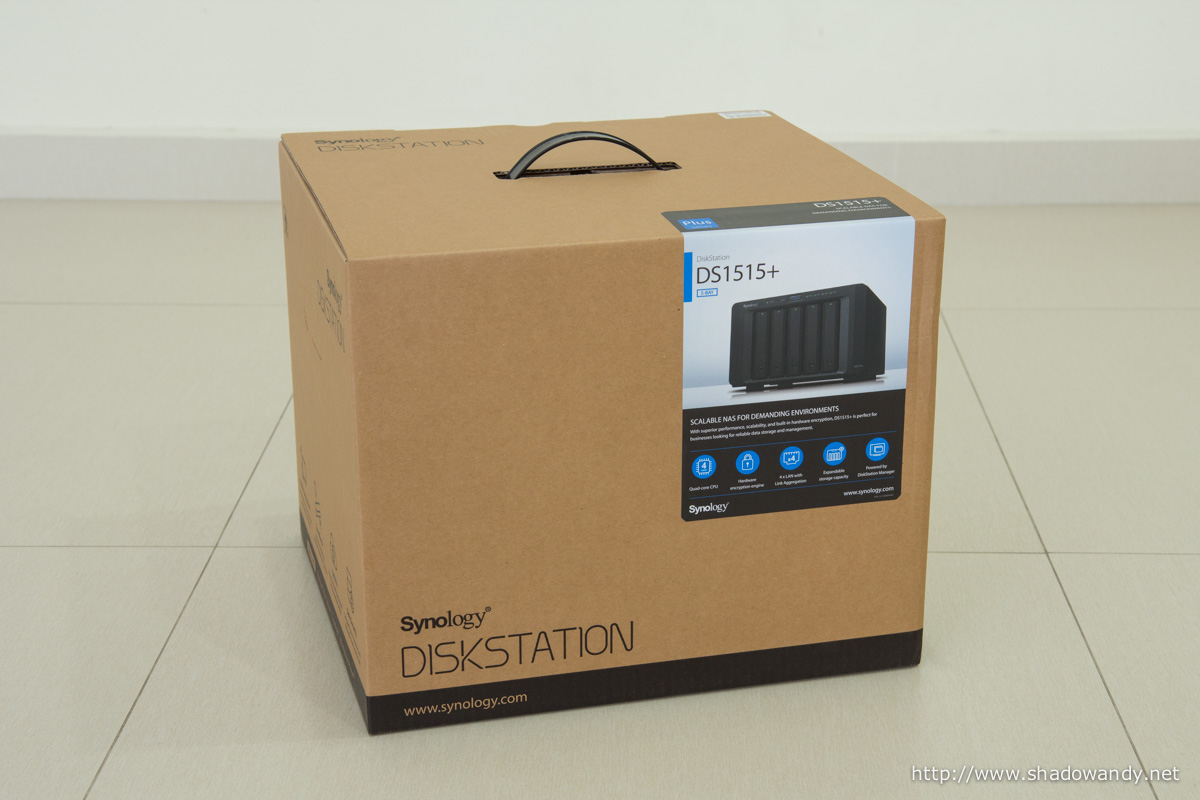
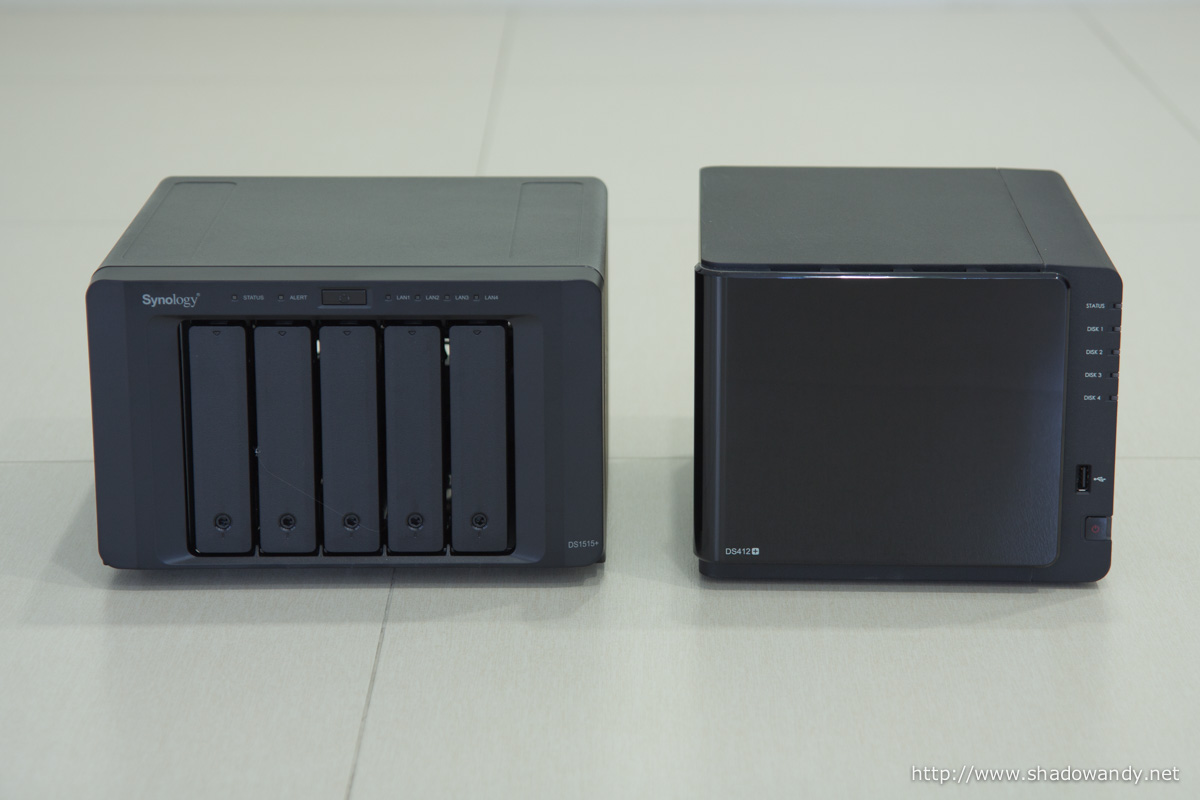
Unlike the Synology DS412+, the DS1515+ came in a brown coloured box. I got nothing against the colour of the box as long as it is cost effective for consumers. Do note that the DS1515+ package is bulky and weighs approximately 4.5kg.
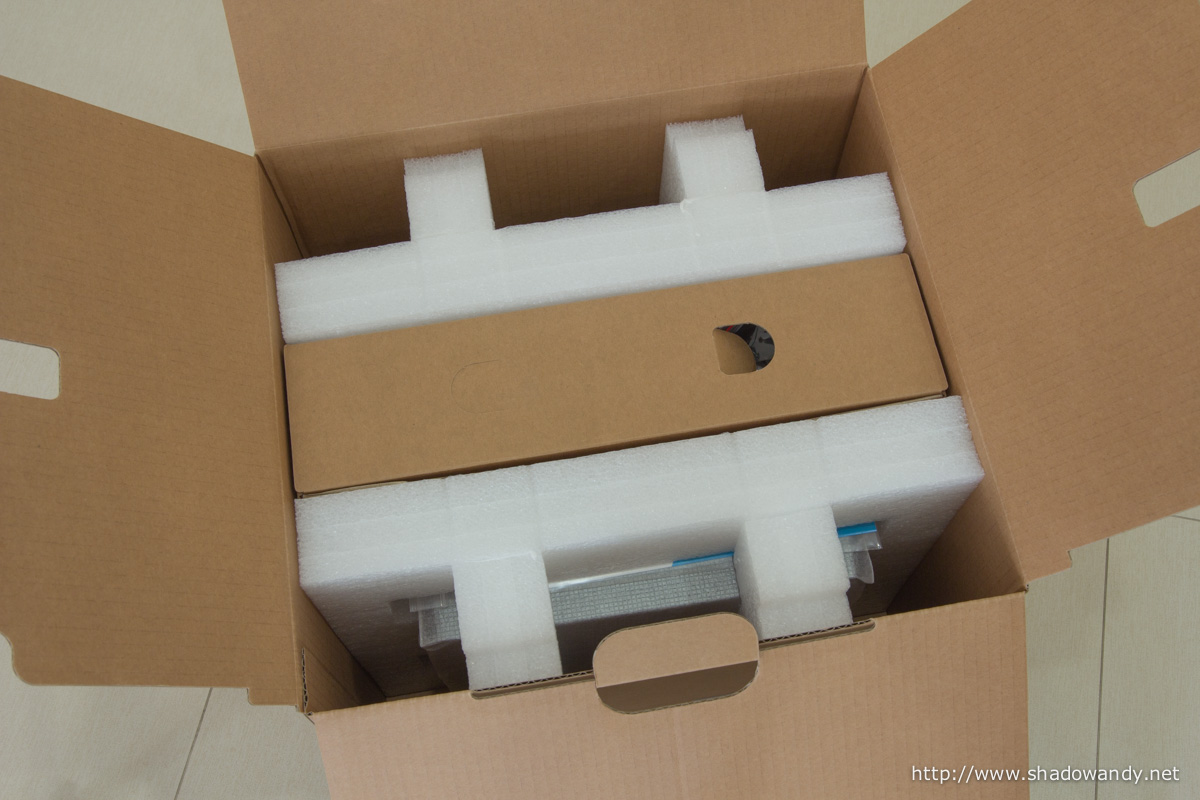
The DS1515+ is practically suspended in the middle of the outer box by the white polyurethane foam. I guess the package will hold up well against the most butterfingered person. In case you are wondering, the brown box (that runs between the foam) contains the accessories.
Running through the Contents
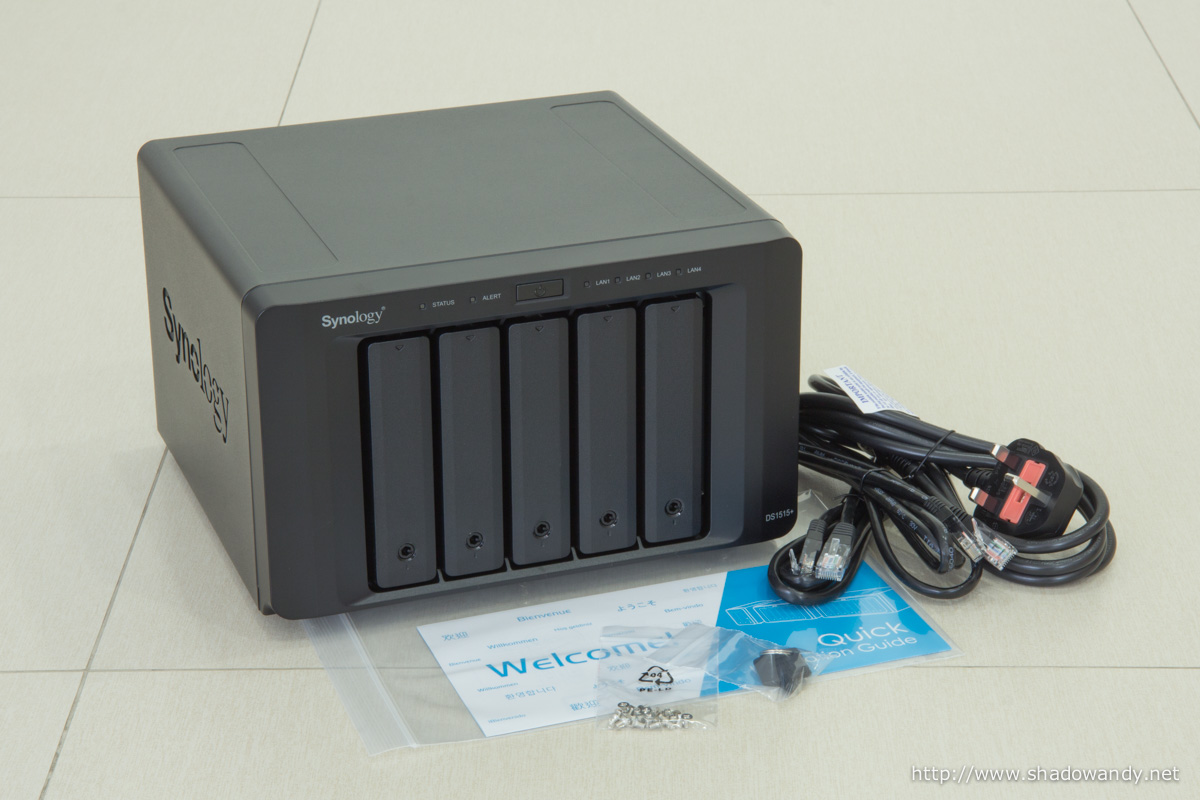
Within the Synology DS1515+ package, you will find the following:
- Synology DiskStation DS1515+
- Power cord
- 2 x Ethernet cables
- A pack of screws (for 2.5″ hard disk installation)
- 2 x drive tray keys
- Quick installation guide
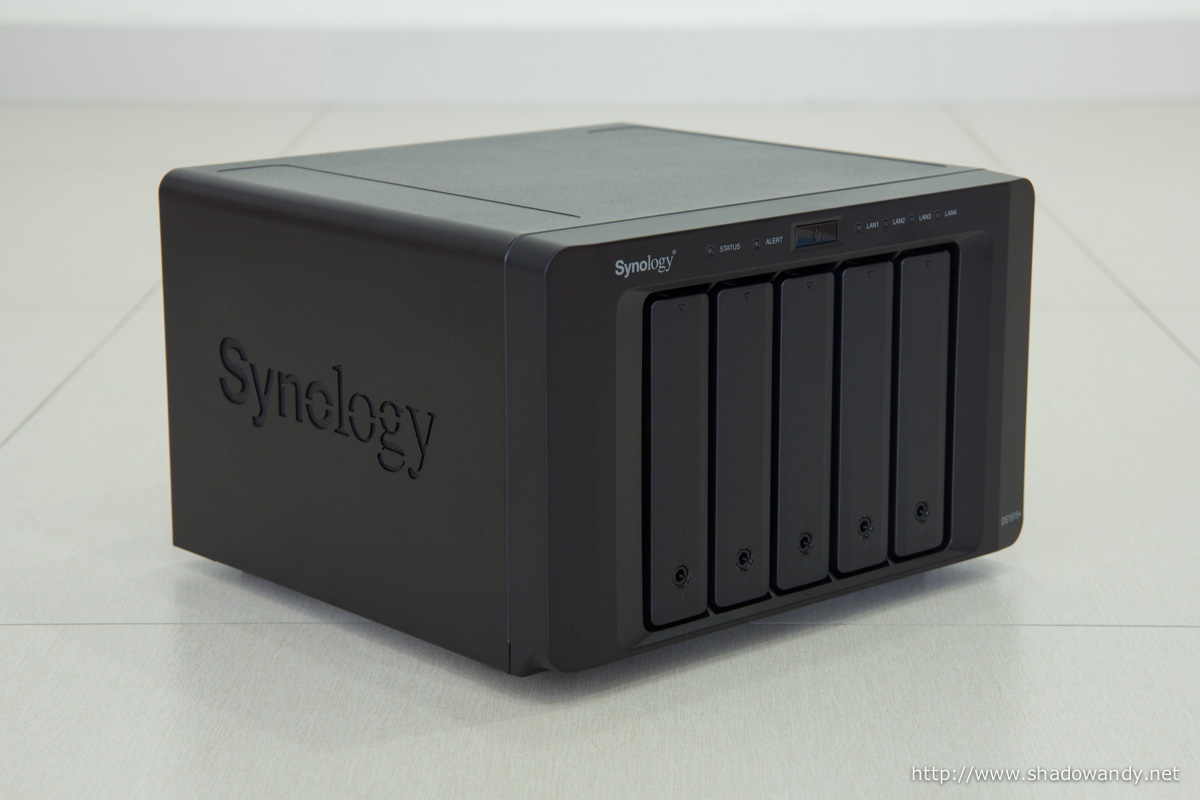
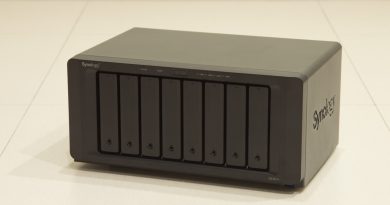
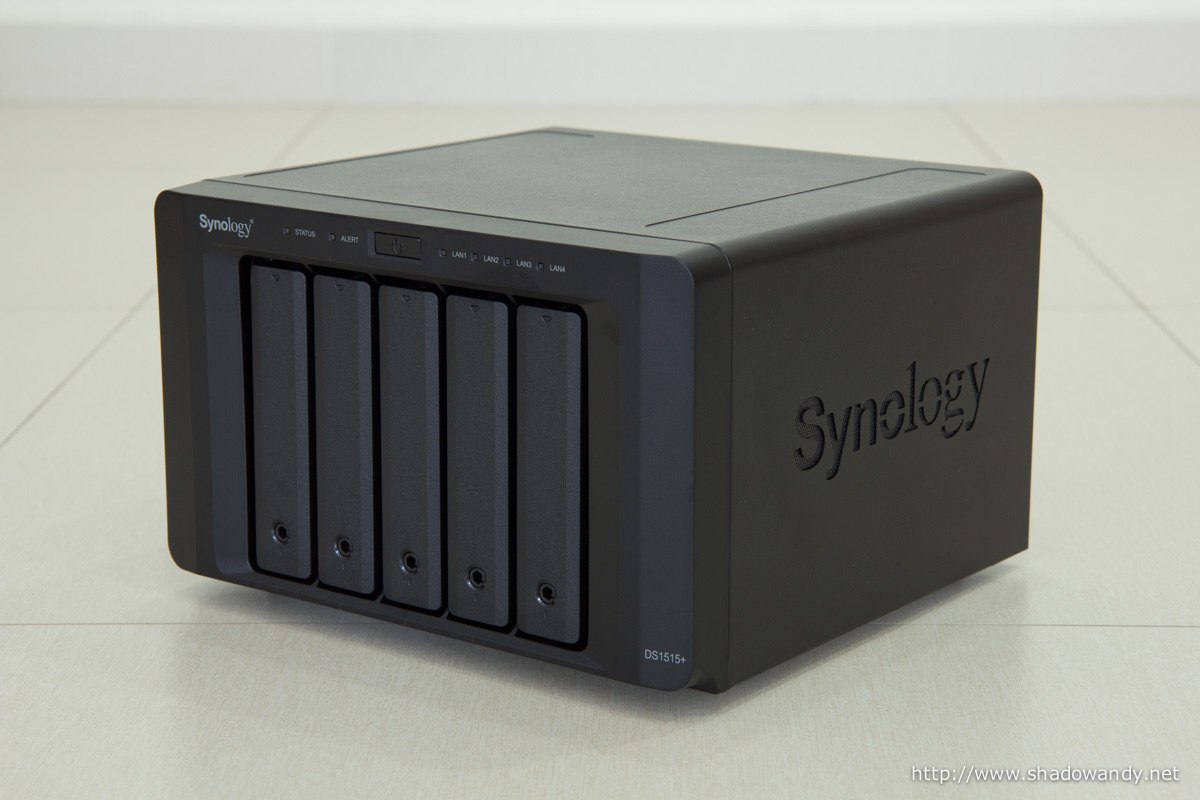
Looking at the Synology DS1515+
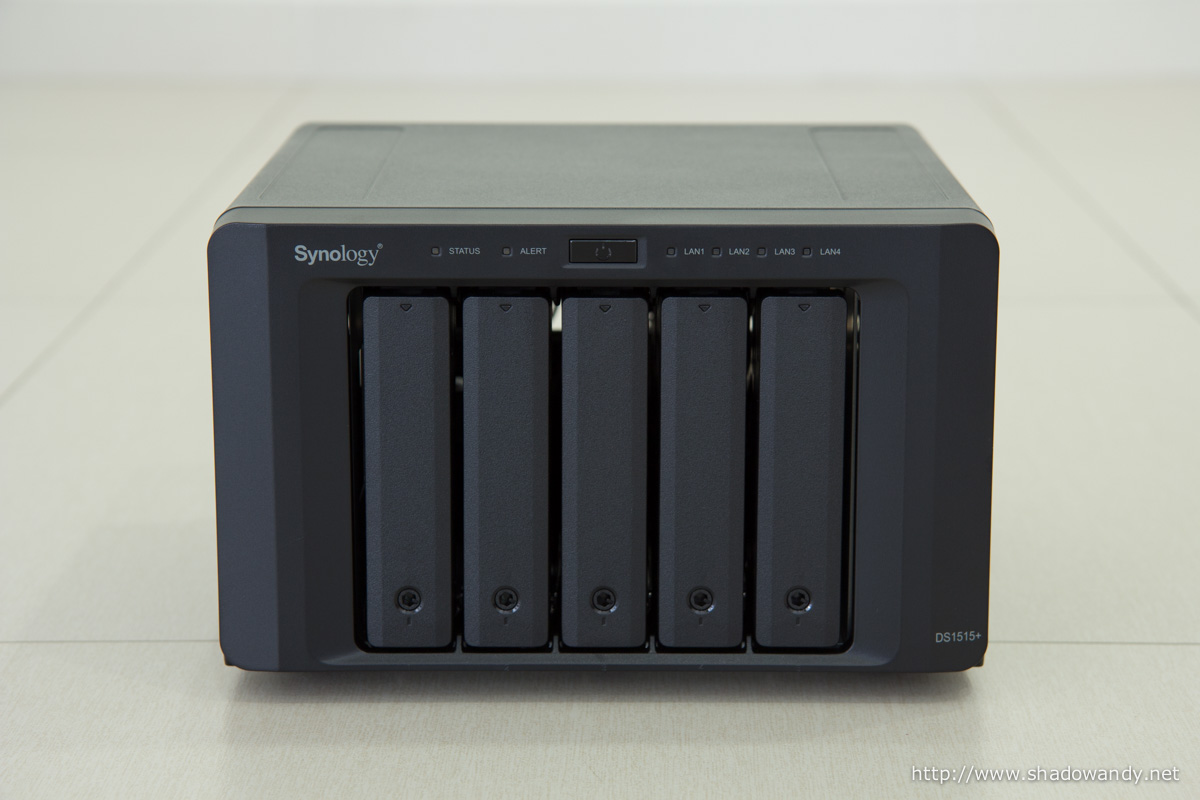
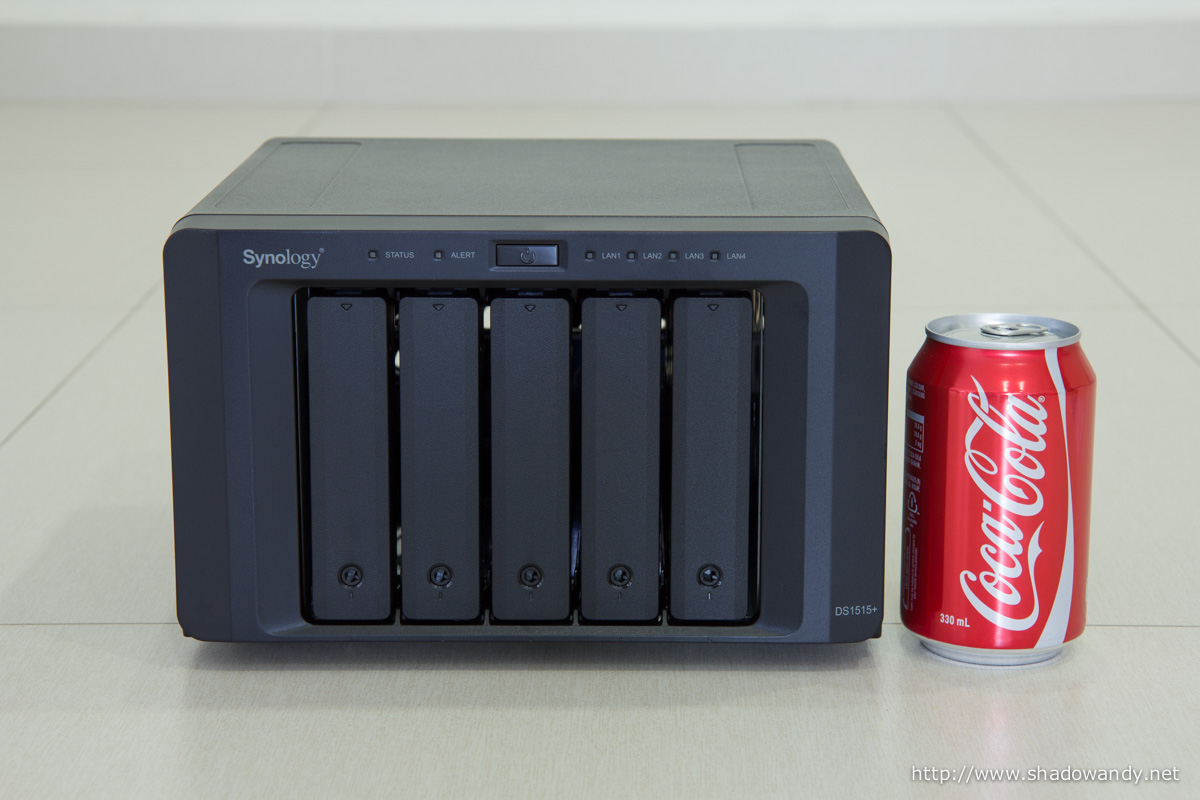
The DS1515+ has a matte black metal enclosure except for the front plastic bezel. Size-wise, it is rather compact with some allowance on the edges for the main board, power supply unit, system fan, etc. Yes, the power supply unit is built-in. I’ve taken a picture of the DS1515+ alongside a 330ml canned drink for size comparison.
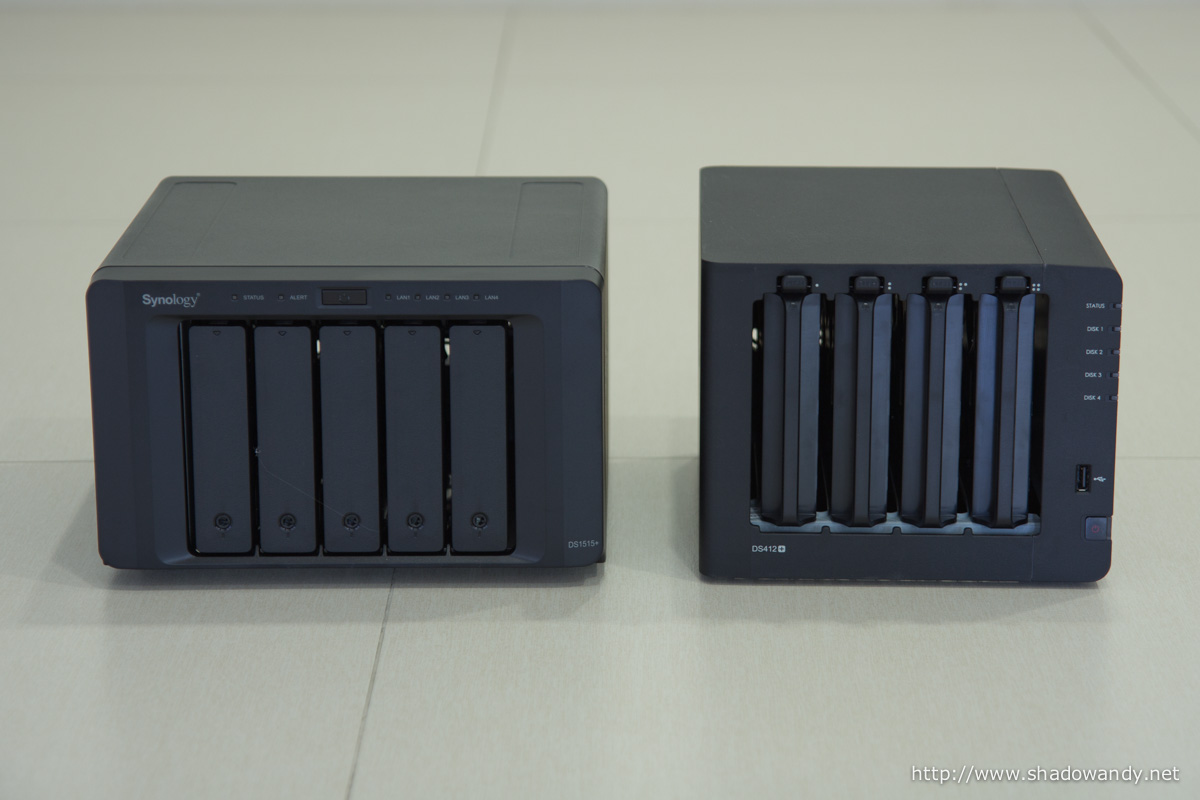
On the front bezel of the DS1515+, you will find the:
- Power button
- Status LED for Power, System Alerts, LAN 1 to 4
- 5 x hard drive bays ordered from left to right (i.e. bay 1 is the leftmost while bay 5 is the rightmost)
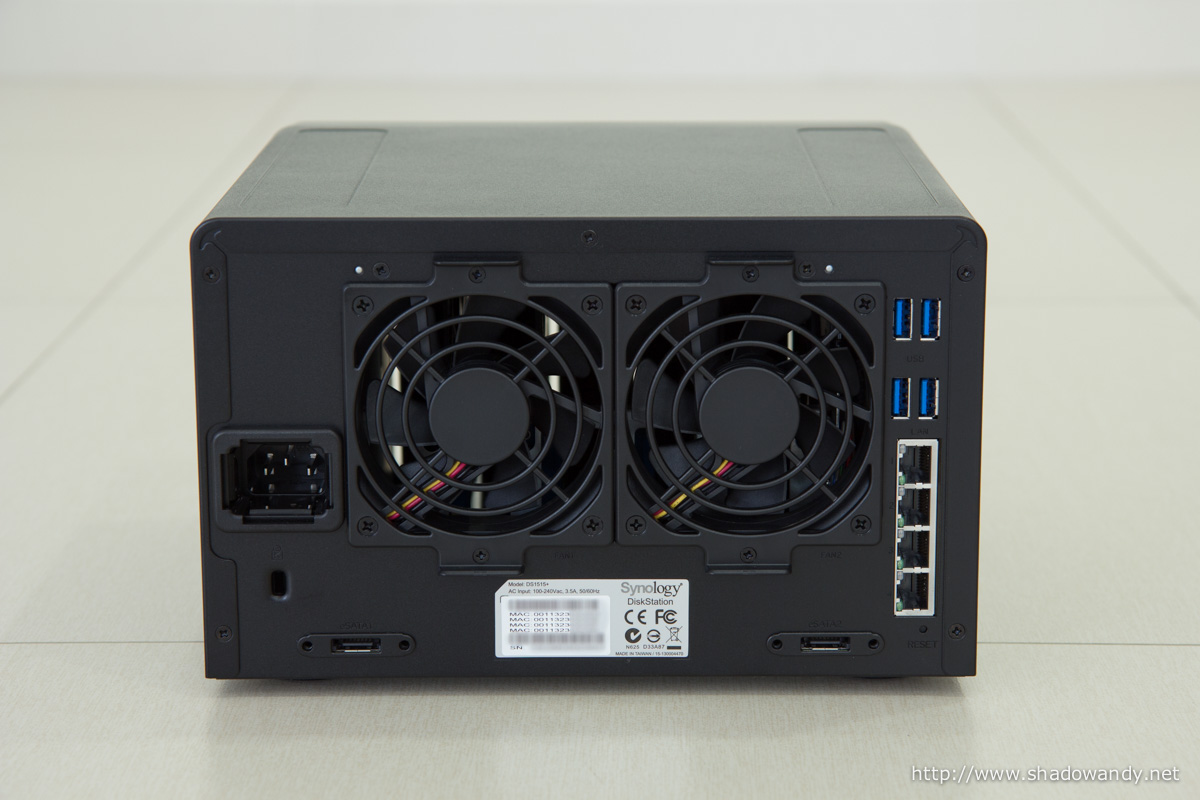
At the back of the DS1515+, you will find the:
- Power connector
- 2 x 80mm system fans
- 4 x USB 3.0 ports
- 4 x Gigabit Ethernet ports
- 2 x eSATA ports (on both sides of the sticker below the system fans)
- Kensington lock port (below the power connector)
- Reset button (below the Ethernet ports)
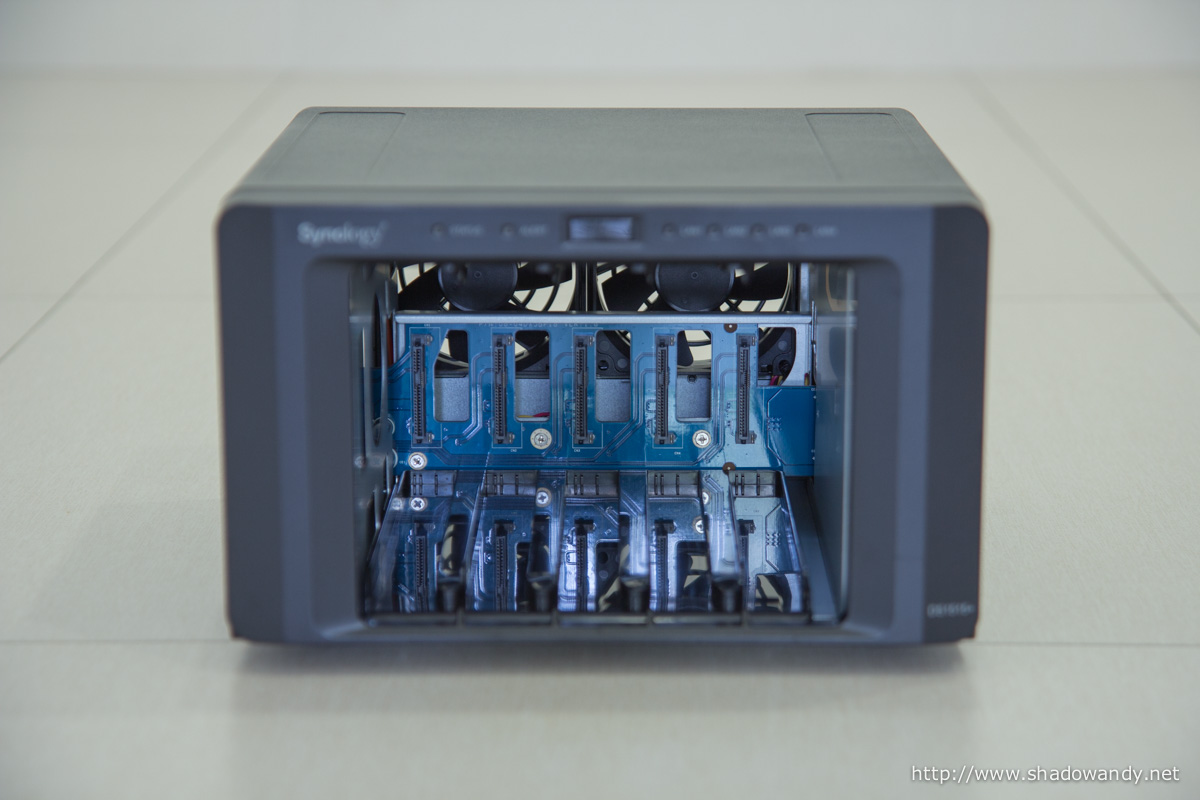
Removing the hard drive trays reveals the hot swap backplane. The hot swap backplane has been hollowed out to maximise the airflow, allowing heat to be efficiently drawn away from the hard drives and components. Well, a cool drive is a happy drive.
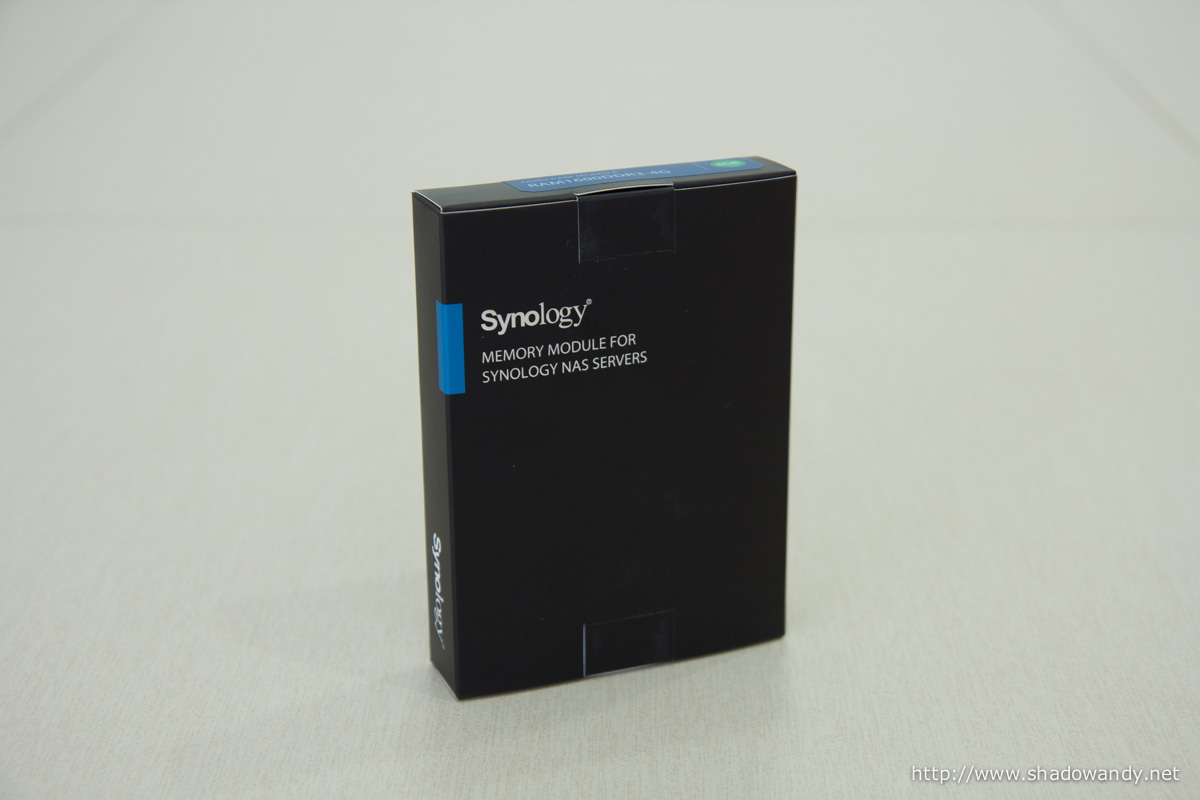
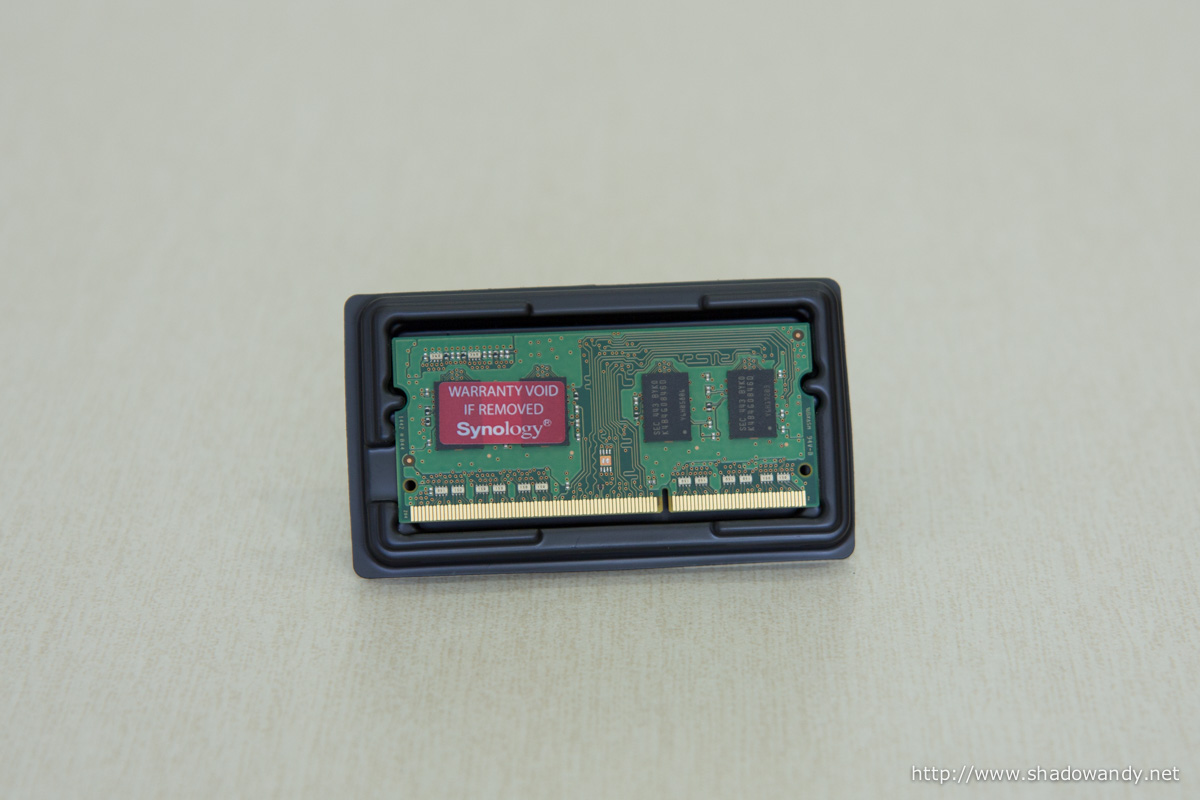
Upgrading the RAM
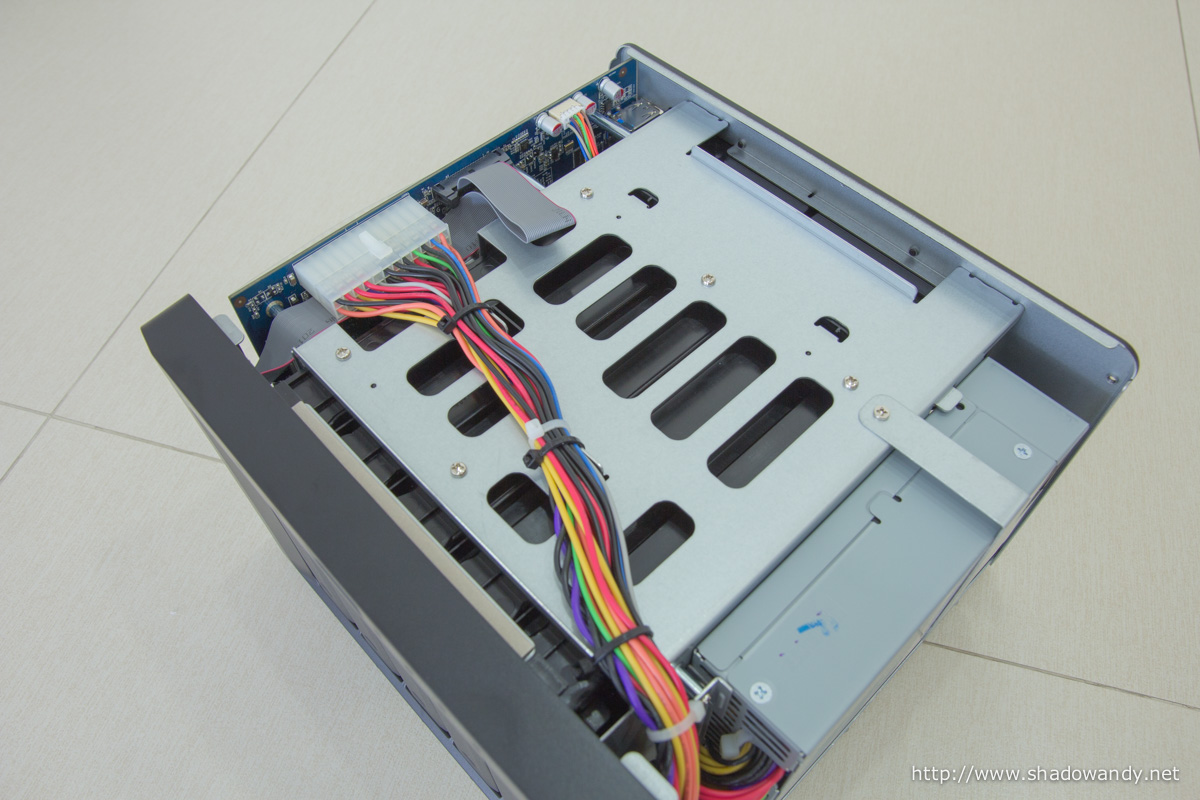
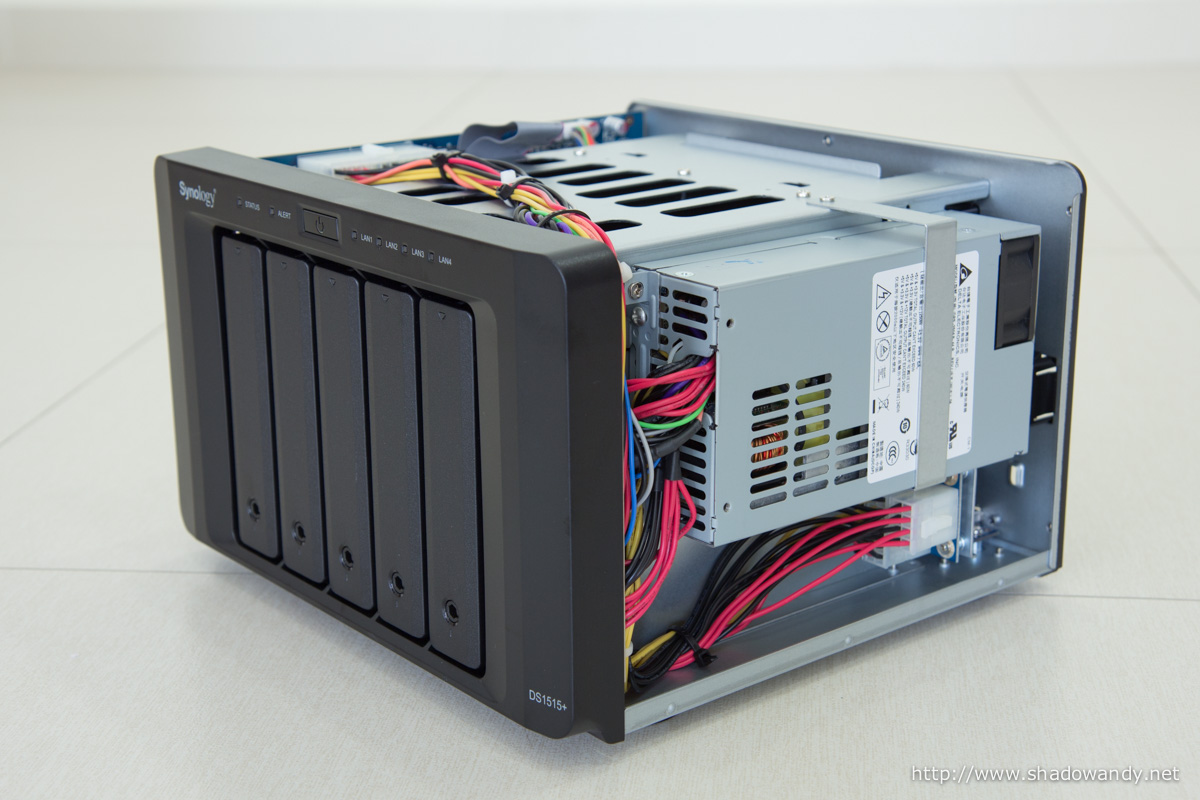
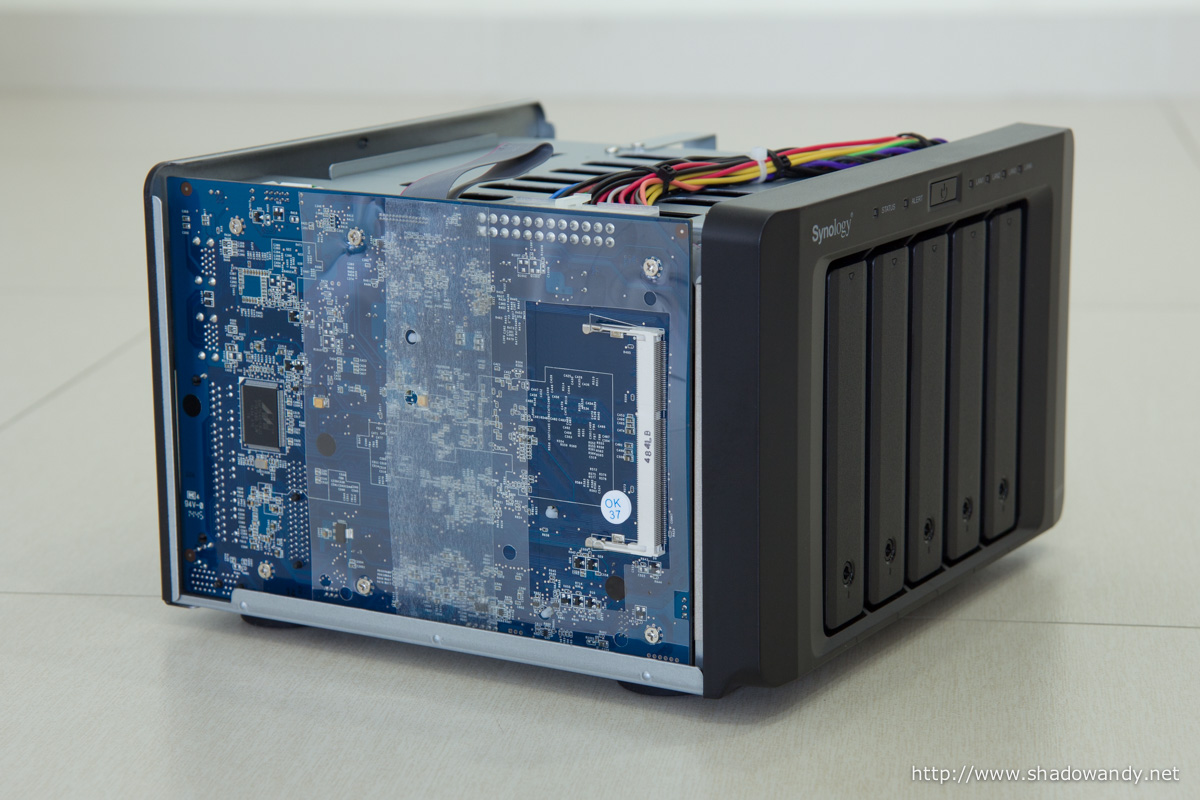
Underneath the casing is where the electronics/magic are. With the front of the DS1515+ facing you, the main board is located on the left while the power supply unit is on the right. I took the casing off to install additional RAM module.
Installing the additional RAM module is straight forward:
- Unscrew 4 screws holding the case
- Remove the case to expose the RAM slot on the main board
- Install the RAM module into the RAM slot
- Put the case back on and secure it using the screws that you have removed earlier
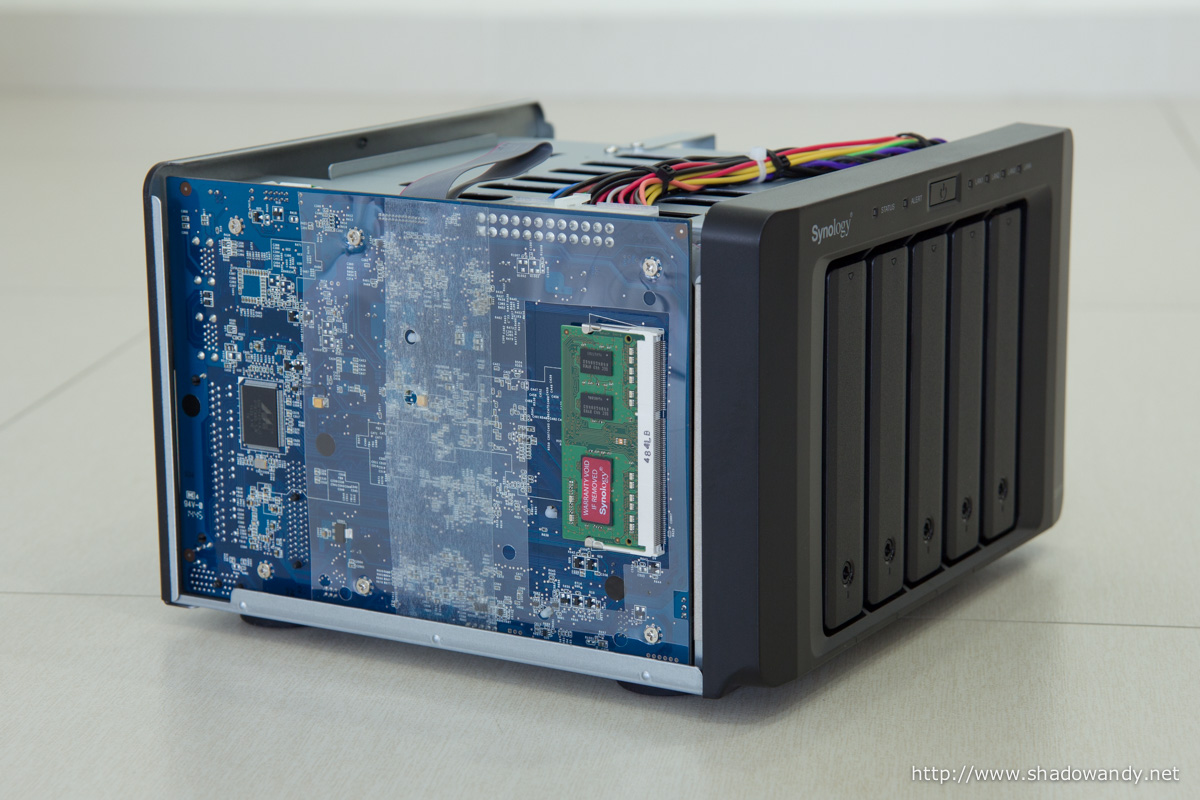
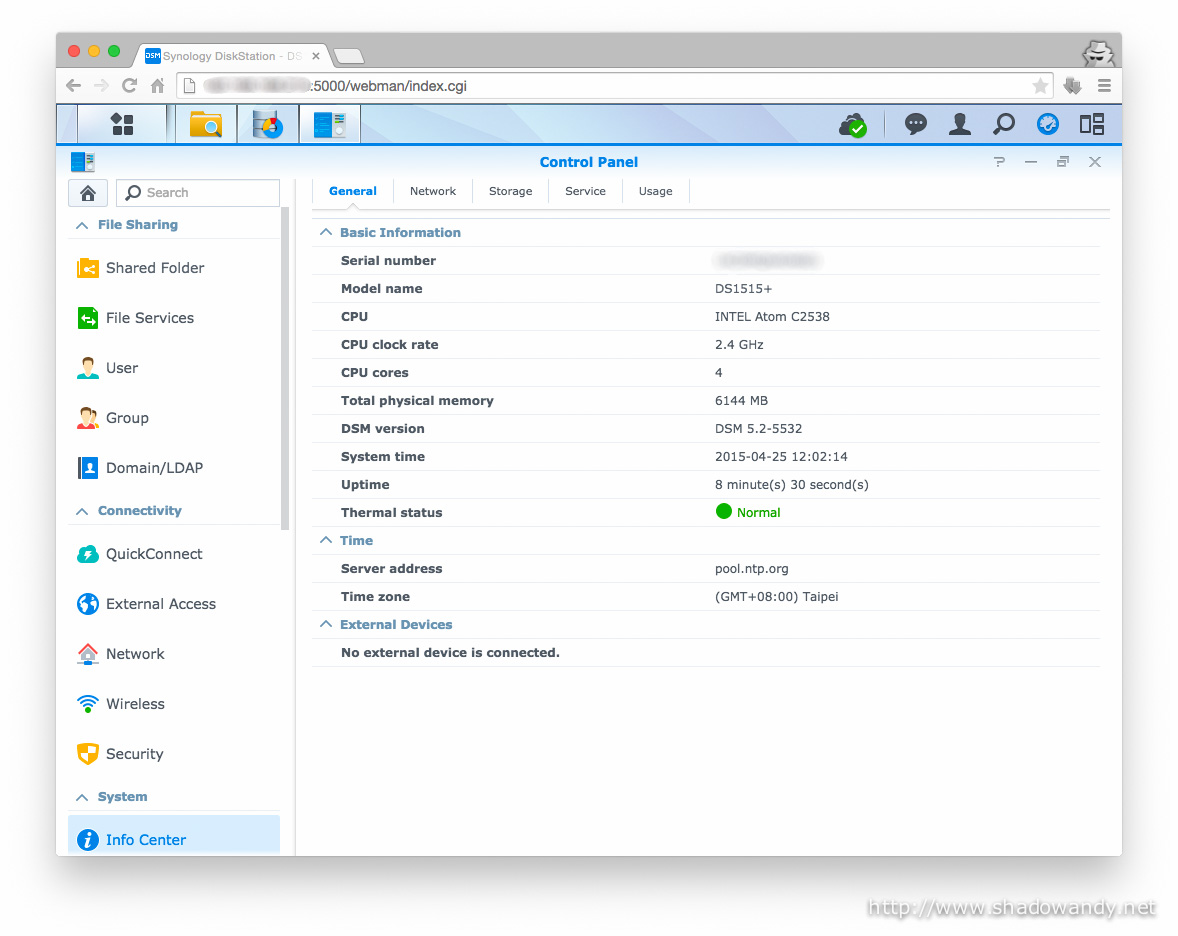
After the RAM installation (and NAS setup), you should check the info center to ensure 6144MB (6GB) of installed RAM.
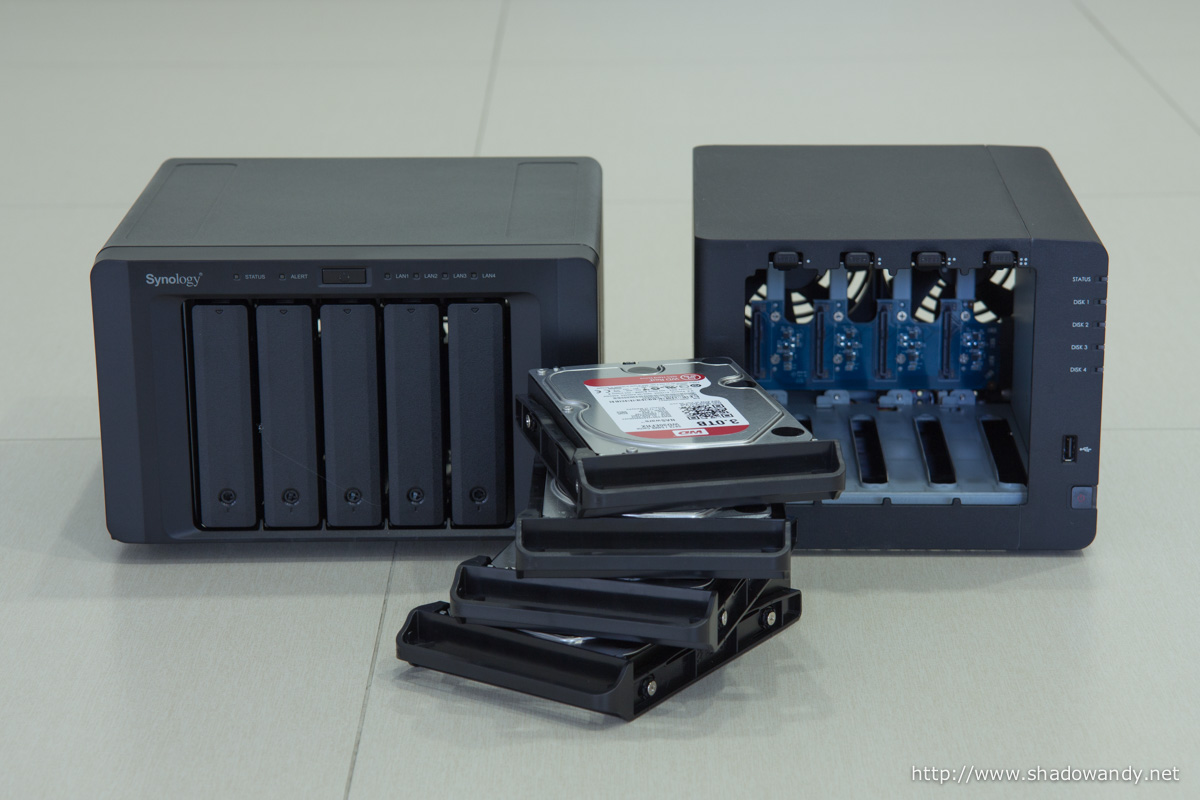
Installing the hard drive(s)
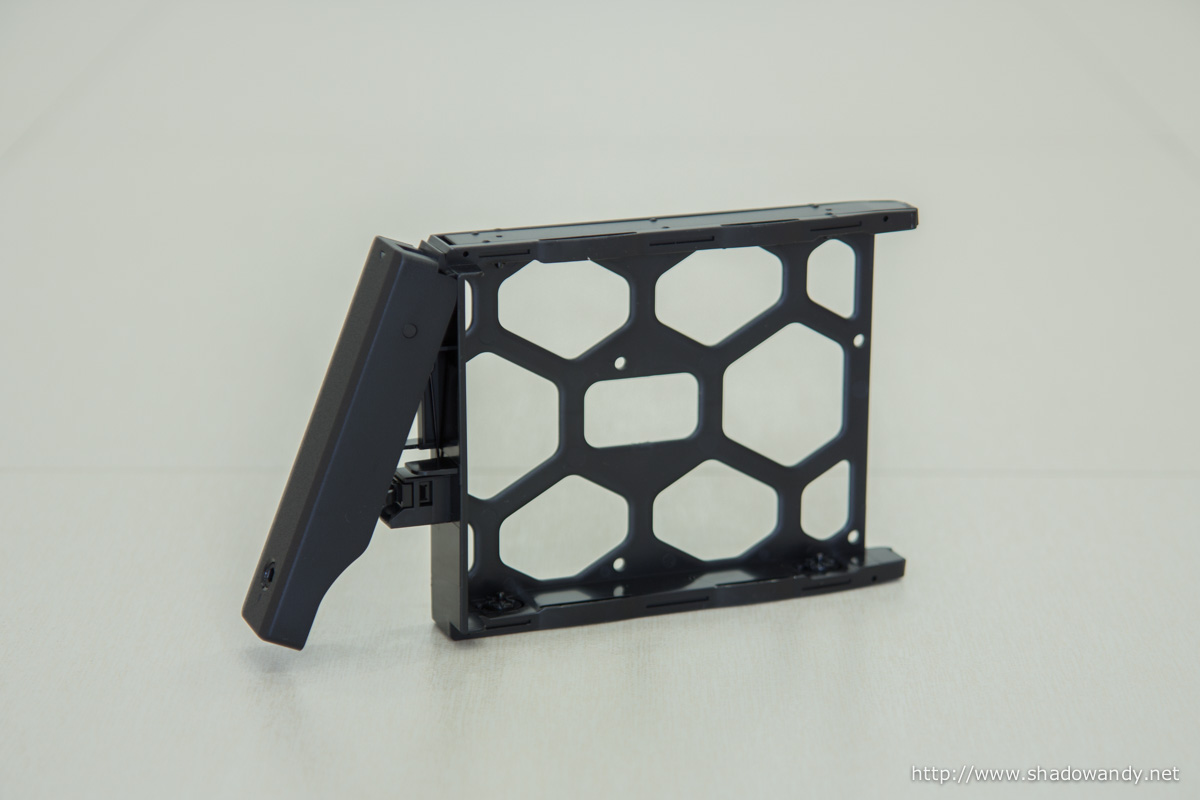
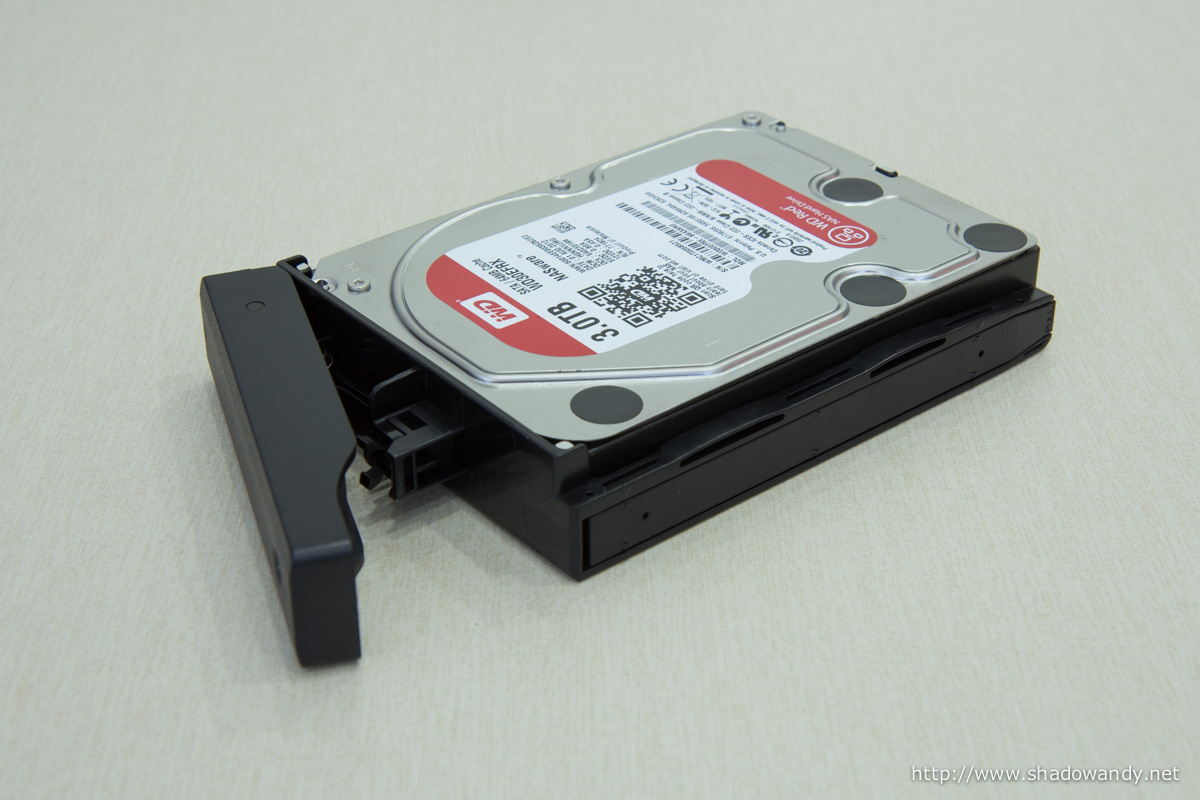
Pushing the front of the drive tray ejects a handle that you can use to pull the drive out of the bay. While in the drive bay, pushing the handle (again) locks the drive in place. You can use the provided key to lock the tray in place.
Rubber grommets are in place to dampen hard disk vibrations. Less vibration = less rattle = silent operation. The majority of the drive tray is moulded out of plastic except the spring for the clicky mechanism.
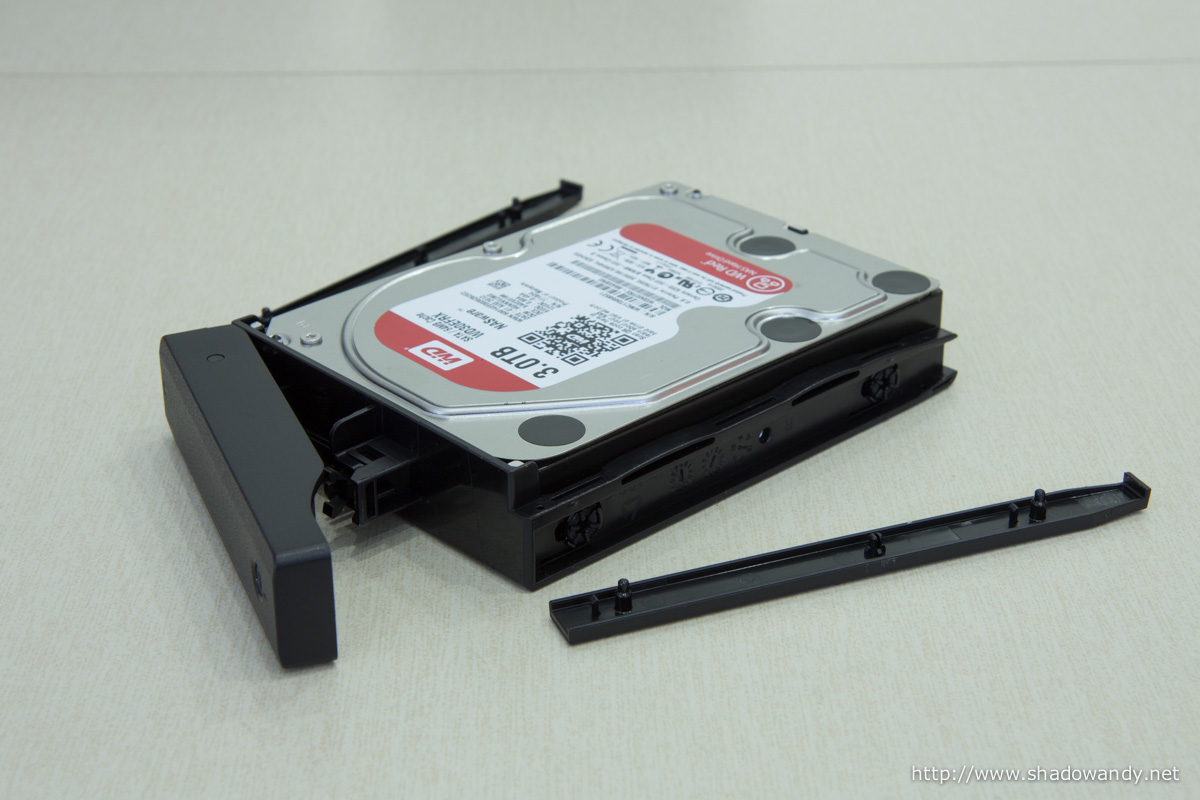
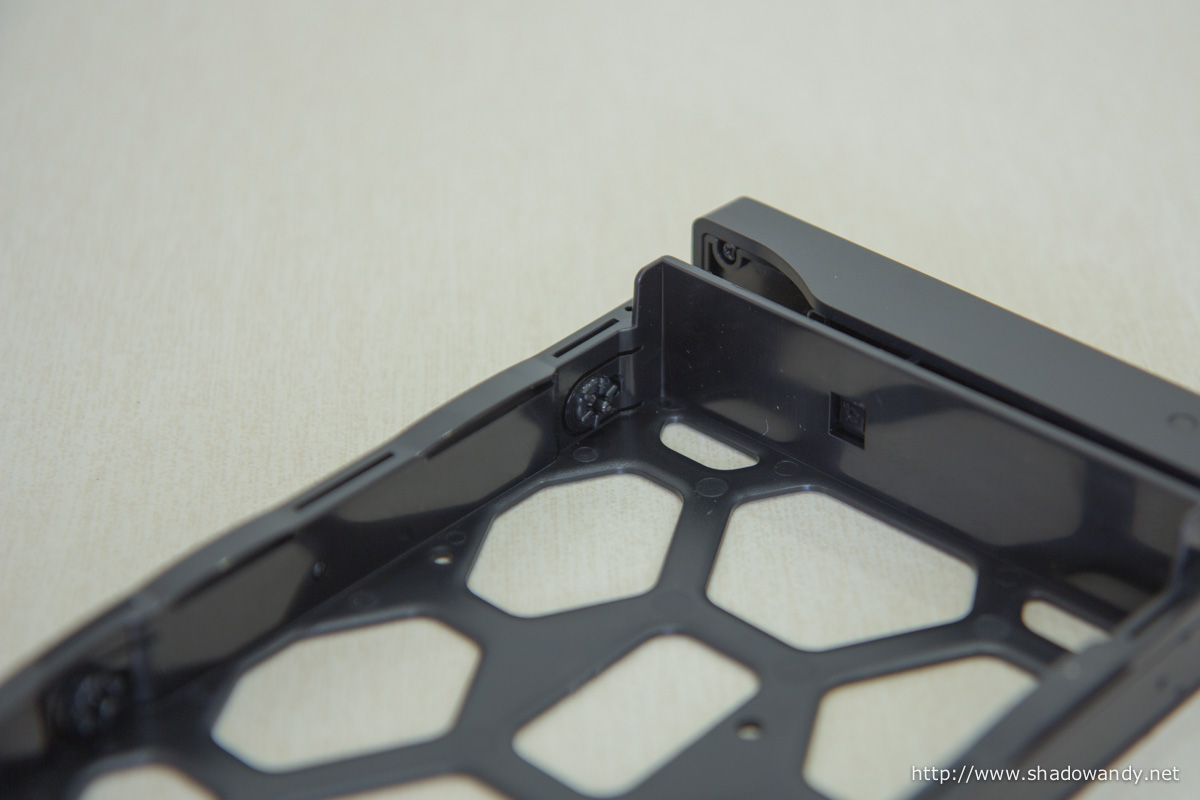
I am pretty surprised that I do not need a screw driver to install or remove the hard disk from the drive tray. I just need to remove the rails on both side of the drive tray, put the hard disk in place and snap back the rails. What’s left is to slide the drive into the DS1515+ drive bay.
So that’s all for the introduction of the Synology DiskStation DS1515+. I will be migrating the hard disks over from my existing Synology DiskStation DS412+ to the DS1515+ next and would be documenting my progress.
Gallery