Synology DiskStation DS1515+ Review – Migration between DiskStations (DSM 5.2)
| Other parts of the Synology DS1515+ Review | |
|---|---|
| 1 | Introduction |
| 2 | Migration between DiskStations (DSM 5.2) |
| 3 | Adding new Hard Drive to Expand Storage Capacity |
| 4 | A Look at DSM 5.2 |
| 4.1 | Docker – A highly Portable and Lightweight Software Container |
Recently, I upgraded to a new Synology DiskStation DS1515+ (from DS412+). Instead of getting brand new hard disks, I decided to reuse the existing four hard disks. The perfect S.M.A.R.T test results for the existing three year old Western Digital Red 3TB NAS drives cemented my decision to migrate them over to the new NAS. In this post, I will be documenting my experience of migrating hard disk from one Synology NAS to another. I hope this will help you in your current/ future migration.
Considering that I have important data on the existing Synology DS412+, I decided that I should do up a proper migration plan:
- Upgrading to the same version of Synology DiskStation Manager (DSM)
- Backing up the data on Synology DS412+
- Verifying the backed up data
- Migrating the hard disks from Synology DS412+ to DS1515+
- Setting up the Synology DS1515+ with migration option
- Verifying the migrated hard disks and data
- Upgrading the apps and rebuilding media indexes
Background
My current Synology DS412+ is currently on Synology Hybrid RAID (SHR) and according to Synology, I can migrate the hard disks and data to the Synology DS1515+. You might want to refer to the Table under point 1.5 of this article “How to Migrate Between Synology DiskStations (DSM 4)”.
| Target DiskStation Source DiskStation | 1-bay | 2-bay | 4-bay | 5-bay | 8-bay | 10-bay | 12-bay |
|---|---|---|---|---|---|---|---|
| 1-bay | Yes | No | No | No | No | No | No |
| 2-bay | No | Yes | Yes | Yes | Yes | Yes | Yes |
| 4-bay | No | No | Yes | Yes | Yes | Yes | Yes |
| 5-bay | No | No | No | Yes | Yes | Yes | Yes |
| 8-bay | No | No | No | No | Yes | Yes | Yes |
| 10-bay | No | No | No | No | No | Yes | Yes |
| 12-bay | No | No | No | No | No | No | Yes |
Gathering the tools
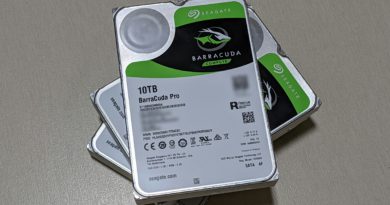
After doing up the migration plan, I reckoned that I need an external storage to backup the existing data on the Synology DS412+. For this, I got the Seagate Expansion 5TB Desktop Hard Drive. Moving forward, the backup disk will be used to backup the DS1515+ periodically or used to expand the volume capacity.
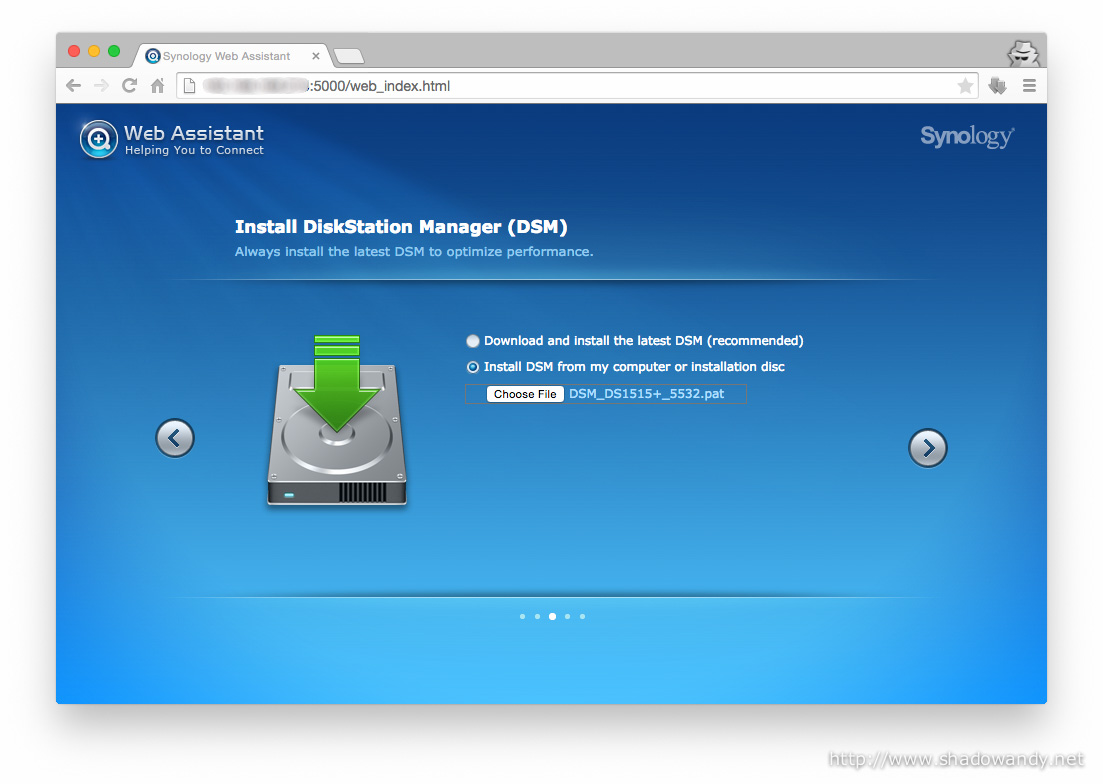
Upgrading to the same version of DSM
I settled for the same DiskStation Manager (DSM) version for both the DS412+ and DS1515+ – DSM 5.2-5532. Having the same software version would reduce software compatibility issue. For the DS1515+, I downloaded the DSM 5.2-5332 pat file for offline installation.
Backing up the data on Synology DS412+
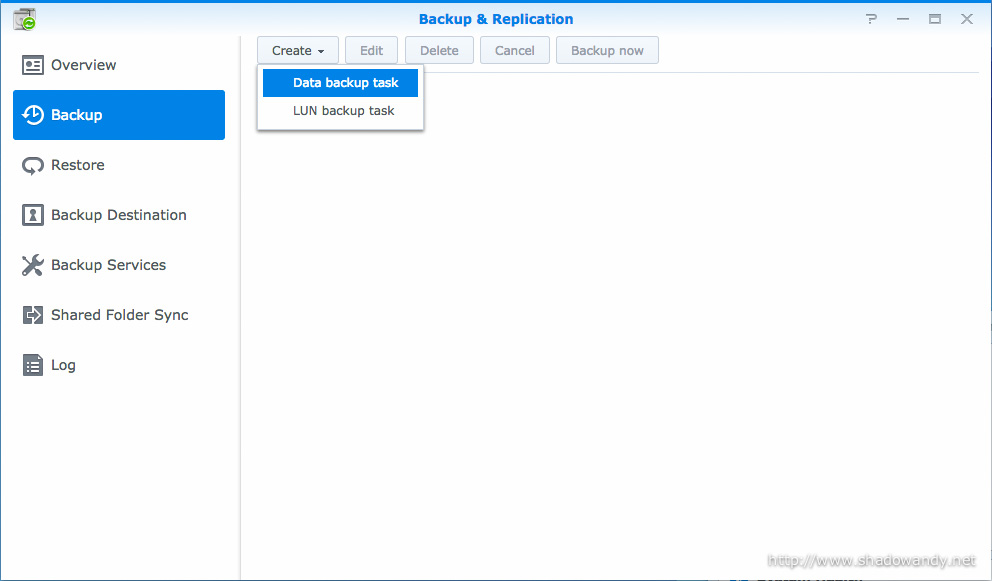
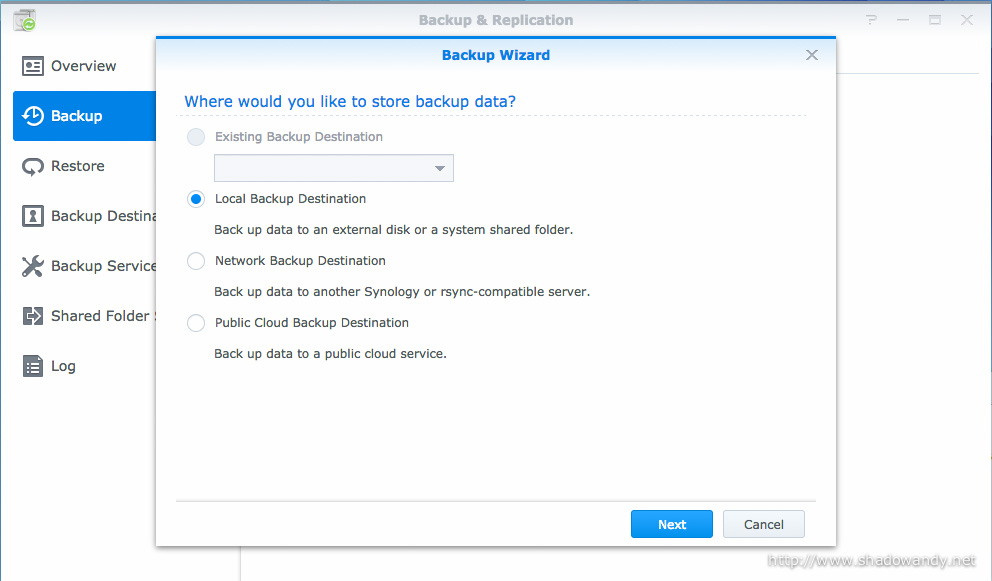
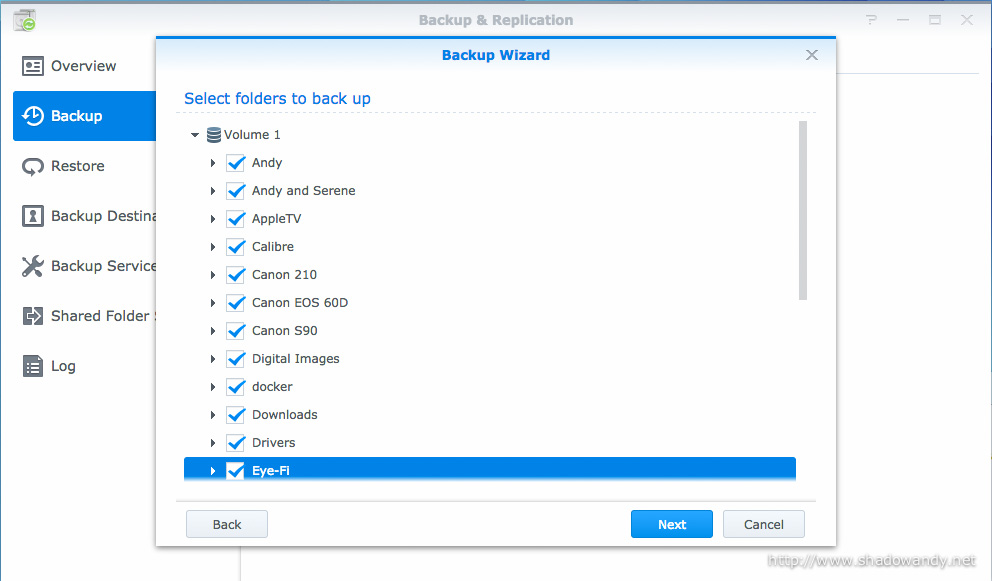
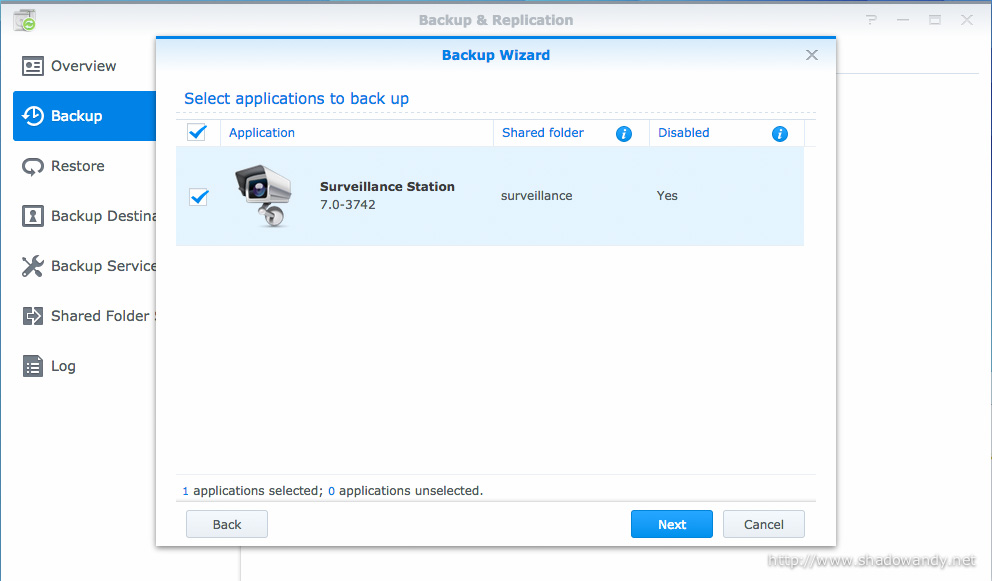
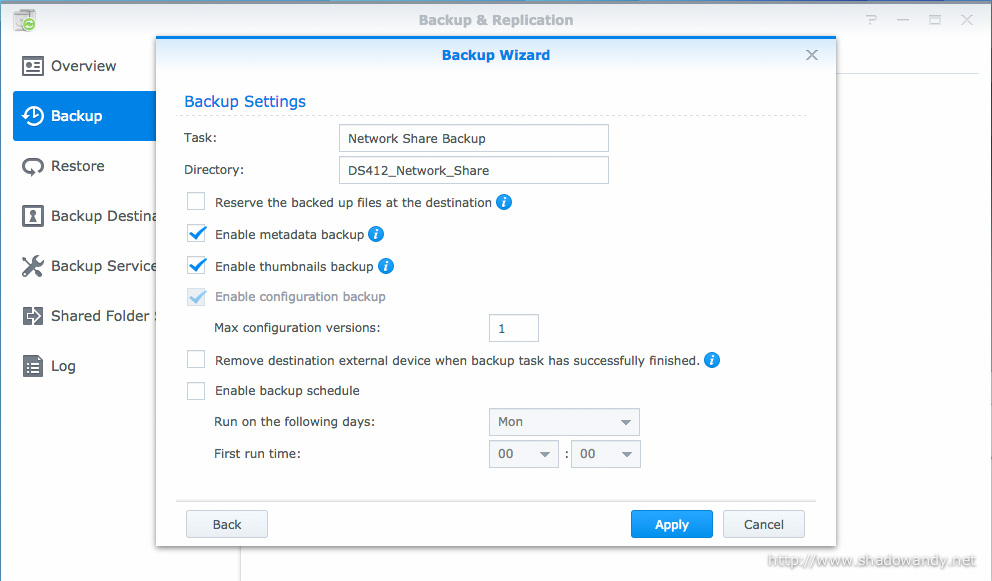
Firstly, I attached the USB 3.0 Seagate Expansion Desktop Hard Drive to the DS412+’s USB 3.0 port at the back and it is recognised as an attached USB drive. I proceeded to create a “Data Backup Task” and selected the application and folders to be backed up.
I backed up the data using the “admin” account to avoid permission issues.

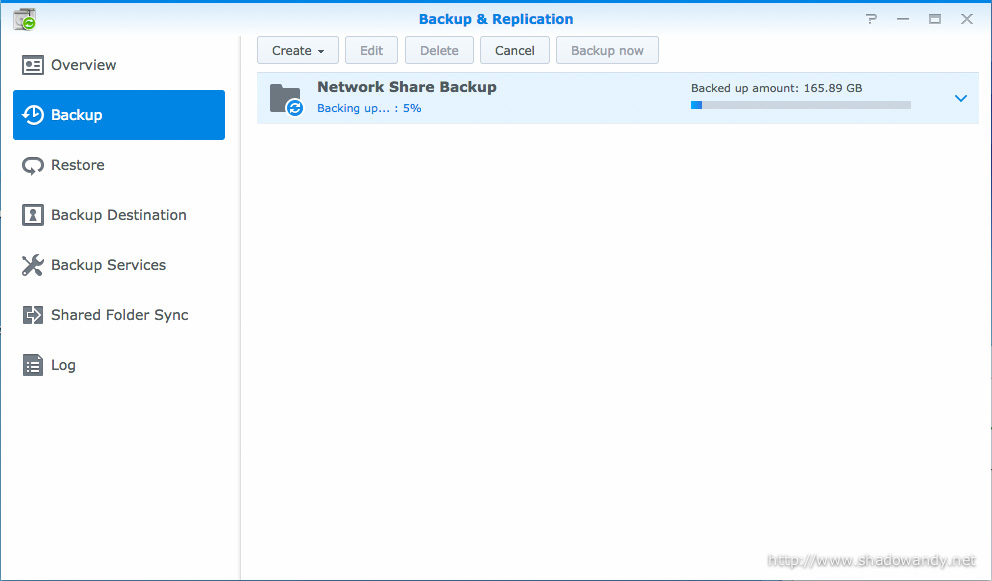

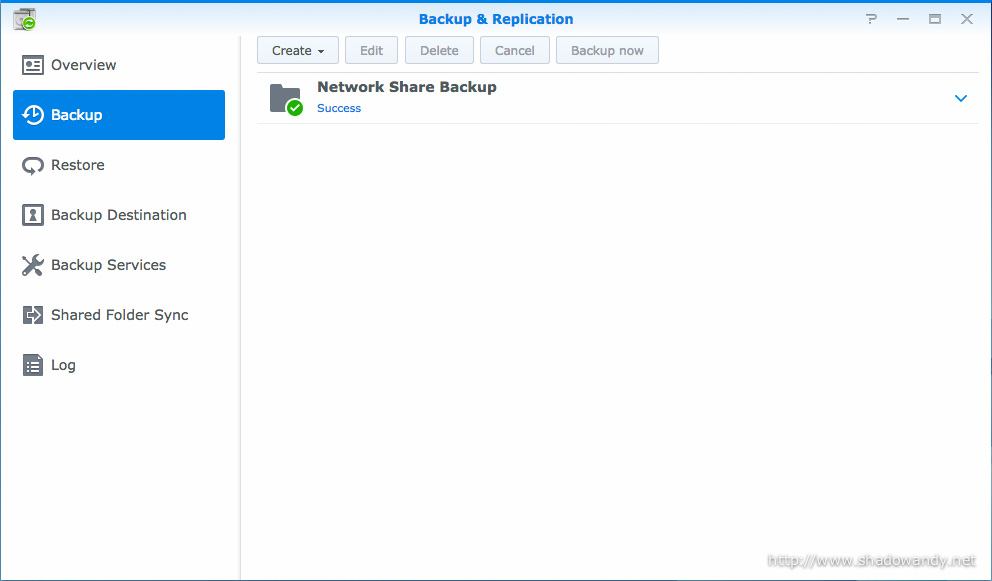
Verifying the backed up data
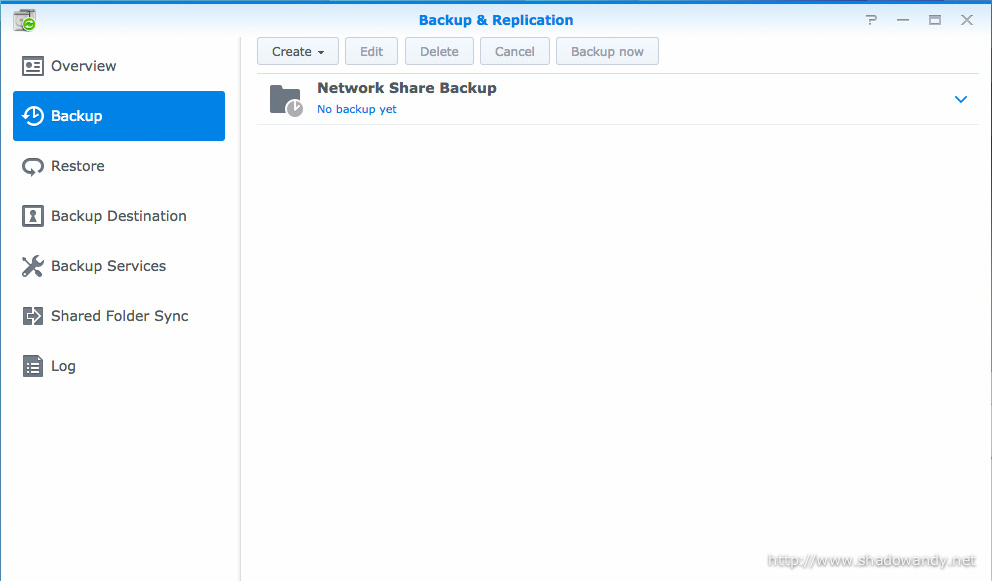
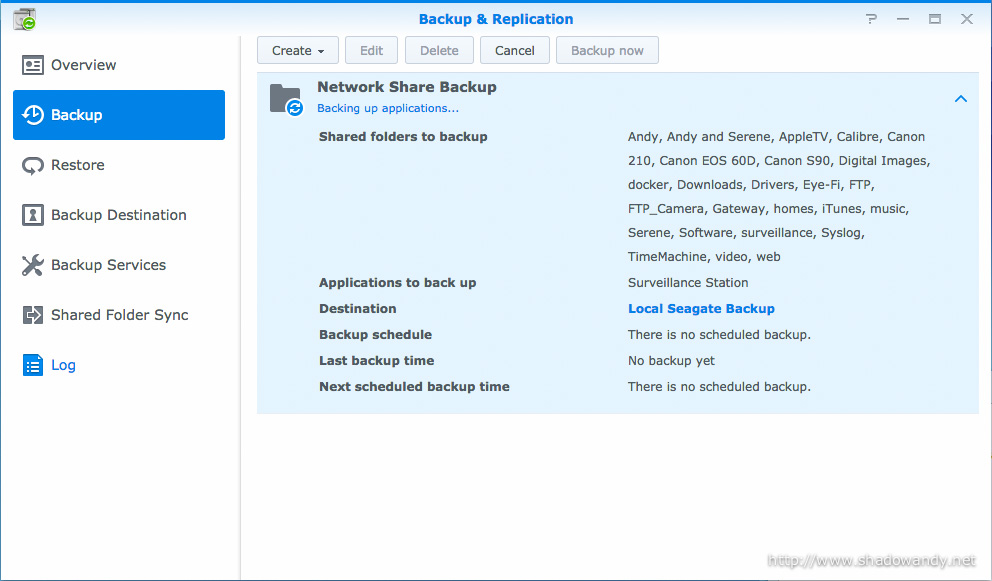
The Backup & Replication should back up the data correctly onto the attached USB hard disk but I felt that there is a need to verify/ cross check that data has been backed up properly.
One way is to ensure MD5 or SHA-1 hash the files on both locations (NAS and attached hard disk) matches; or we can selectively check the hash of some files and manually checking the contents of the files to ensure they are right.
That is it! Once you are confident that the data are backed up correctly, it is time to proceed to the next step.
Migrating the hard disks from Synology DS412+ to DS1515+
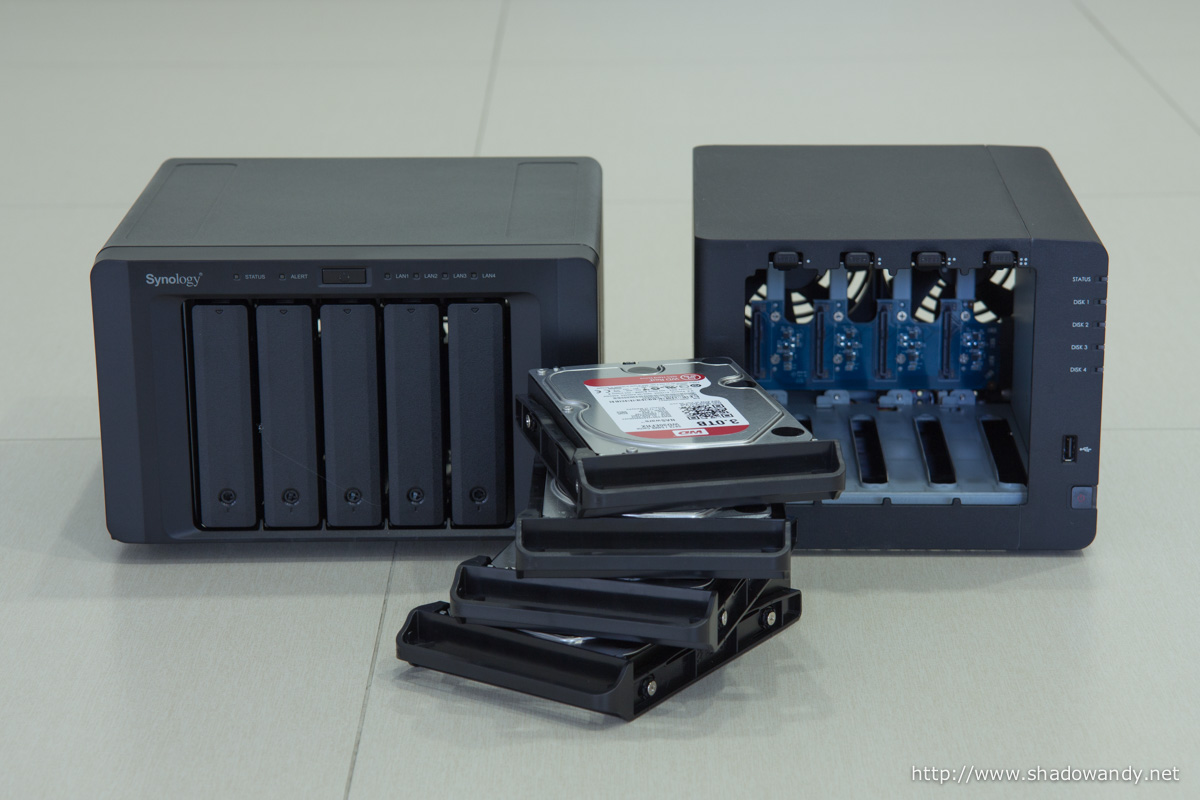
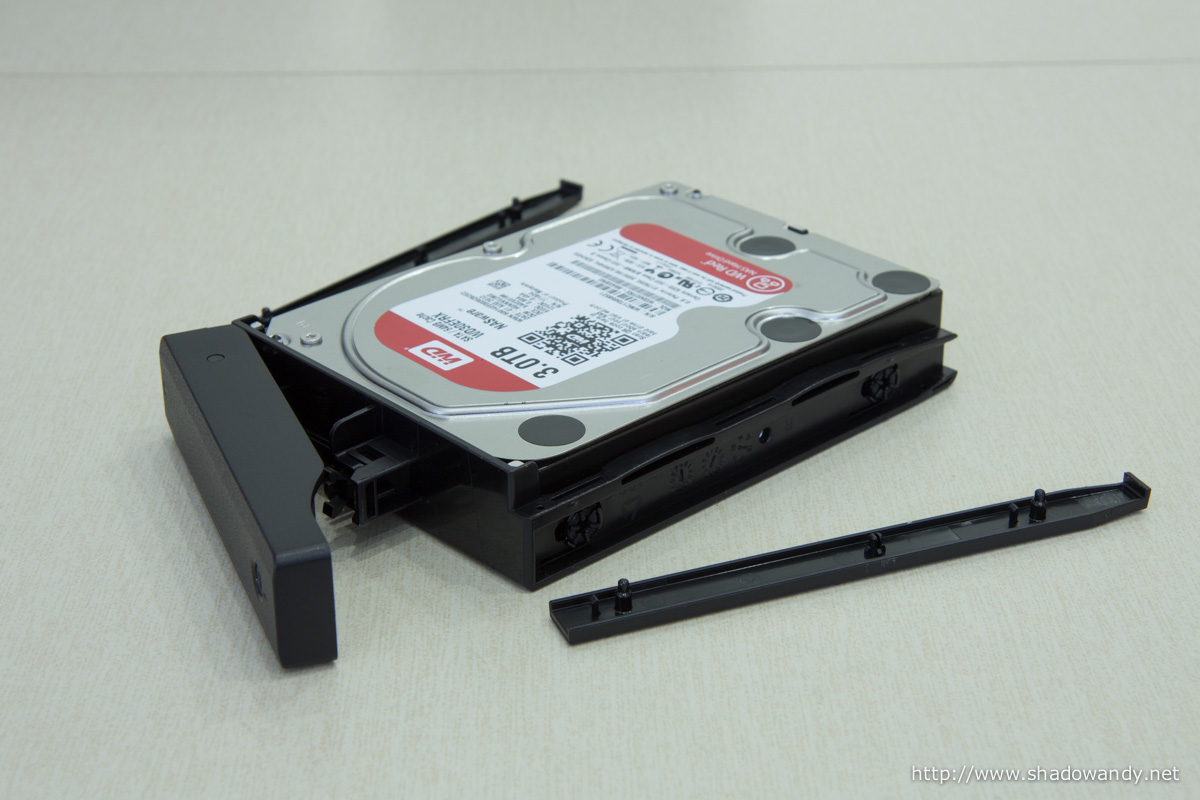
Physically migrating the hard disks is the easiest step of the migration. I just need to ensure that I insert the hard disks in the same disk bay order as they were in the Synology DS412+. That is, bay 1 disk on the DS412+ goes into bay 1 of the DS1515+. Dead simple.
Of course, the slightly (more) tedious part is to remove the existing hard disks from the DS412+ hard disk tray and remounting them onto the DS1515+ hard disk tray. But hey, you don’t need to use screw driver to mount the hard disk onto the DS1515+ hard disk tray.
Once all the hard disks have been properly installed, connect the LAN cables, power it up and move on to the next section.
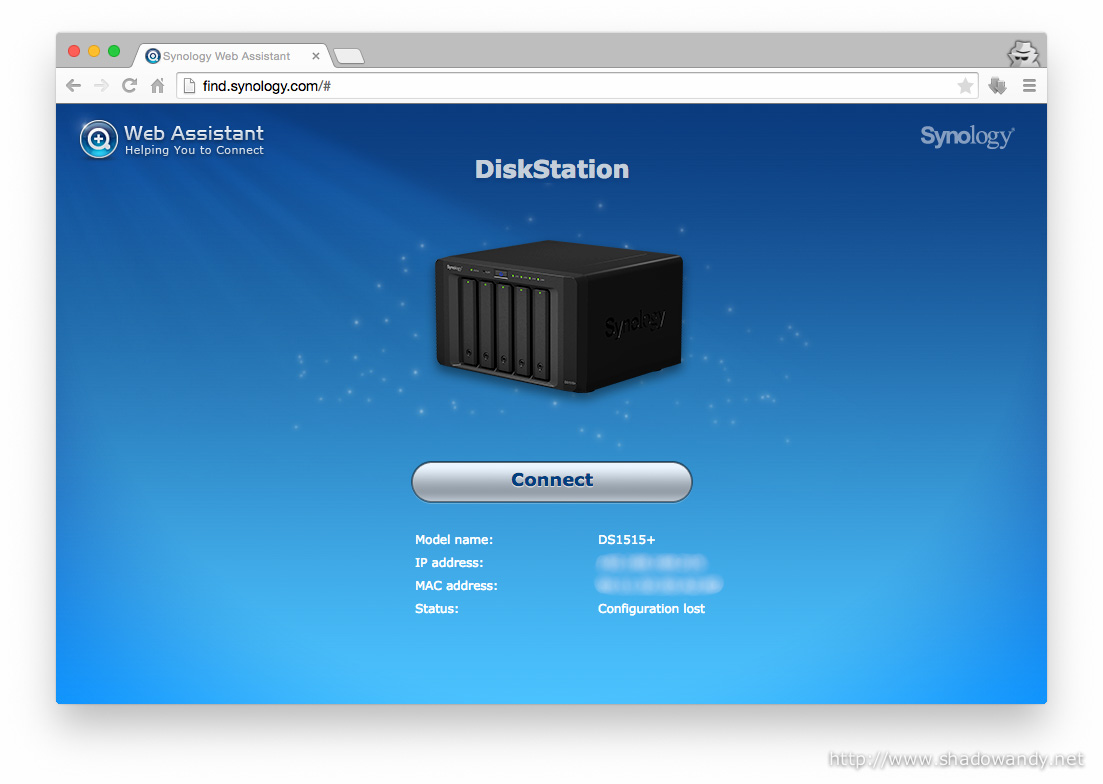
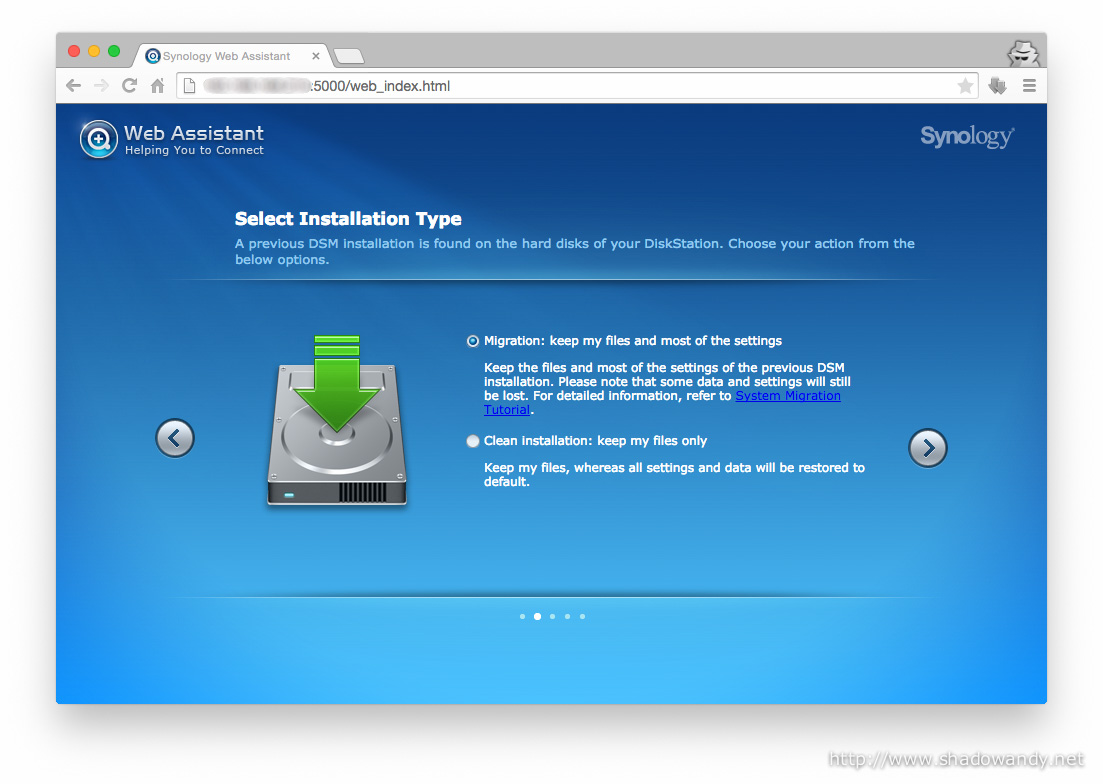
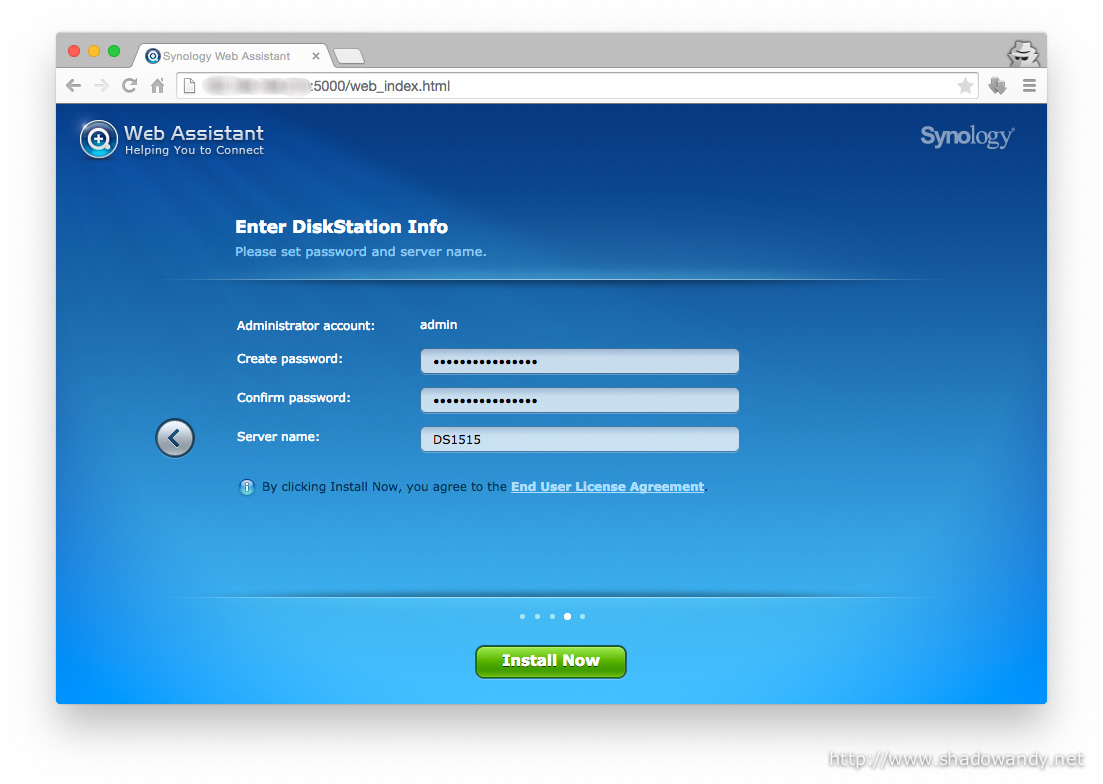
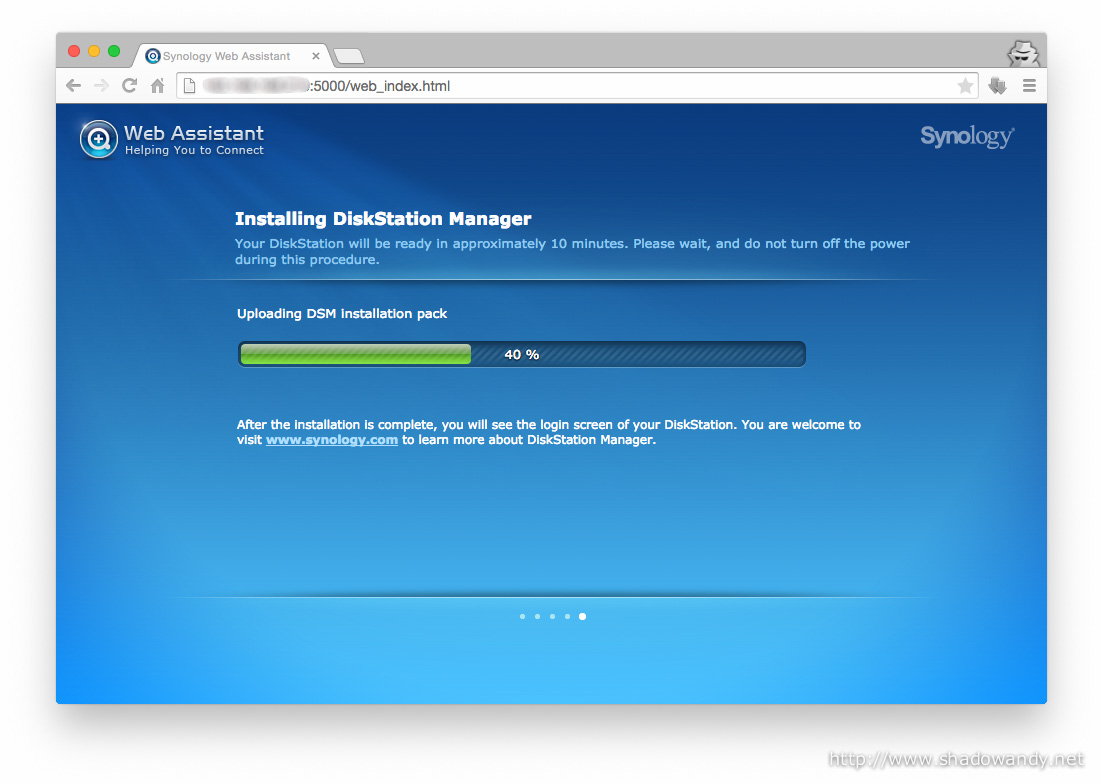
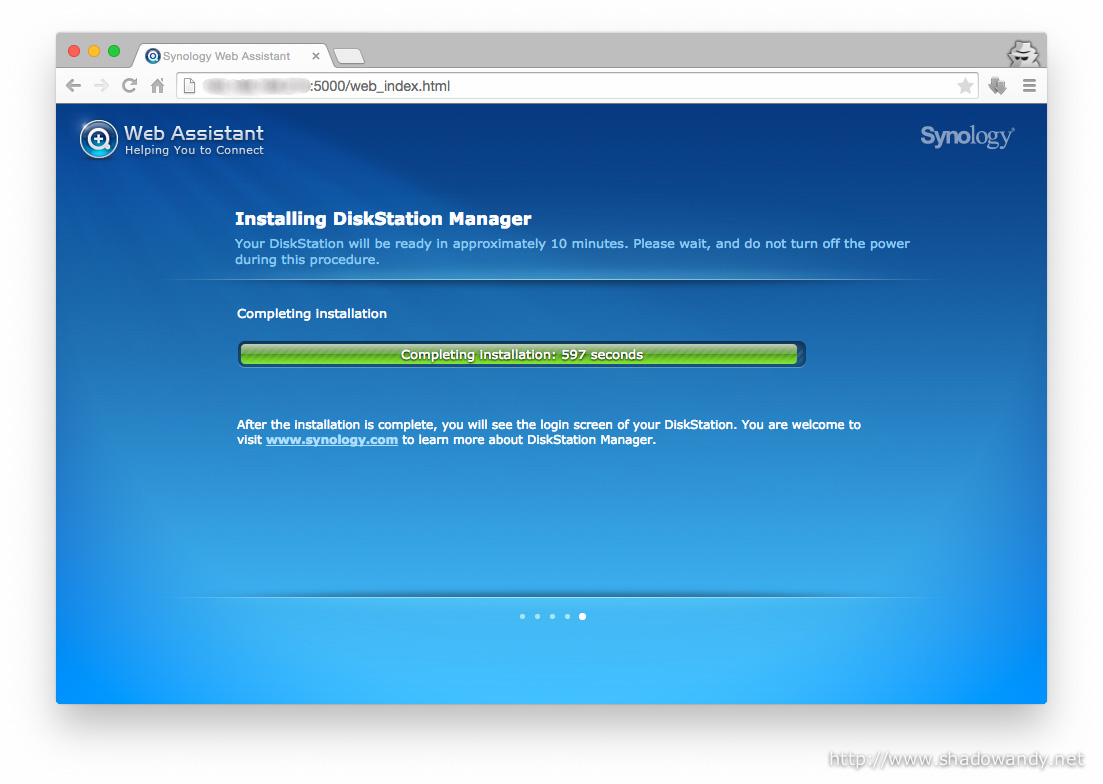
Setting up the Synology DS1515+ with migration option
I noticed that setting up a Synology NAS is much simpler now. Instead of using a desktop application, the Synology Assistant, I just have to punch in find.synology.com into my web browser and it will automatically find the Synology NAS on my network. Wow!


Verifying the migrated hard disks and data
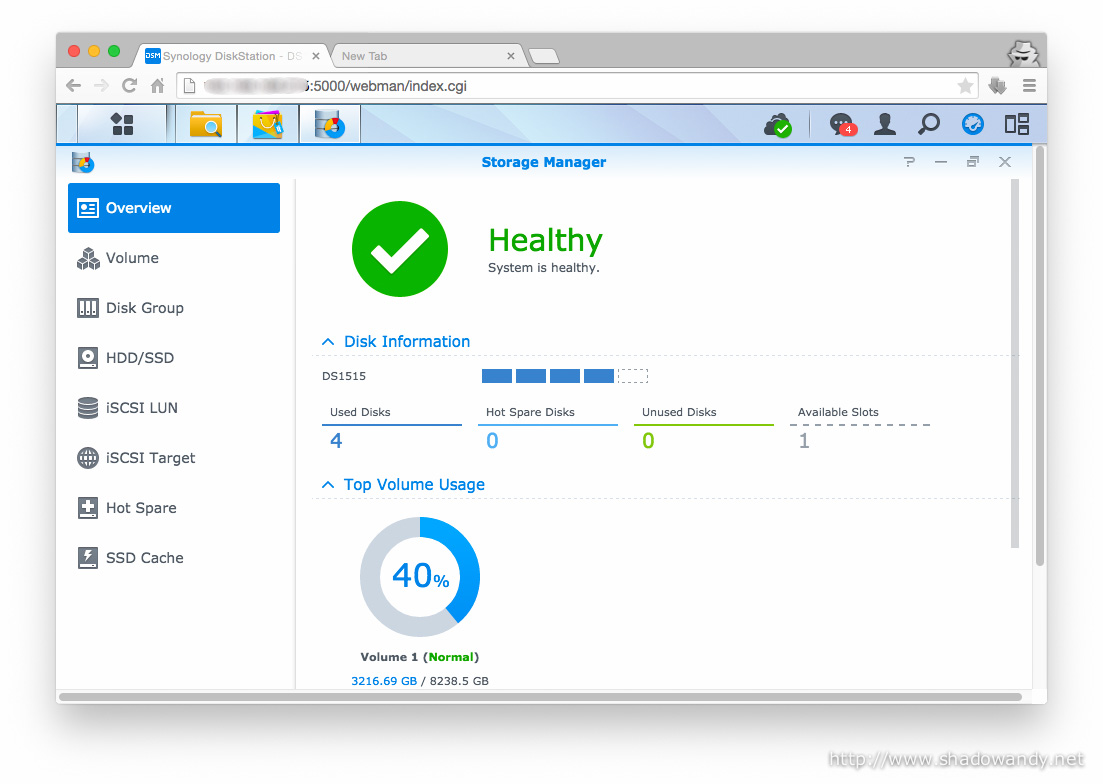
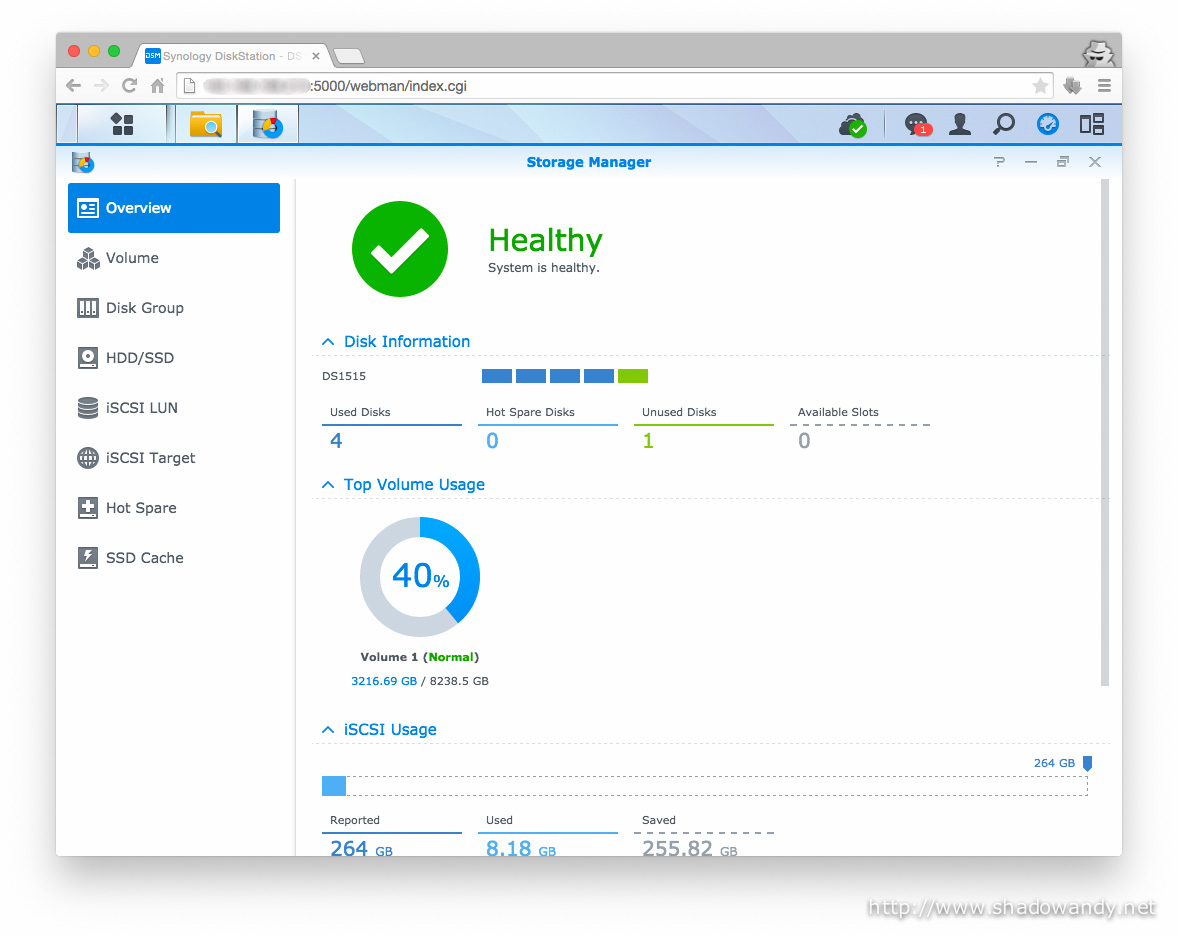
The second last step! I will need to verify that all disks are recognised by the Synology DS1515+, data volume is correct and the data are intact.
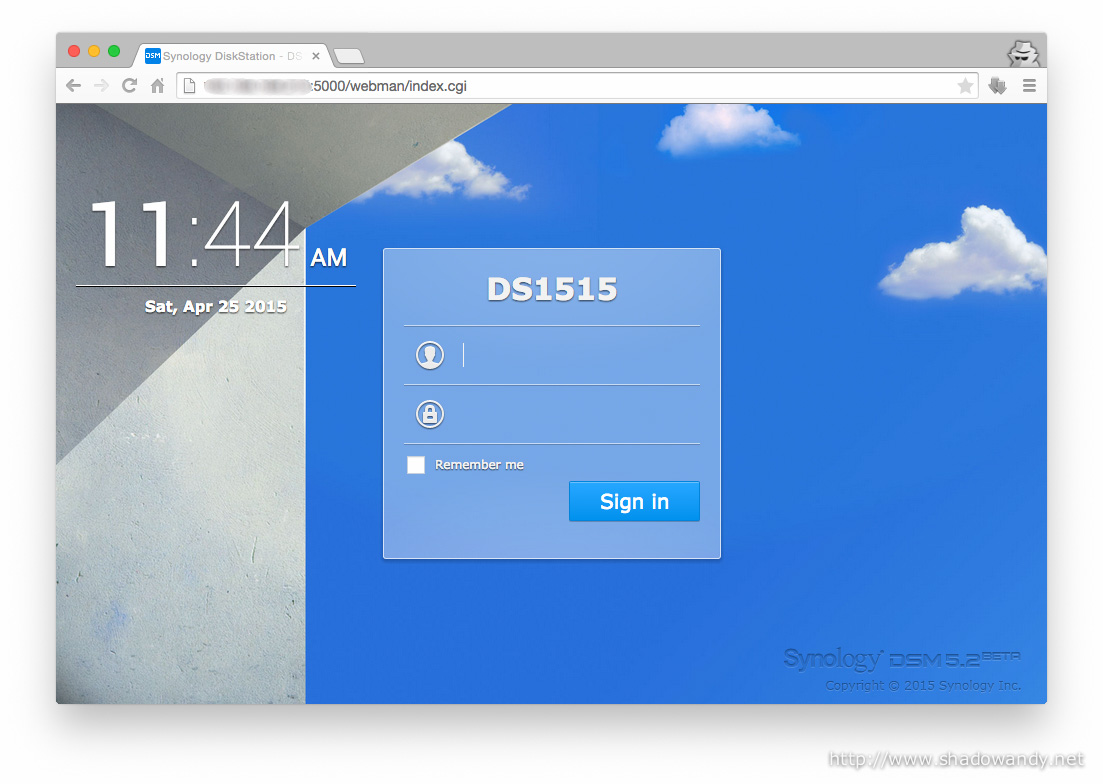
I logged into DiskStation Manager (DSM) and launched the Storage Manager to view the status of the disks and volume.
To verify if the data are intact, I selectively chose files and folders and checked their contents and compared against the MD5/ SHA-1 hash from the ones on the Seagate Expansion Desktop 5TB Hard Drive.
I been running in the system for a while now and I have yet to notice any missing files/ content. Phew!
Upgrading the apps and rebuilding media indexes
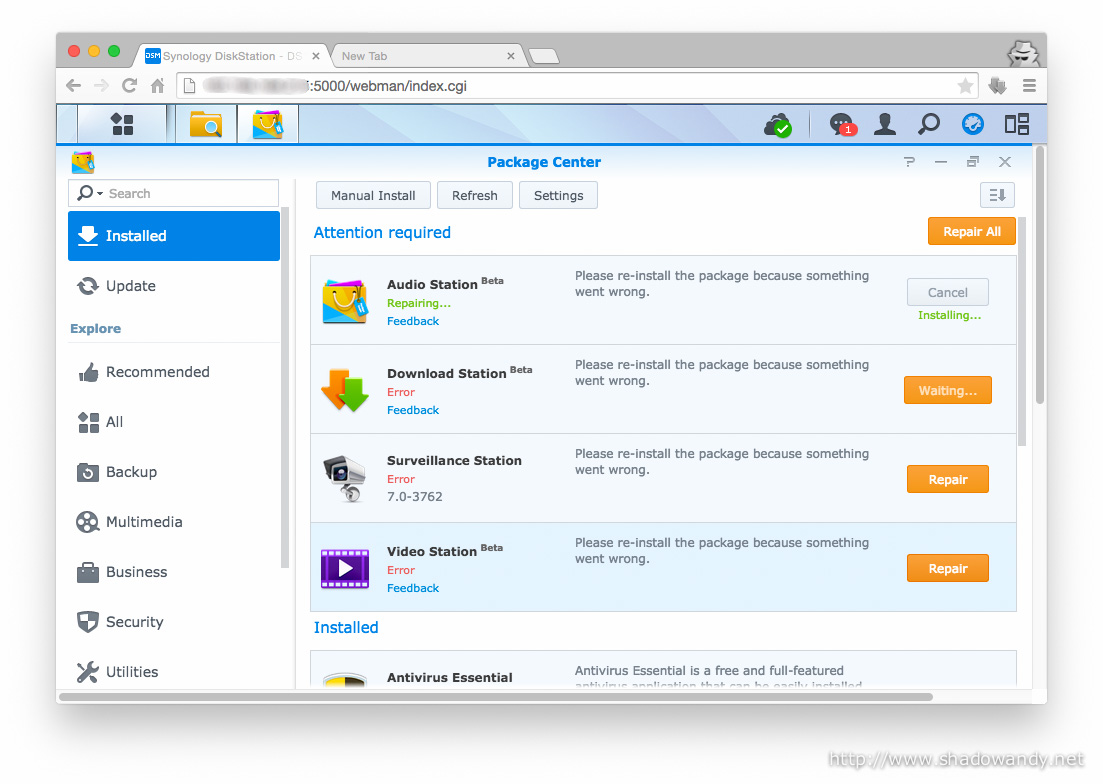
The final step! I launched Package Manager and noticed that some applications requires updates to run on the DS1515+. I updated them as per Package Manager’s suggestion and they all started up fine.
I also noticed that my media information in Video Station are “corrupted”. Video don’t play and media information are missing. The fix is pretty easy, I instructed the Video Station to re-index the medias. After a while, the media information are up-to-date again!
Conclusion
Synology has made the migration process seamless for its users. They support migration between same DiskStation model or newer (same number or more disk bays) model.
My experience of this hard disks and data migration from my previous Synology DS412+ to the new Synology DS1515+ is pleasant. I have added in a few data verification steps and I am pretty confident that the data has been fully migrated to DS1515+.
I am so going to enjoy the Synology DS1515+.
Gallery