Synology DiskStation DS215+ Review – Introduction
| Review At A Glance | |
|---|---|
| Product | Synology DiskStation DS215+ [product link] |
| Summary | High performance, full fledge 2-bay NAS for home and small businesses. For home, the comprehensive multimedia capabilities will be a hit. For businesses, the hardware encryption engine and dual LAN support ensures speedy encrypted file transfers and failover support. |
| Pros | + 2 LAN ports supporting failover and link aggregation for small businesses & homes + Hardware encryption engine for faster encrypted transfers + Hot-swappable support like in higher end NAS |
| Cons | - Considered to be one of the more expensive models in the 2-bay league but you get higher performance out of this (DS215j is almost 50% cheaper!) |
| SRP | S$573.00 (at time of post) |
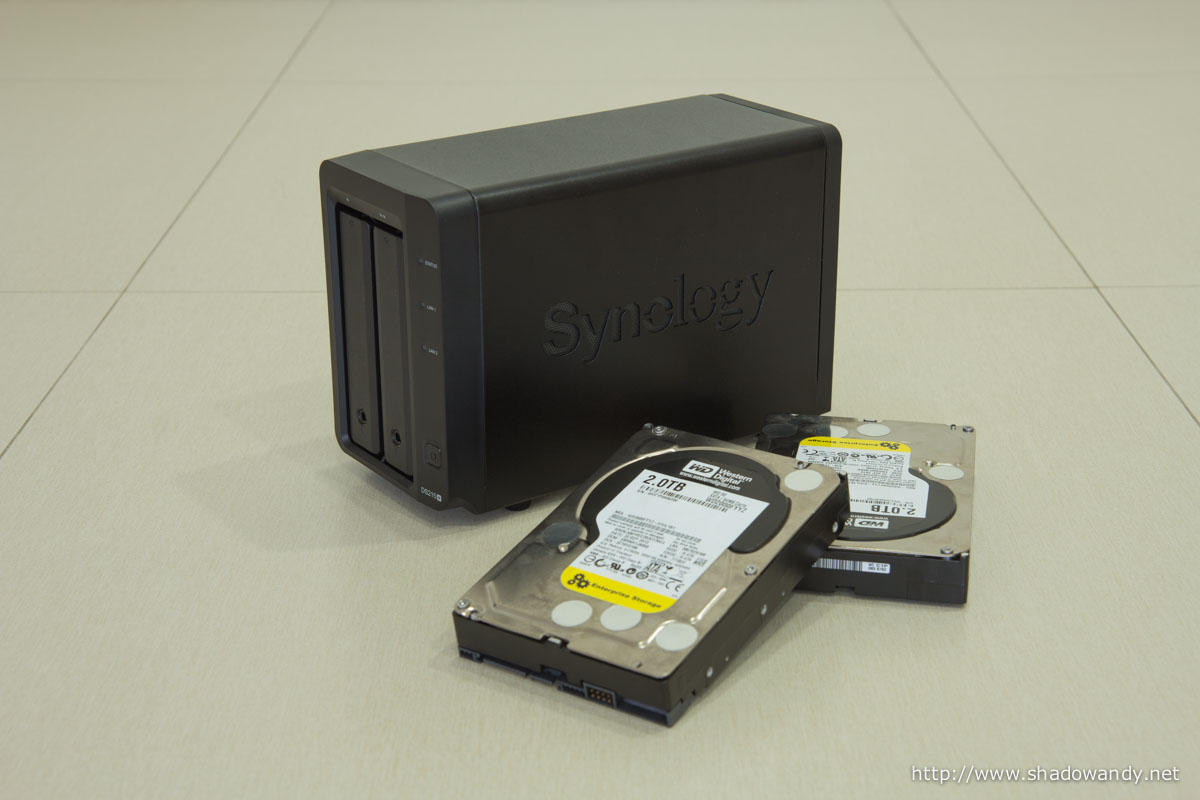
The Synology DiskStation DS215+ is announced at 2015 CeBIT to be the successor to the DS214+. It is a Annapurna SoC powered high performance 2-bay NAS and the ideal (starting) model for both home users and small and medium businesses looking for means to centralise and protect their data.
The Synology DS215+ will be replacing my parents’ D-Link DNS-320. It will serve as a backup storage for their devices, multimedia centre and off-site data backup for my DS1515+.
Hardware-wise, the Annapurna SoC is new to me. Both my DS412+ and DS1515+ are on Intel Atom CPU. Well, I believe there must be a reason for Synology to choose Annapurna Labs for their CPU.
| Synology DiskStation DS215+ Specifications | |
|---|---|
| Processor | Annapurna Labs Alpine AL-212 (Dual Core 1.4GHz) |
| Memory | 1GB DDR3 |
| Encryption | AES-NI Hardware Encryption Engine |
| Storage | 2 x 3.5"/2.5" SATA II/III; Hot Swappable |
| SSD Support | TRIM support |
| RAID Levels | Basic JBOD RAID 0/1/Synology Hybrid RAID |
| Capacity | up to 16TB (2 x 8TB) |
| Networking | 2 x 10/100/1000 Mbps Supports Link Aggregation/Failover |
| Connectors | 2 x USB 3.0 1 x eSATA |
| Fan | 1 x 92mm |
| Dimensions | 157 (H) x 103.5 (W) x 233 (D) mm |
| Weight | 1.69kg |
| Power Consumption | Sleep – 8.96W Operation – 20.77W |
| Noise Level | 19.2 dB(A) |
Unpacking the Synology DS215+
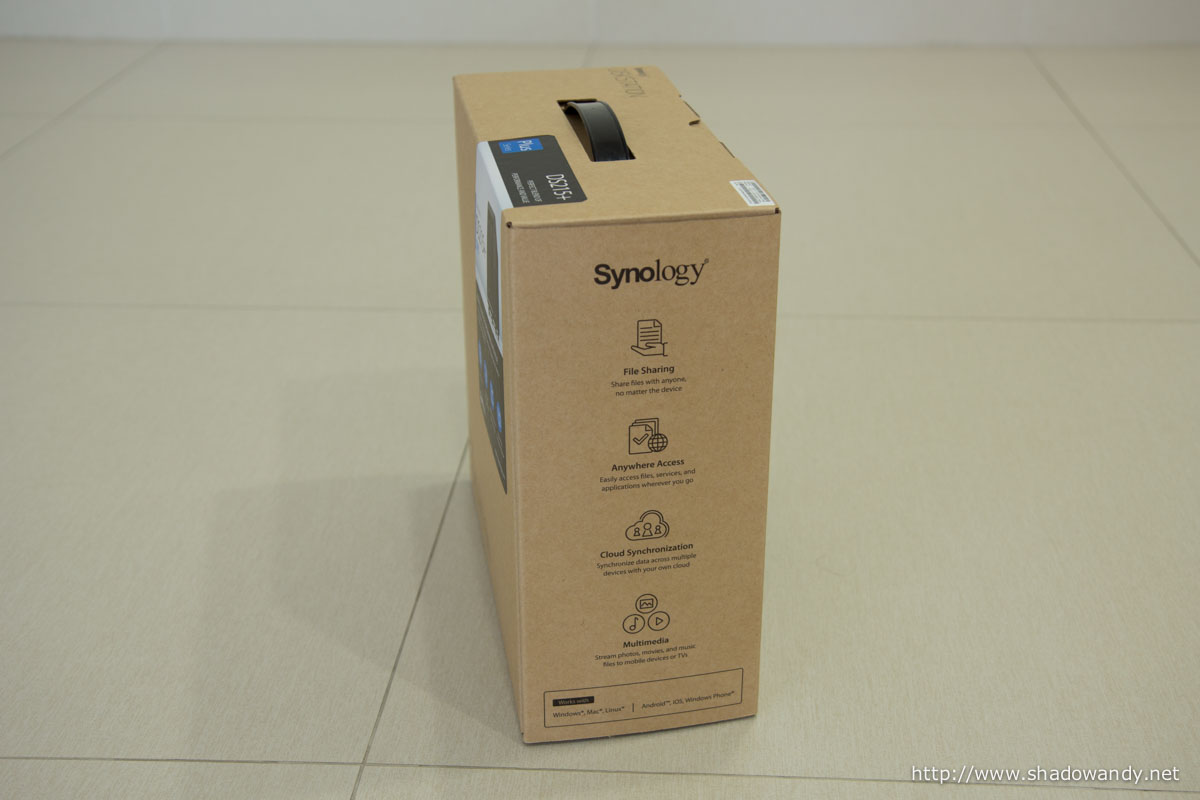
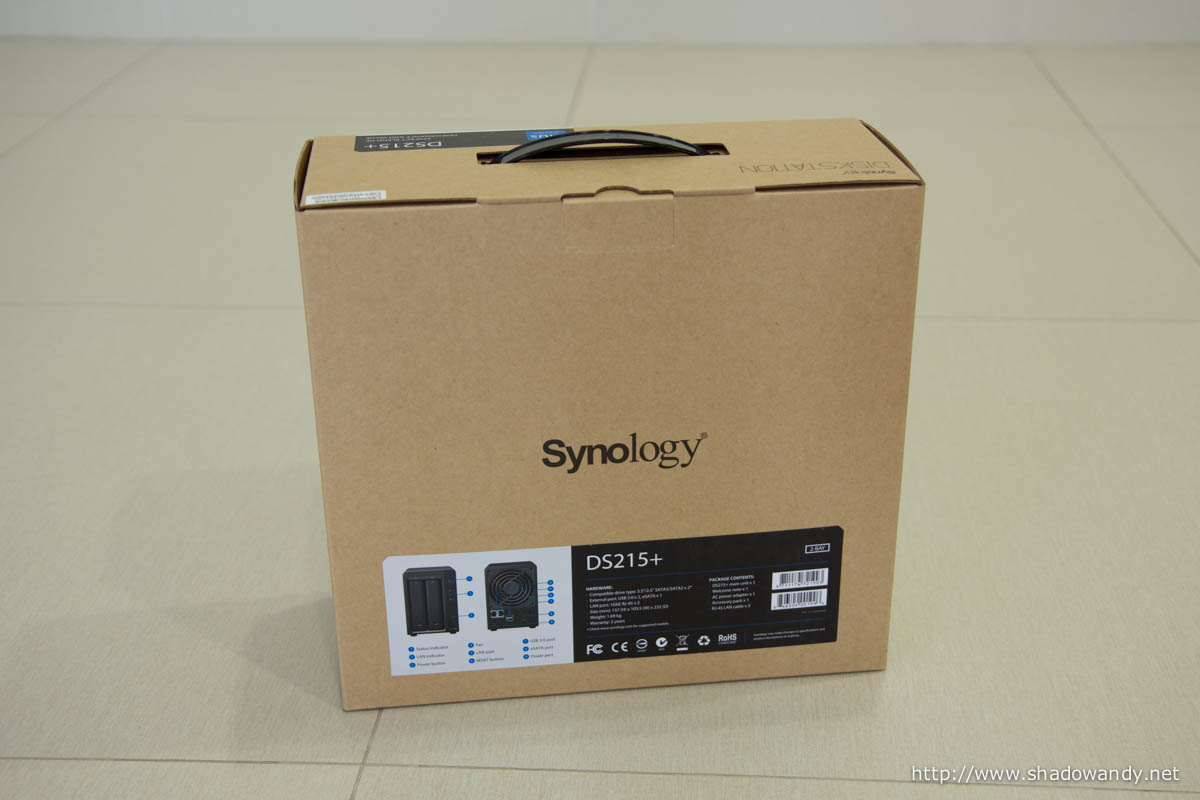
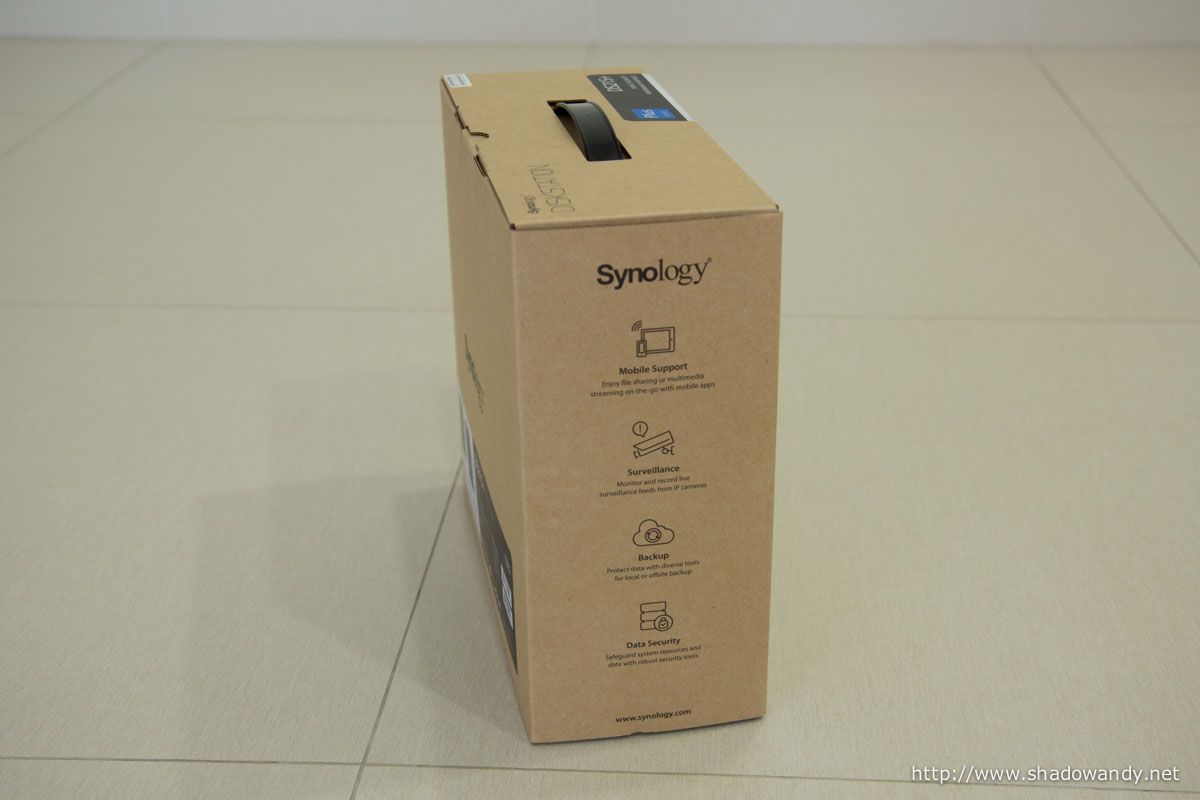
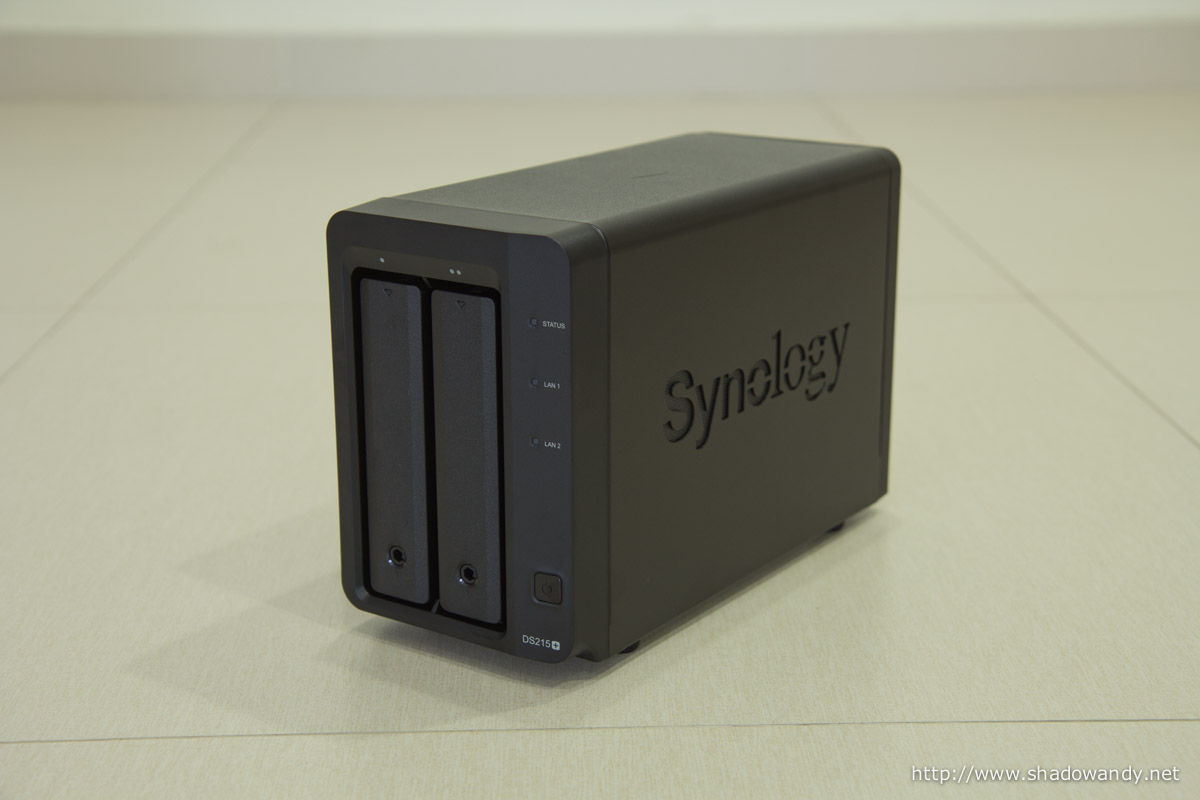
I guess the Synology DSX12 batch were the only ones with non-carton box packaging. For example, the DS212J and DS412+. This time round, the Synology DiskStation DS215+ arrived in a compact brown “carton box”. It is rather compact compared to the packaging for the older Synology 2-bay models.

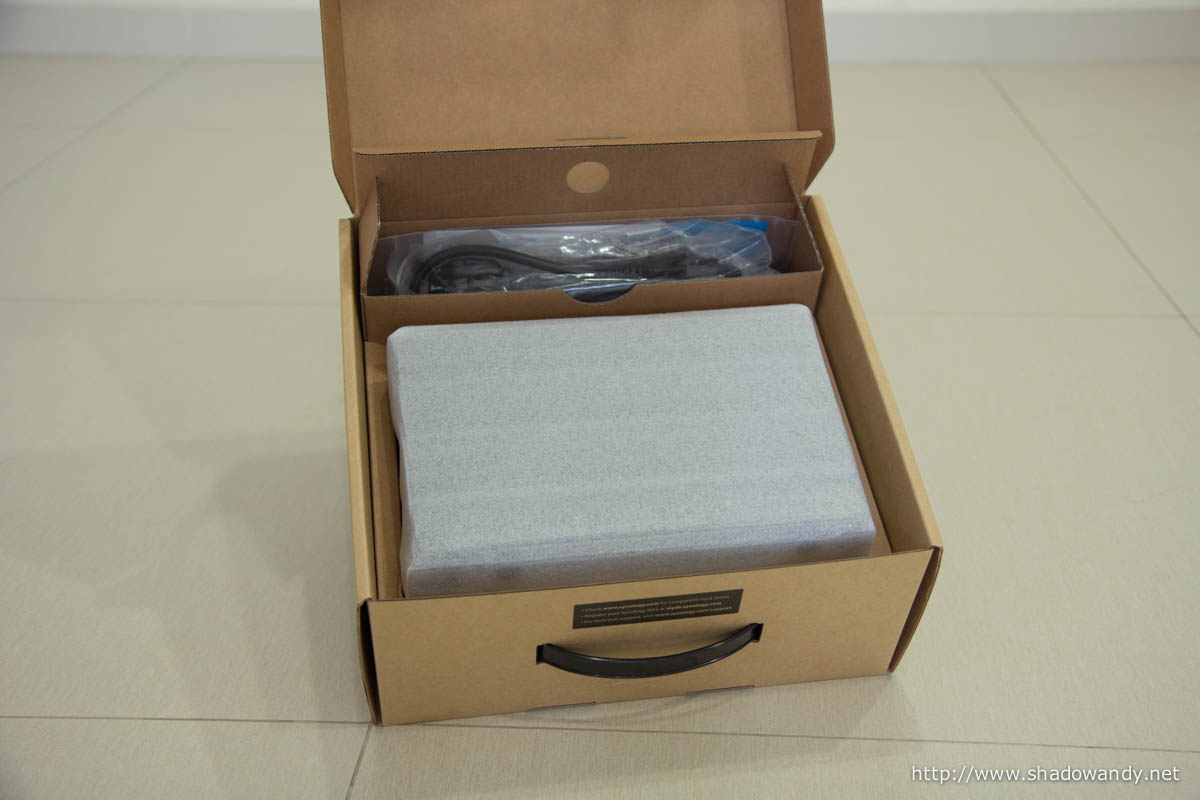
Within the package, the Synology DS215+ is packed near the top (where the handle is) and resting against the accessories pack. I guess the accessories pack will help dampen any knocks.
Running through the DS215+ package
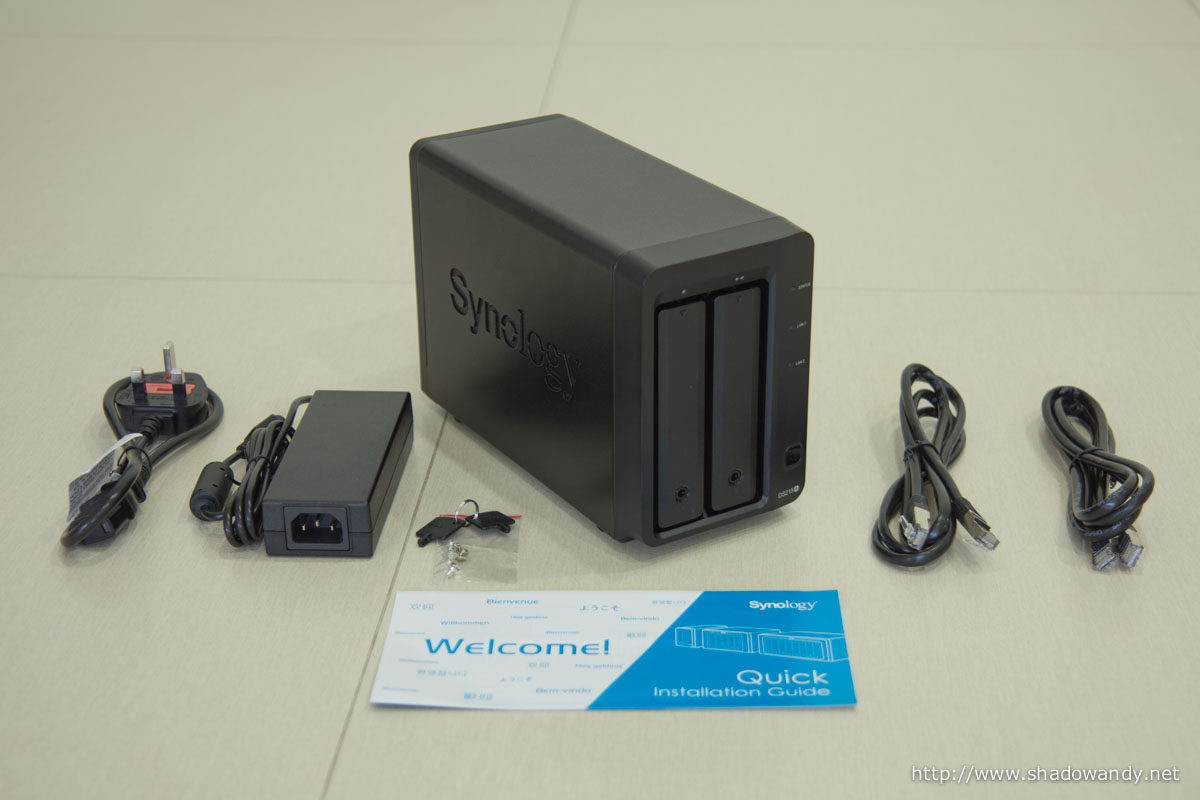
You will find the following within your DS215+:
- Synology DS215+ 2-bay NAS
- Power cord and power adapter
- 2 x drive tray keys
- A pack of screws for 2.5-inch disk installation
- 2 x shielded ethernet patch cord
- Quick installation guide
The Synology DS215+

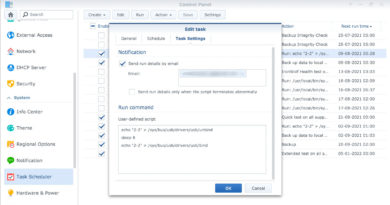
The DS215+’s enclosure is mainly metal except the front bezel, drive trays and back panel which are made of plastic. The top of the drive bays are clearly marked with white dots to denote the order of the drives. LED indicators are available for status, LAN 1 and LAN 2. The power button is located on the lower right corner of the unit.
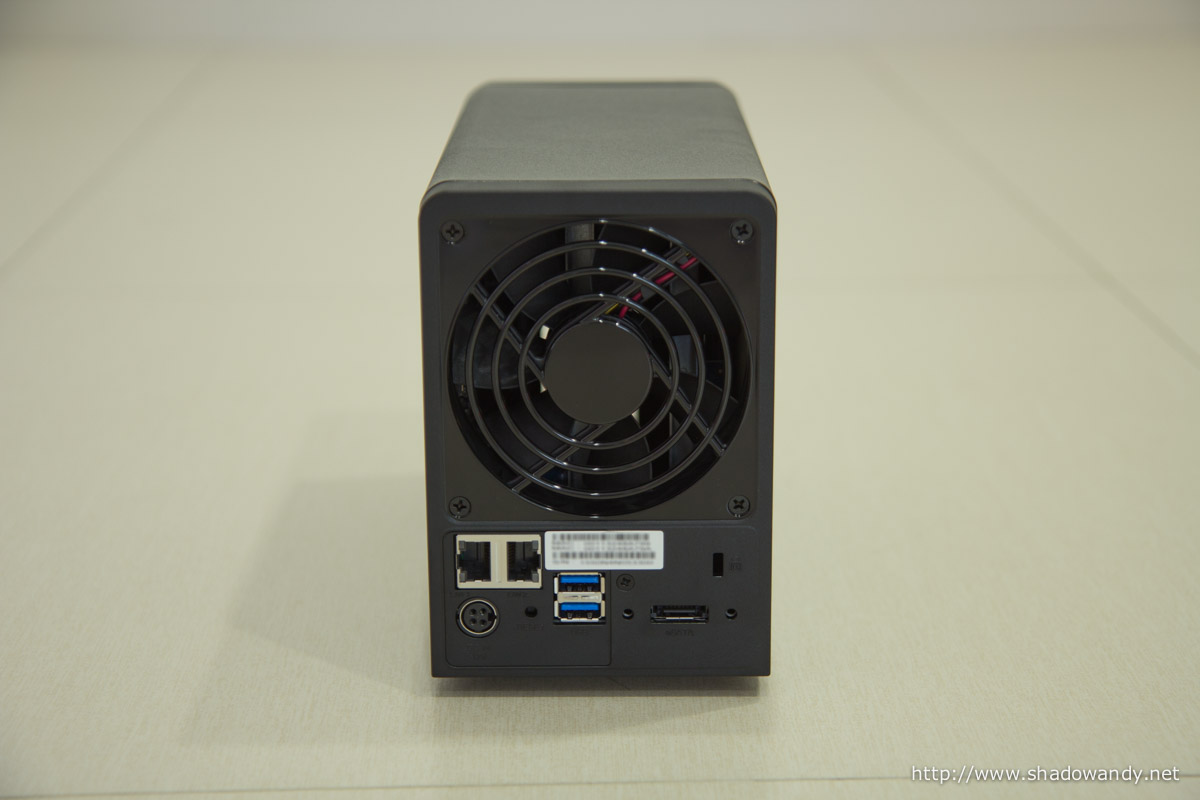
At the back of the DS215+ are the 92mm system fan, 2 Gigabit ethernet ports, 2 USB 3.0 ports, eSATA port, Kensington lock slot, reset button and power port. The Kensington lock and lockable drive trays serve as a deterrence to people targeting the NAS and/or drives.
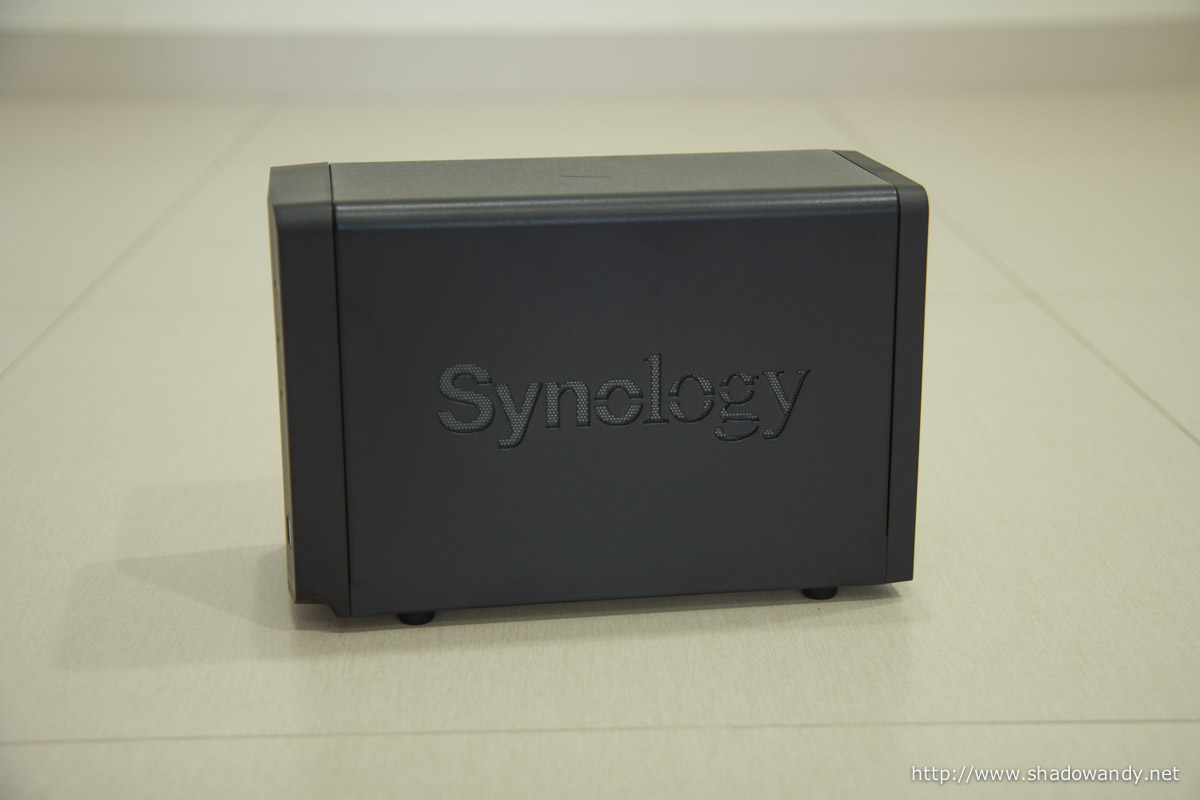
The Synology logo can be found at the side. At the back of the logo cutout is a layer of metal mesh.
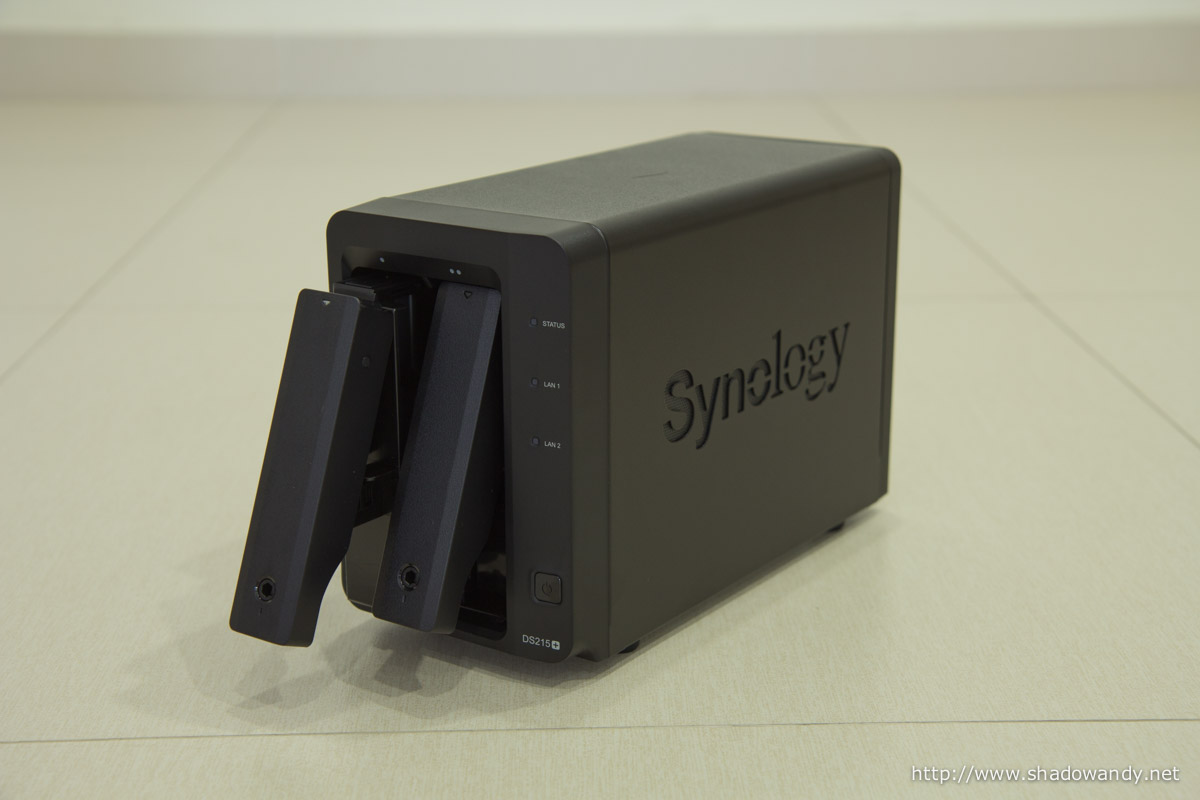
Depressing the lower end of the drive tray ejects the handles for you to pull out the drives from the unit. The key, included in the package, prevents the handles from being ejected.
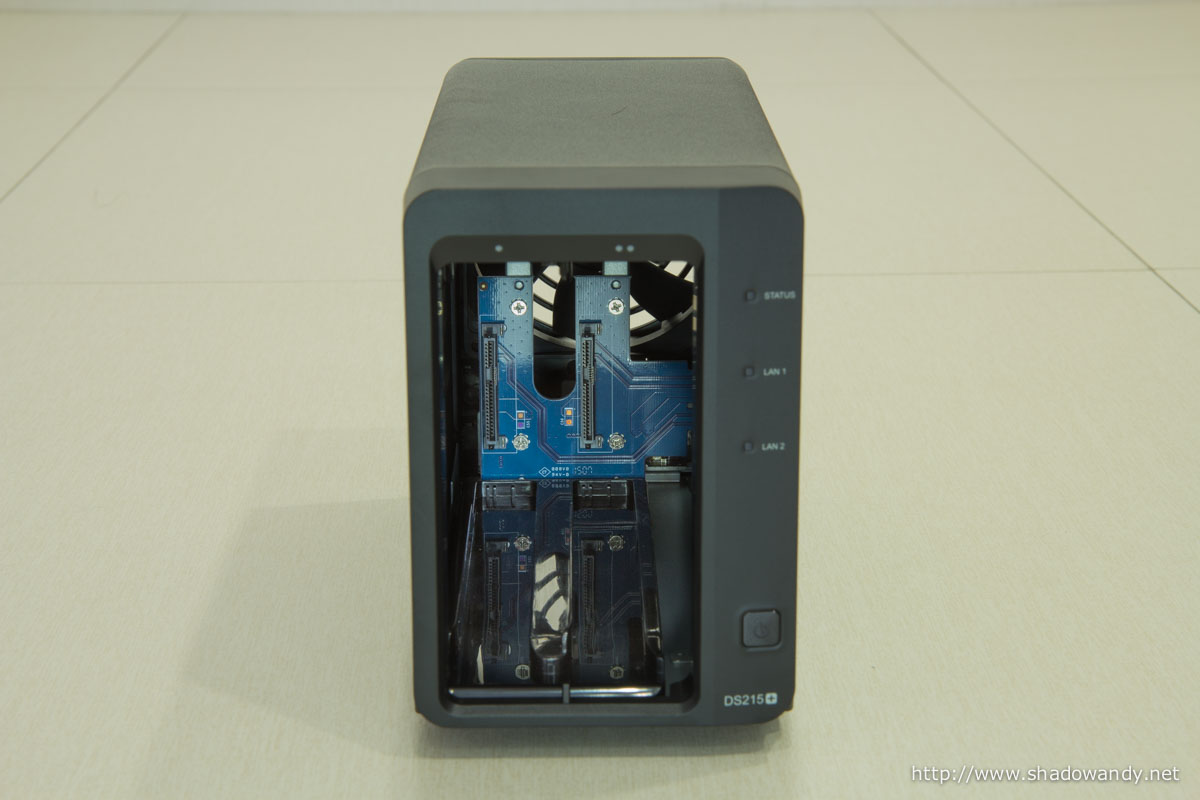
The 92mm system fan is placed directly behind the hard drives, ensuring sufficient airflow through the NAS to keep the drives cool.
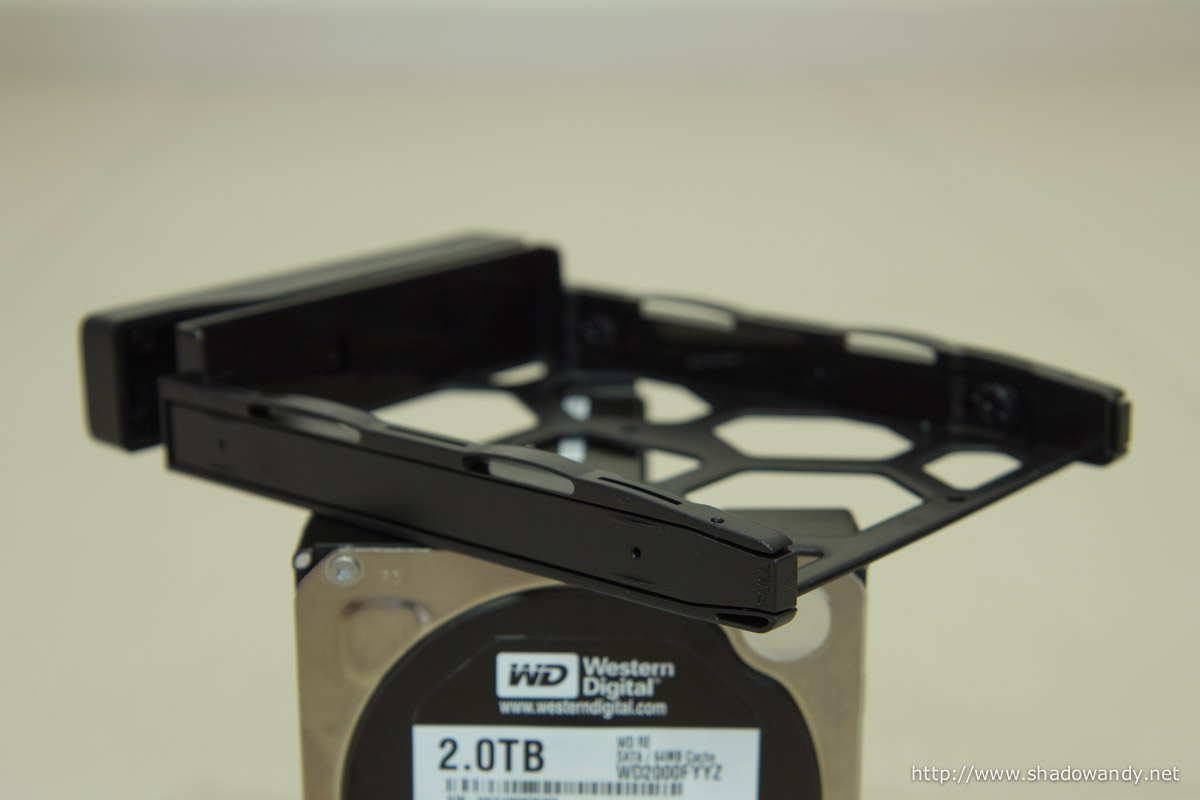
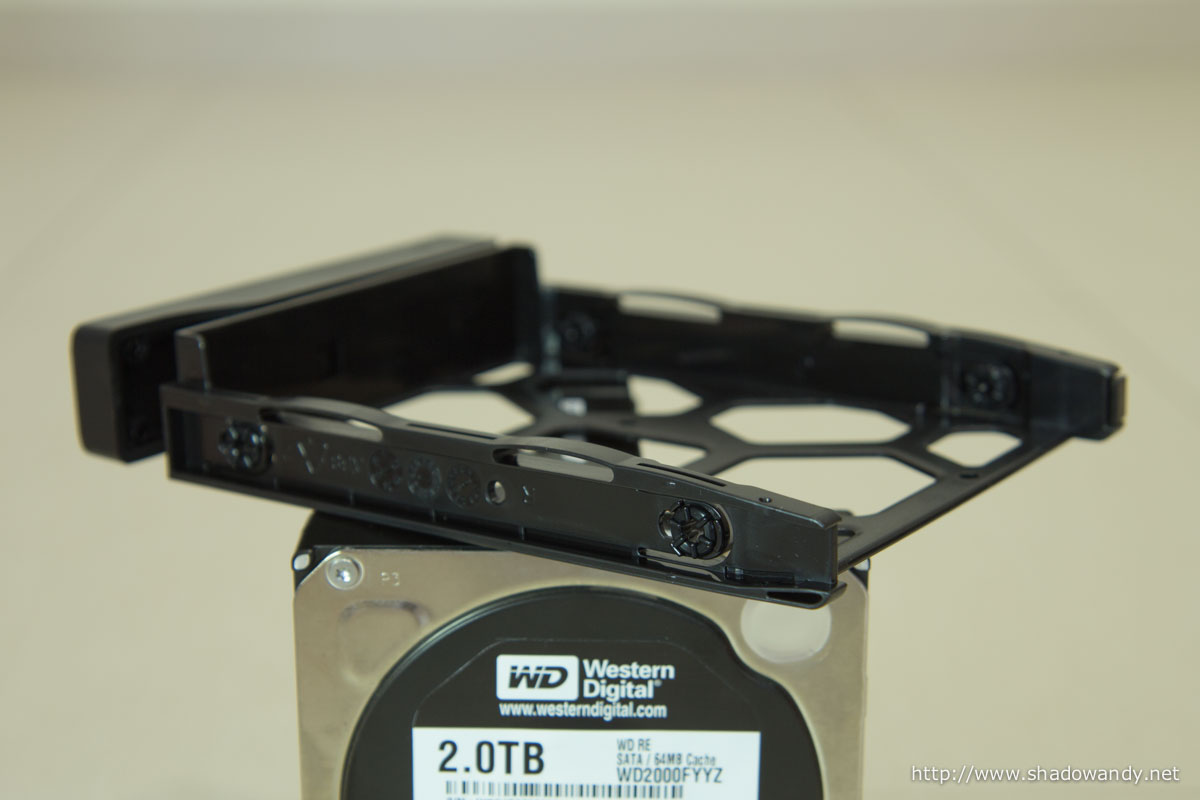
The tool-less drive tray is similar to the ones found in the Synology DS1515+. Basically, you do not need any tools to install a standard 3.5-inch drive. Simply, remove the rails at the sides, place the disk onto the tray and snap back the rails. You will need to use the screws included in the package for 2.5-inch drives.
Gallery