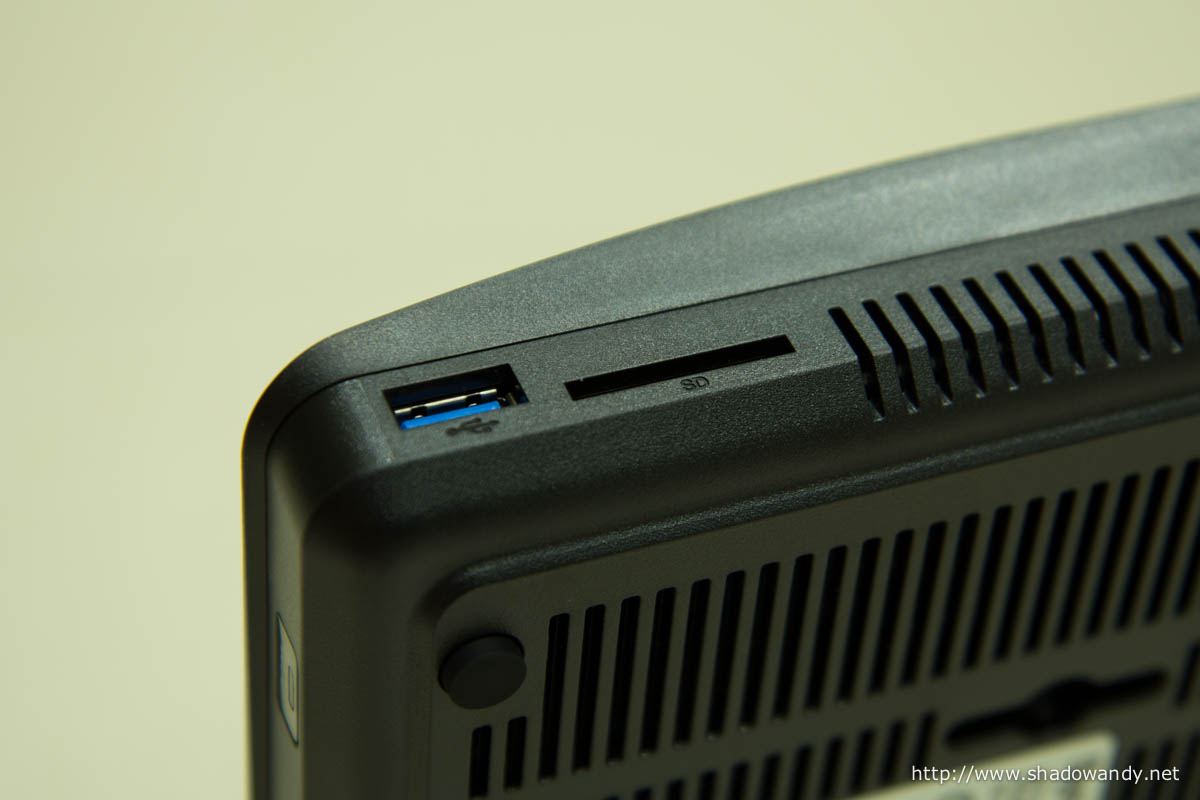
The USB3.0 port and SD card slot at the side of the Synology RT1900ac.
Nowadays, most consumer WiFi router is equipped with USB 2.0/3.0 port and offers the capability to share the attached storage out onto the network. Effectively turning it into a basic network attached storage (NAS). Notice that I mentioned “Basic” as they often have limited configuration options.
I would expect Synology, with its vast experience in the NAS business, to excel in this department. So let’s take a look at the NAS feature of the Synology RT1900ac.
The Synology RT1900ac is equipped with a USB 3.0 port and SDXC slot for users to attached storage media and/or printer for sharing with both Windows and Apple devices. On top of the usual Windows File Share, it supports AFP and Time Machine backup target.
As expected, the Synology RT1900ac did not disappoint me in this department of WiFi-router-as-a-NAS. It allows granular permission controls on file shares (for different users), user administration and even settings and choice of file share service (e.g. SAMBA version, AFP).
The file transfer throughput rates are not low either.
NAS Speed Test
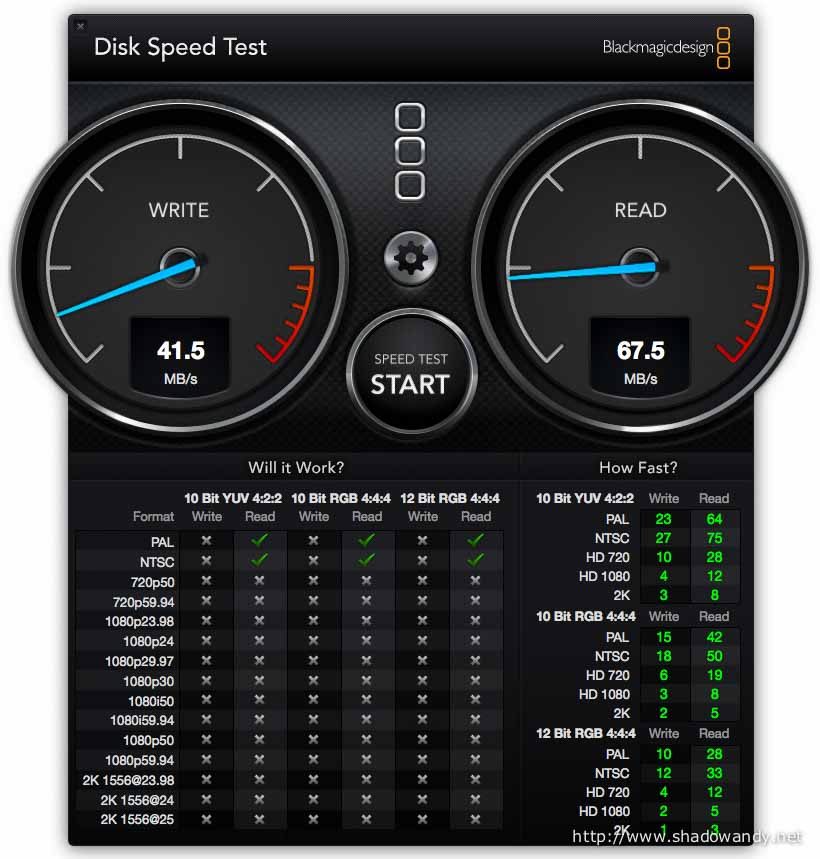
The speed test result for the SanDisk Ultra Fit attached to the Synology RT1900ac yield 41.5 MBps and 67.5 MBps for writing and reading respectively.
I conducted a simple NAS speed test with a SanDisk Ultra Fit 32GB. The test involves writing and reading 2 GB file and the Synology RT1900ac “NAS” averaged 41.5 MBps and 67.5 MBps for writing and reading respectively.
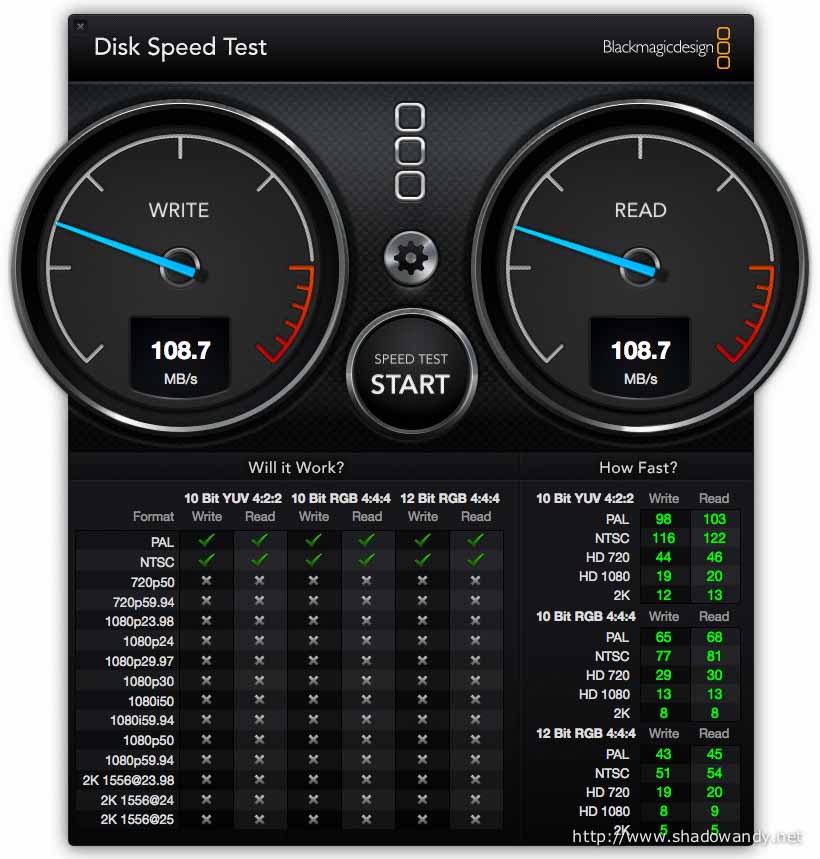
Wonder how does it compare to a NAS? I repeated the same test using the Synology DS1515+ and the DS1515+ clocked 108.7 MBps in both directions.
Did a baseline speed test for the DS1515+. It clocked 108.7 MBps for both reading and writing.
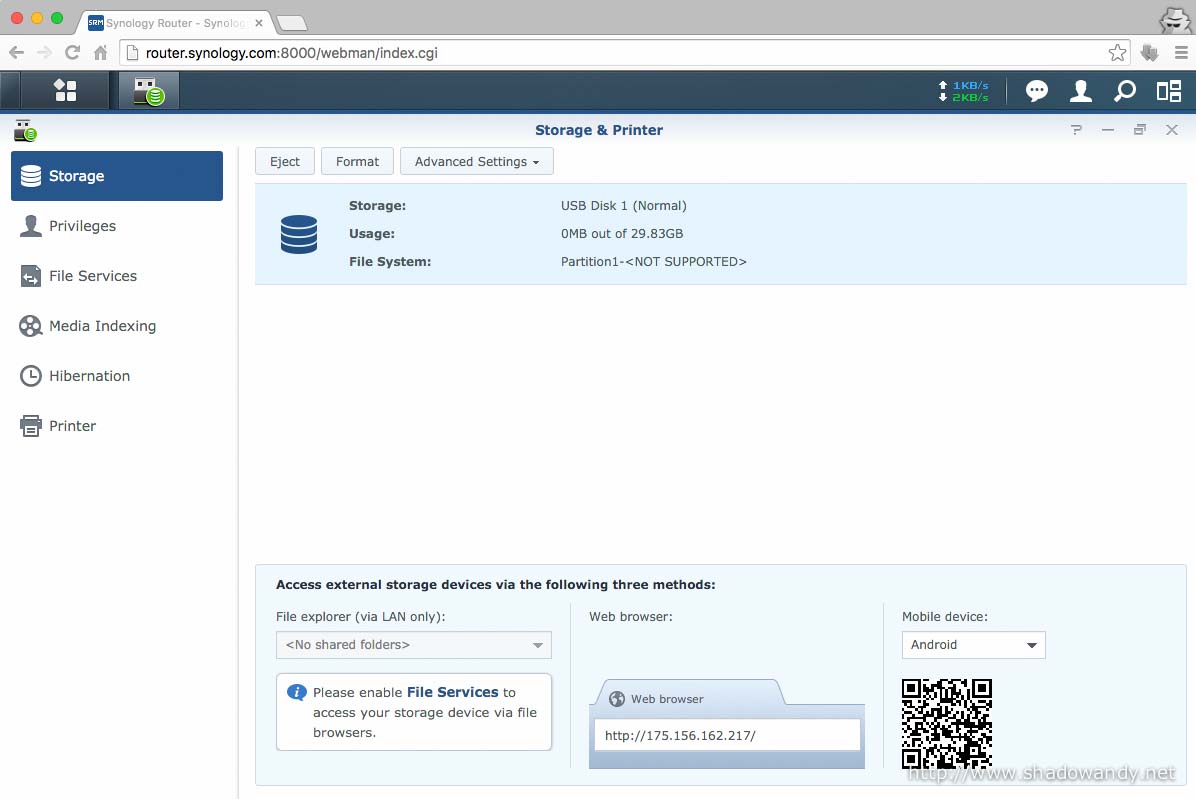
Running through the Storage & Printer Settings
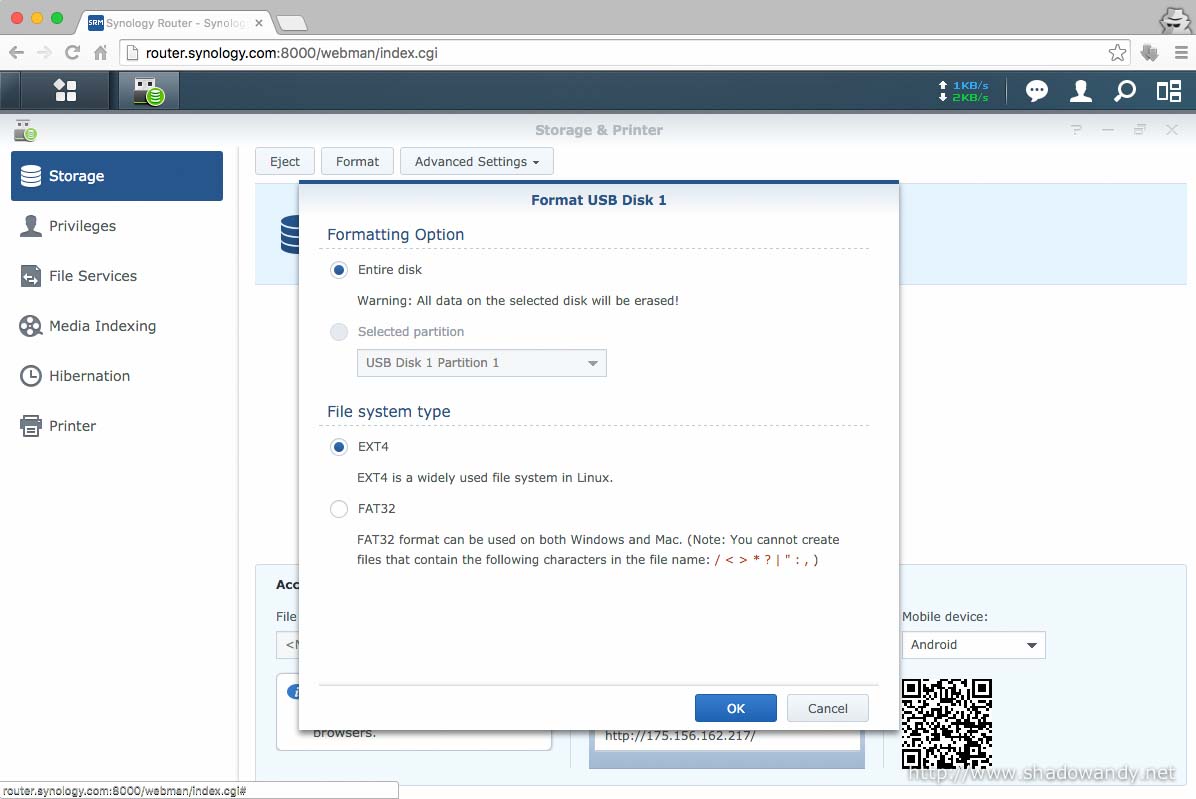
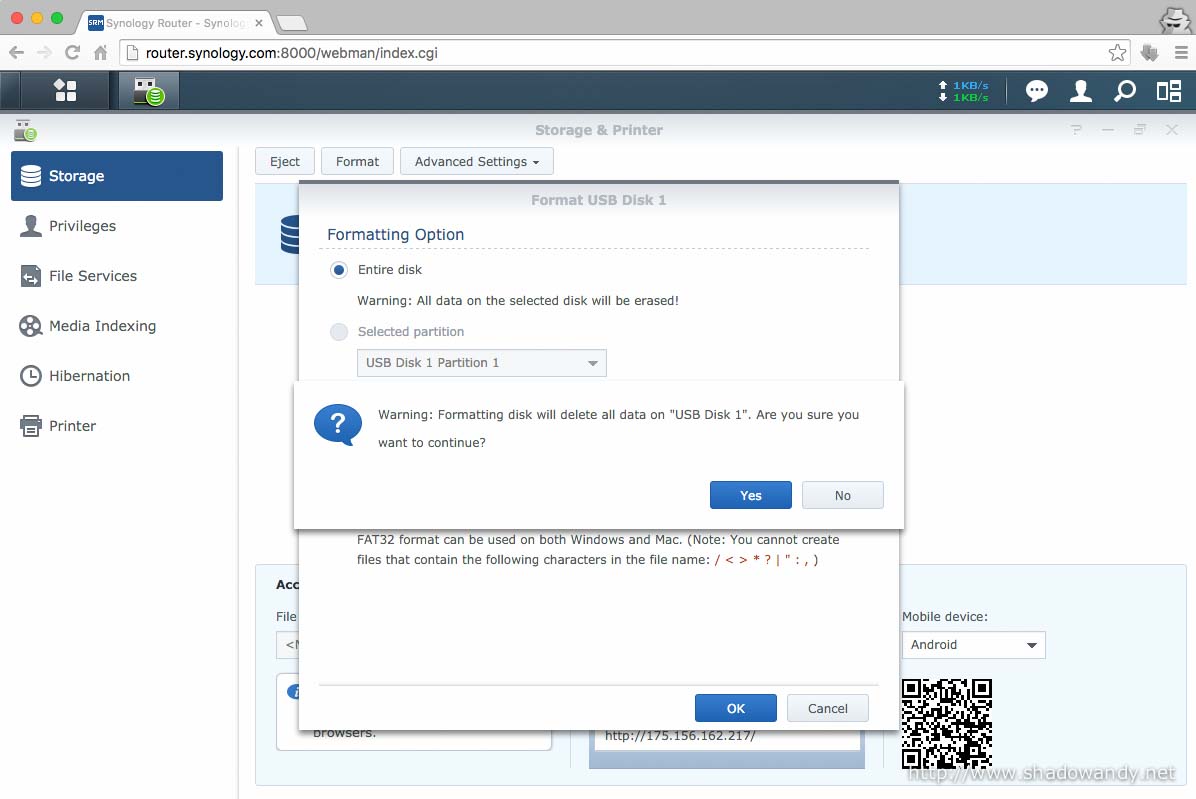
The RT1900ac detected the SanDisk Ultra Fit USB 3.0 drive. However, the drive will need to be formatted for it to be recognised and usable.Under the options for formatting, we can either format the entire disk or the detected partition to EXT4/FAT32.I decided to format the entire disk to EXT4. The system displays a warning that all data will be wiped from the attached storage if I choose to proceed.The RT1900ac proceeds with the formatting after getting an acknowledgement from the user.The RT1900ac proceeds with the formatting after getting an acknowledgement from the user.
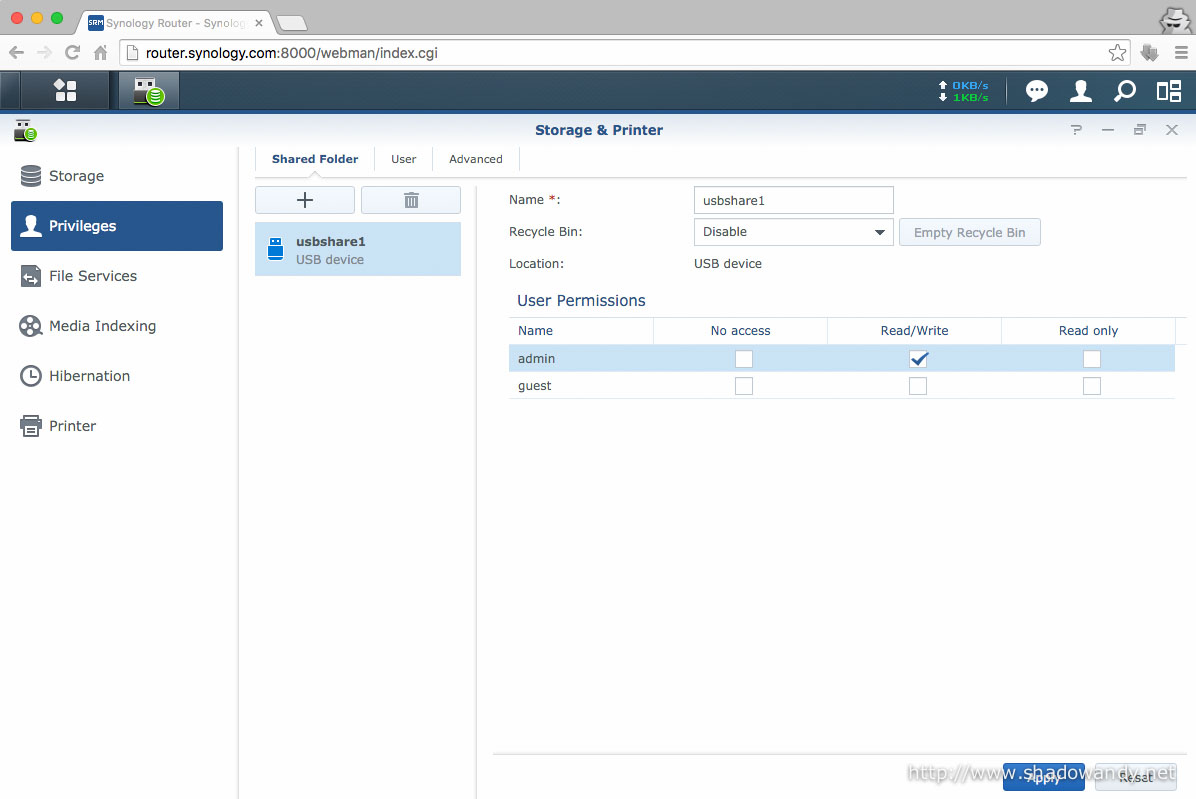
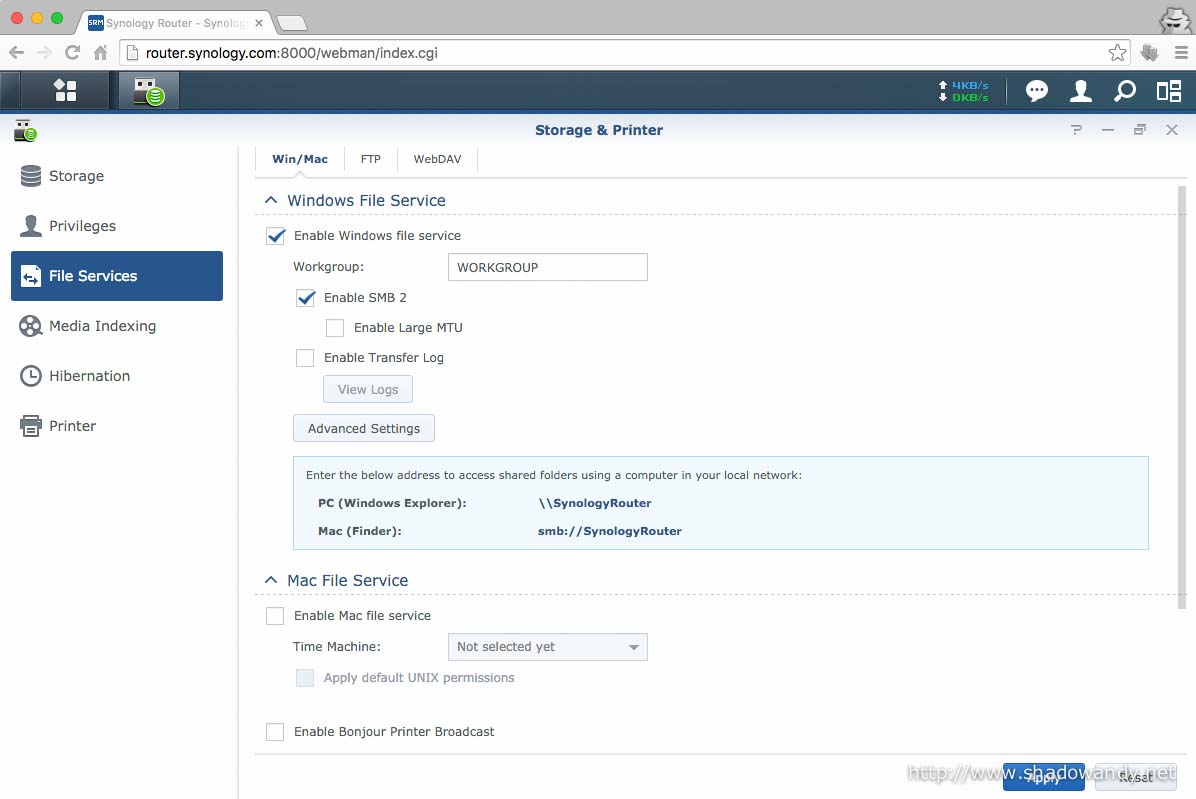
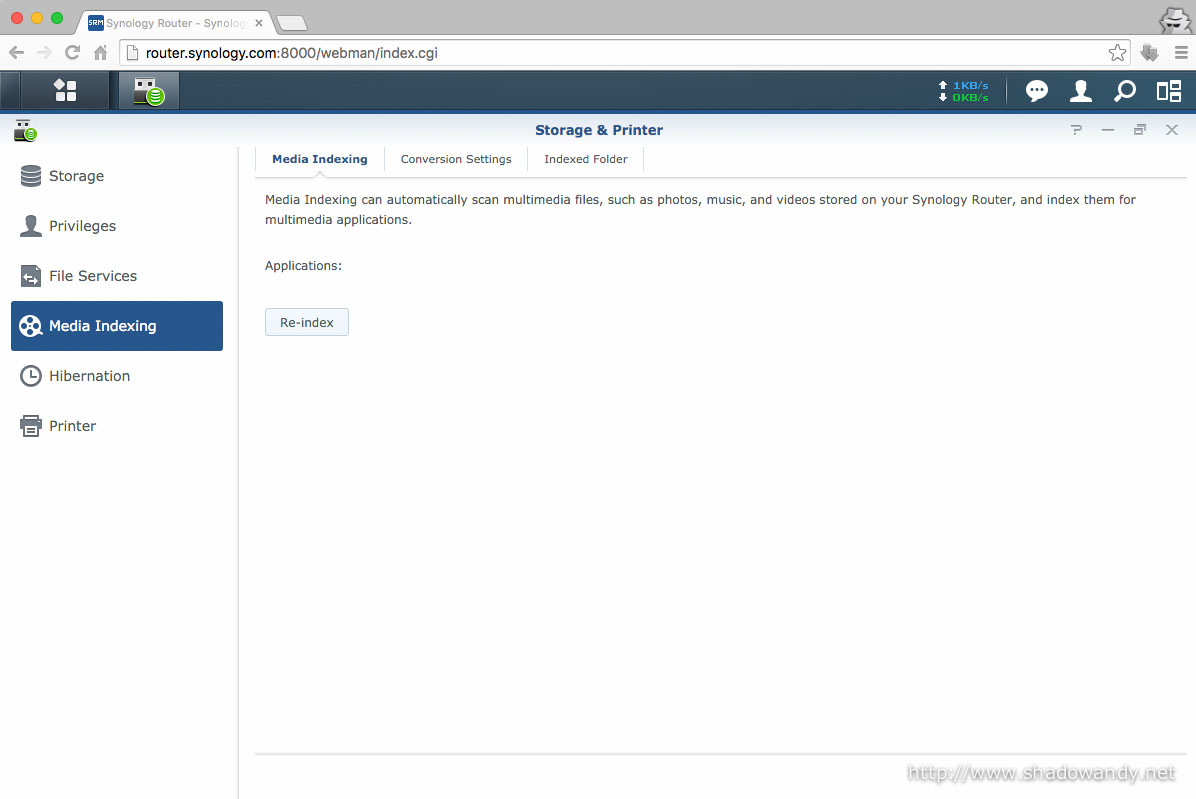
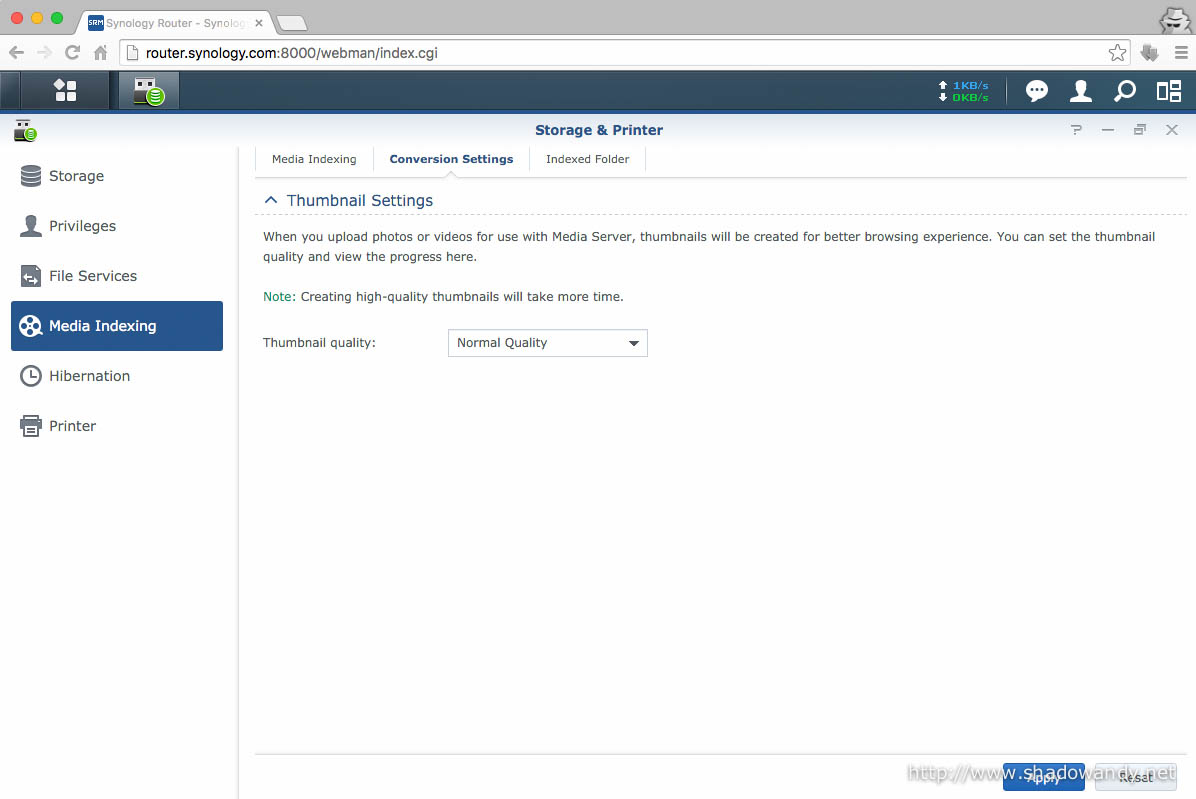
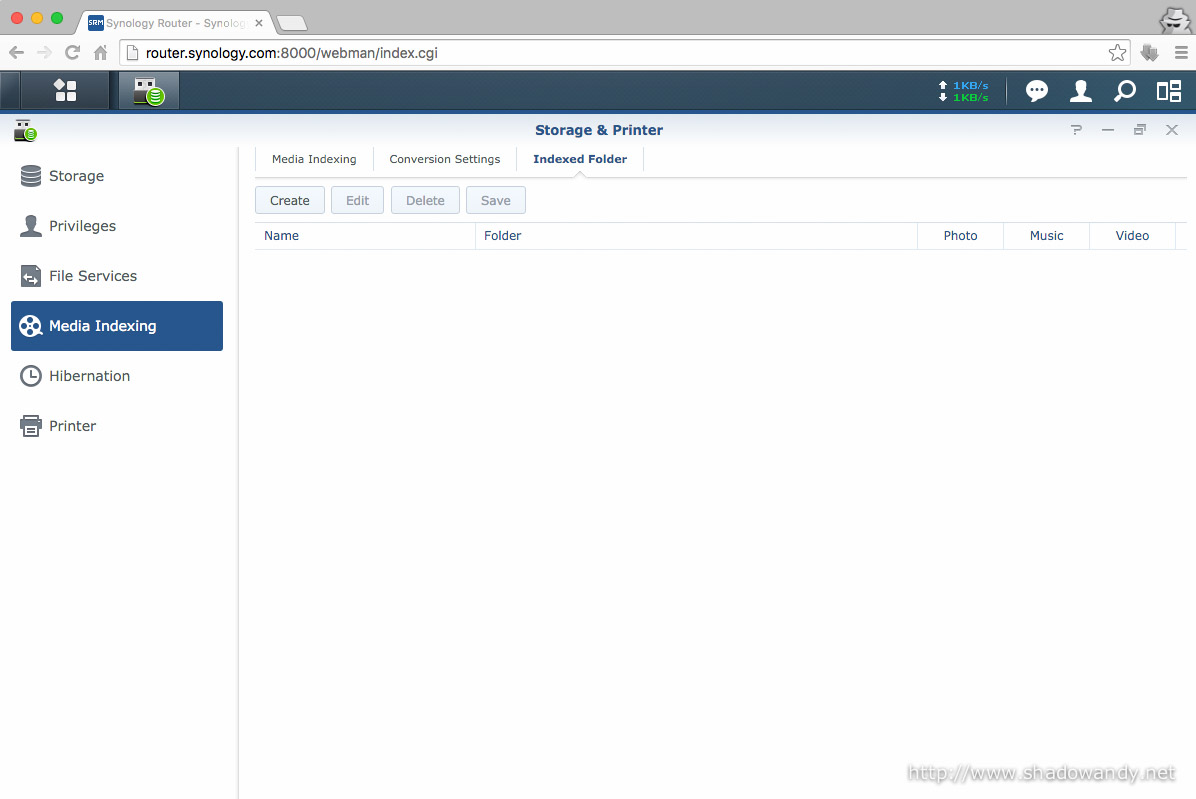
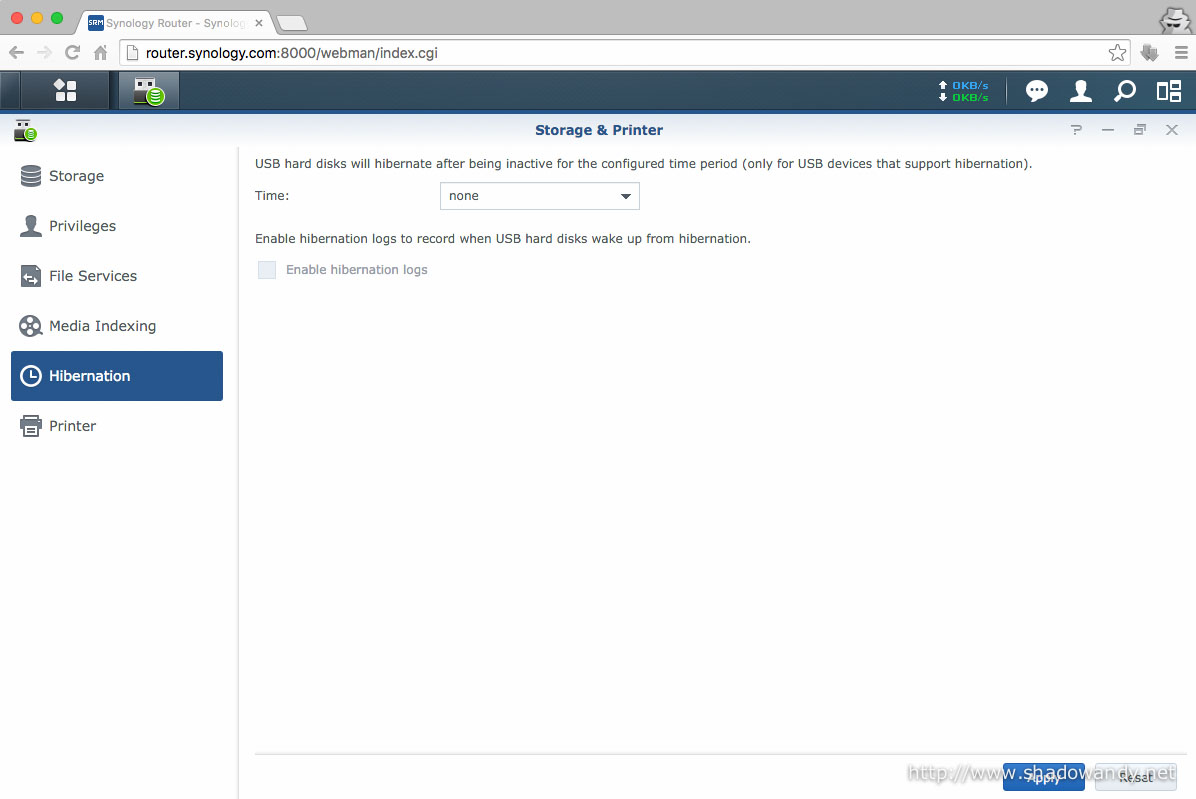
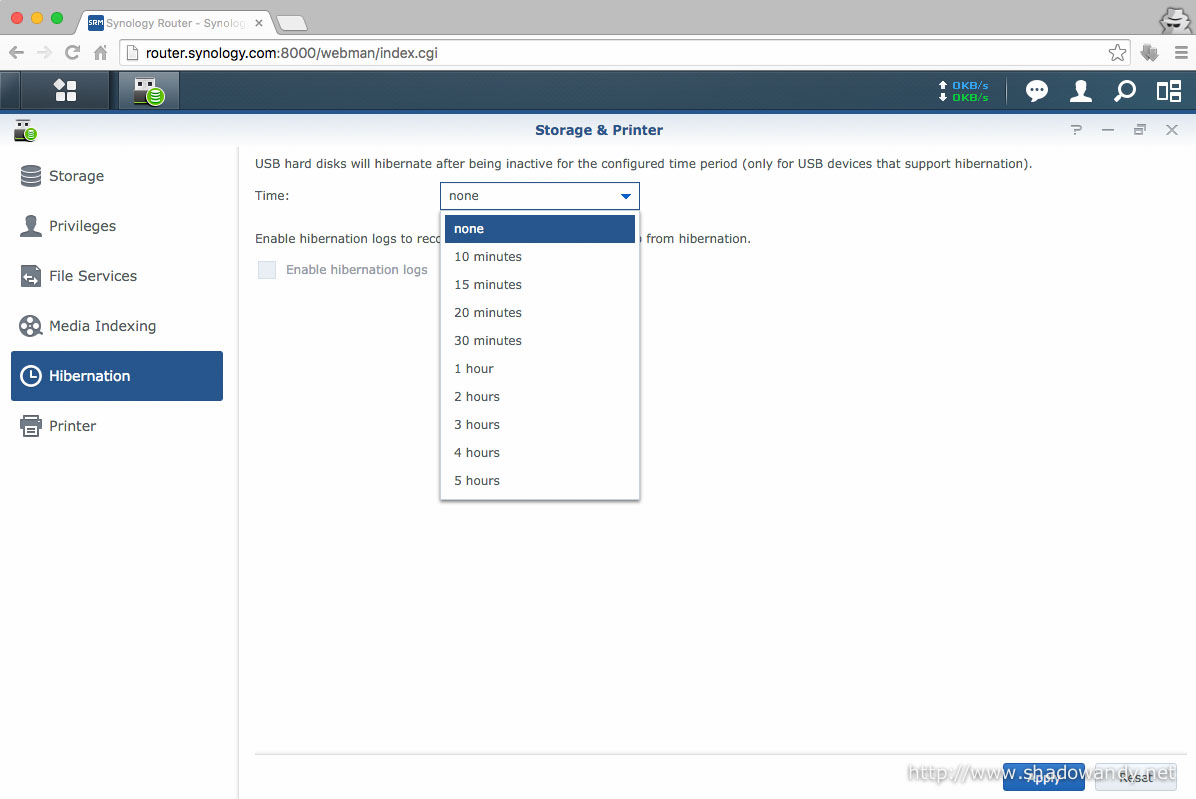
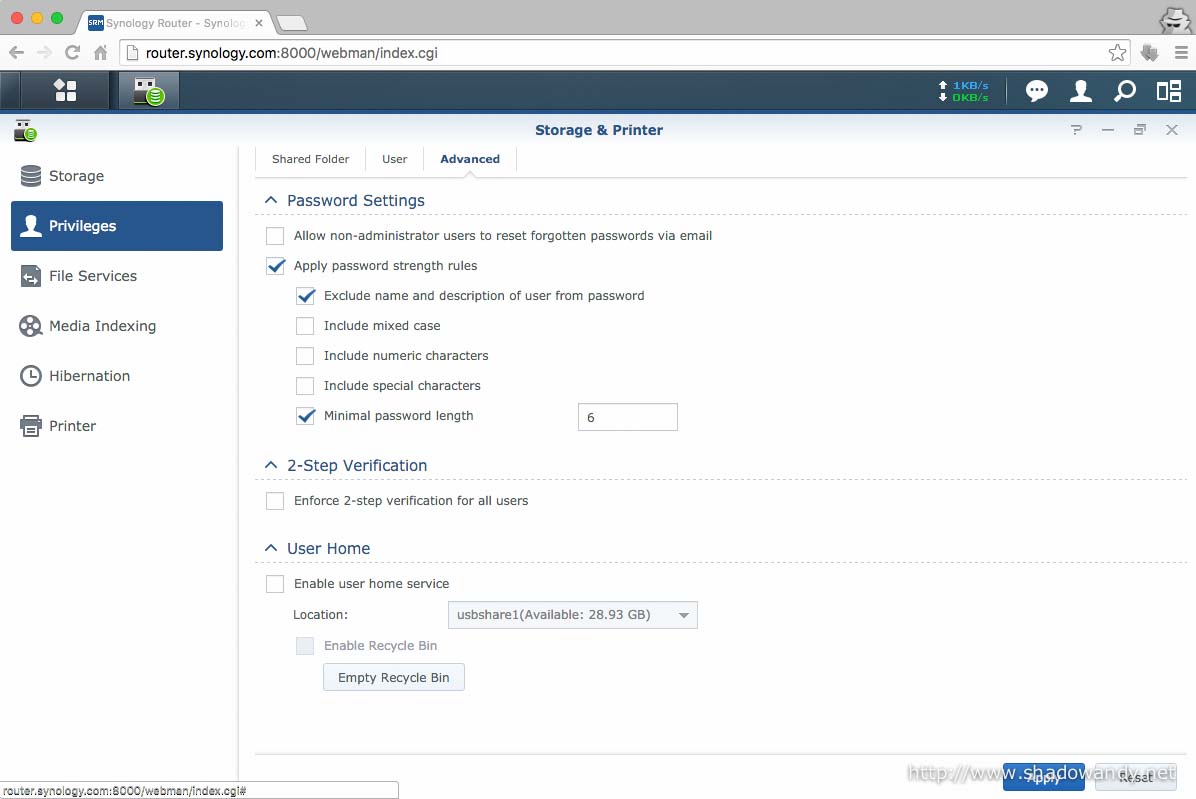
A while later, the SanDisk Ultra Fit USB 3.0 drive is available for use. A share (usbshare1) has been created automatically.For each of the network share, you can set different permissions for different users. New users can be created in the “User” tab.Under file services, you can enable Apple Filing Protocol (AFP) on top of the default Windows File Service. You can make the Synology RT1900 into a Time Machine too!Media indexing for the Media Server app on Package Center.Media indexing should make browsing snappier as thumbnails have been generated beforehand.Choosing the folder whereby new additions will be index automatically.Hibernation options for attached storage.Hibernation options for attached storage.New users can be added to the Synology RT1900ac via the “User” tab. Similarly, network share permission can be done through here.Password settings (e.g. strength, 2FA) can be done through the “Advanced” tab.New network share can be created through here as well.New network share can be created through here as well.
This site contains links to Amazon. These links will take you to some of the products mentioned in today’s article. As an Amazon Associate, I earn from qualifying purchases.