Expanding the Storage Capacity of my Synology DS1515+
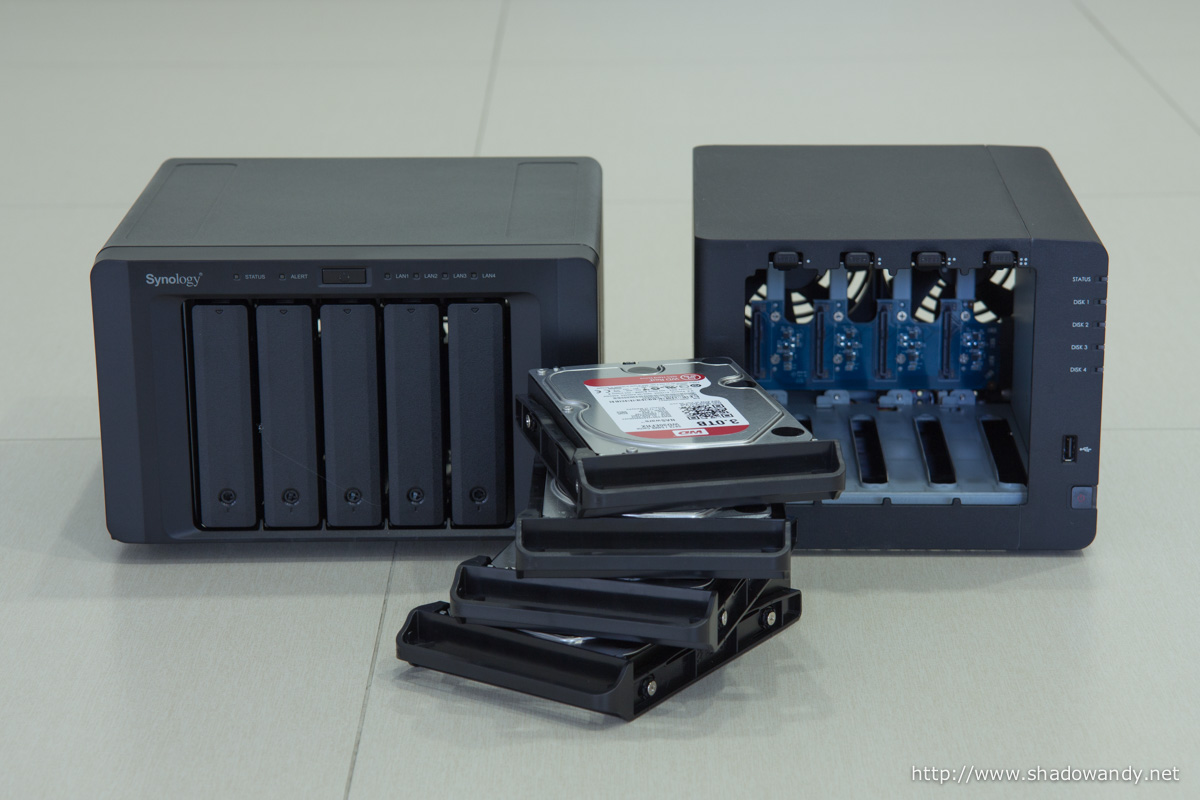
The hard drives in my current Synology DS1515+ are due for a change as their warranties are up. In fact, they are still working well except for one of them which had developed a couple of bad sectors. To avoid unforeseen mechanical failures, I decided to refresh the hard drives and expand the storage capacity of my DS1515+ at the same time. So here is the guide to expand your Synology NAS’s storage capacity.
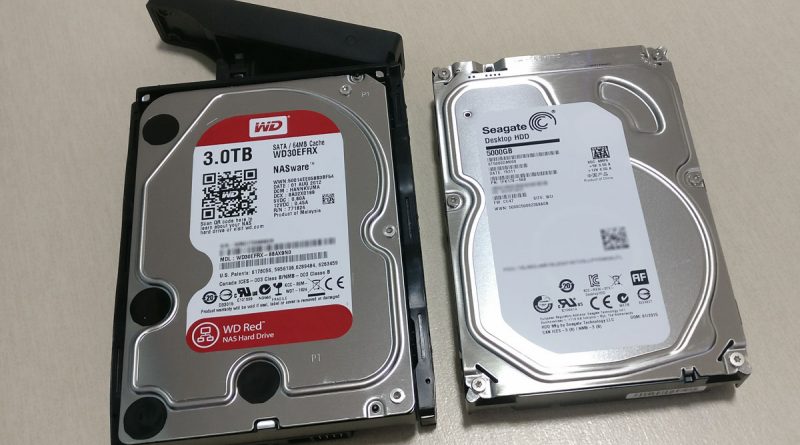
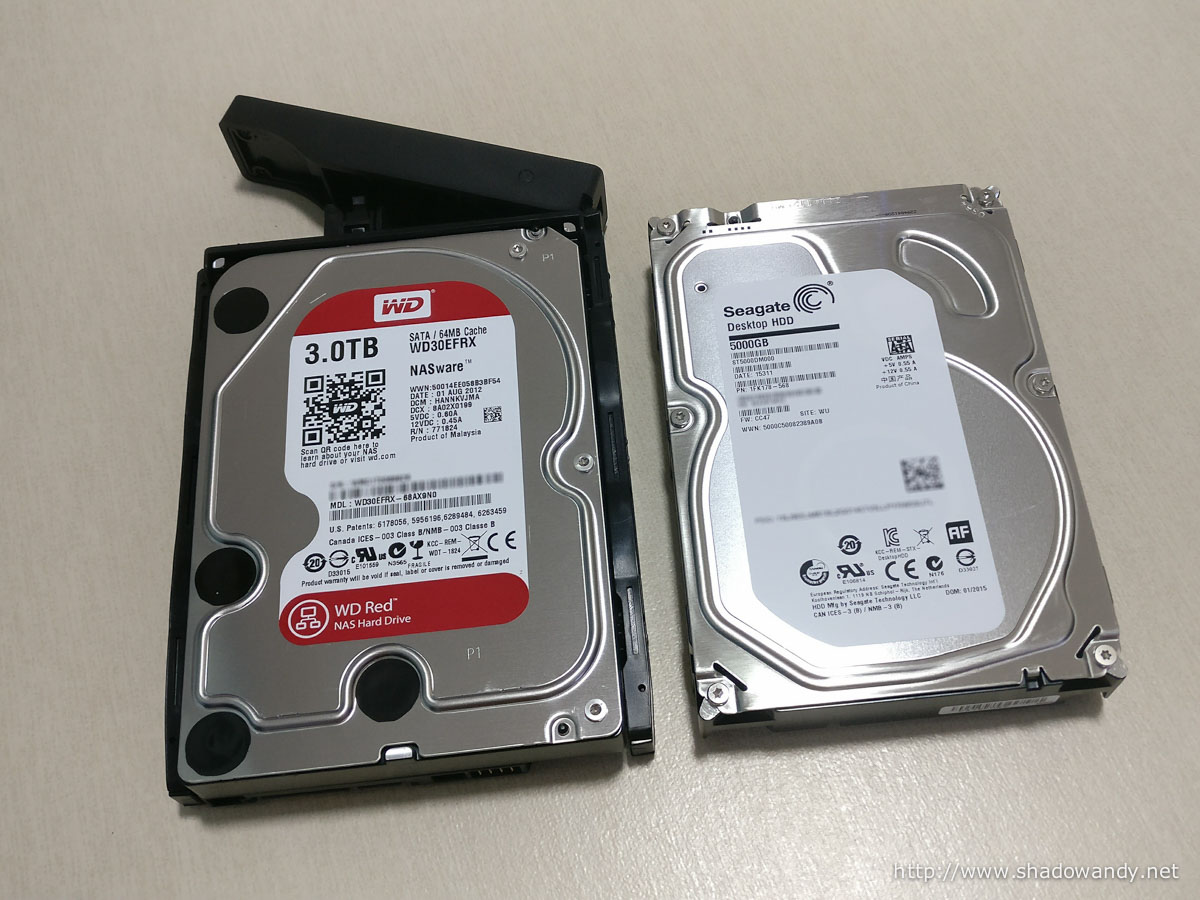
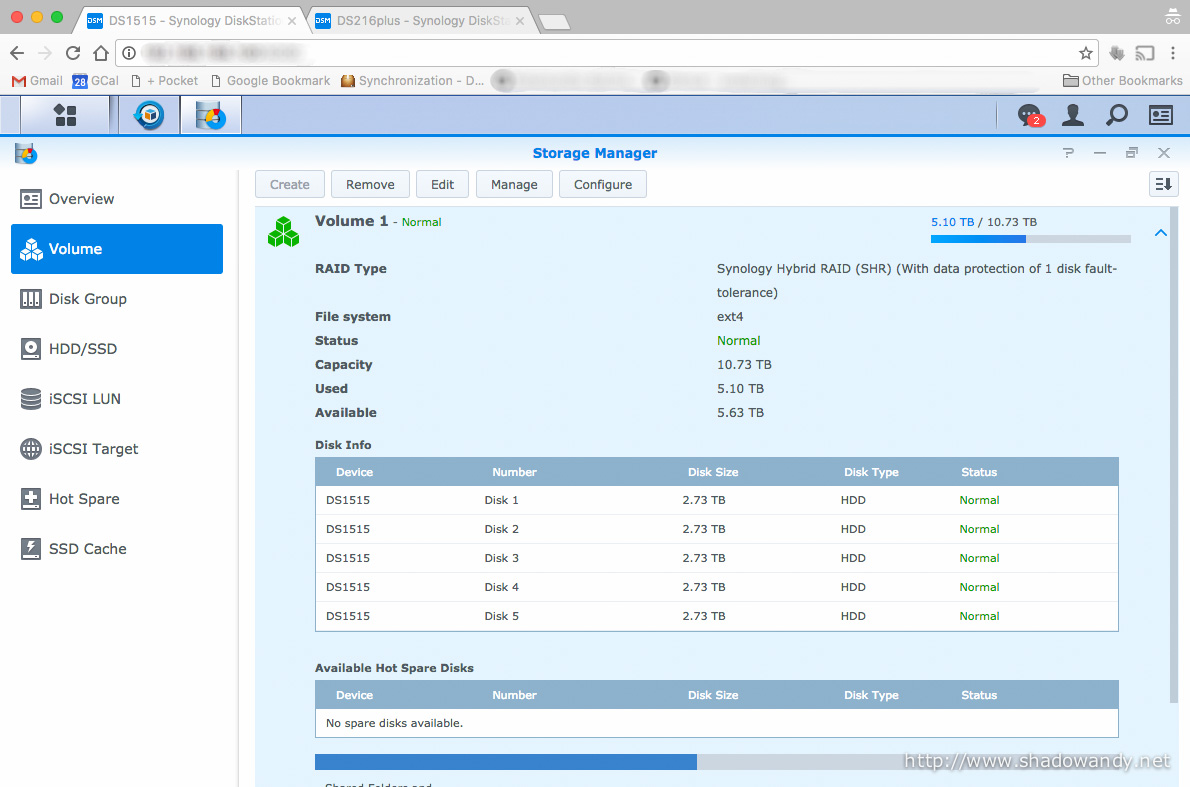
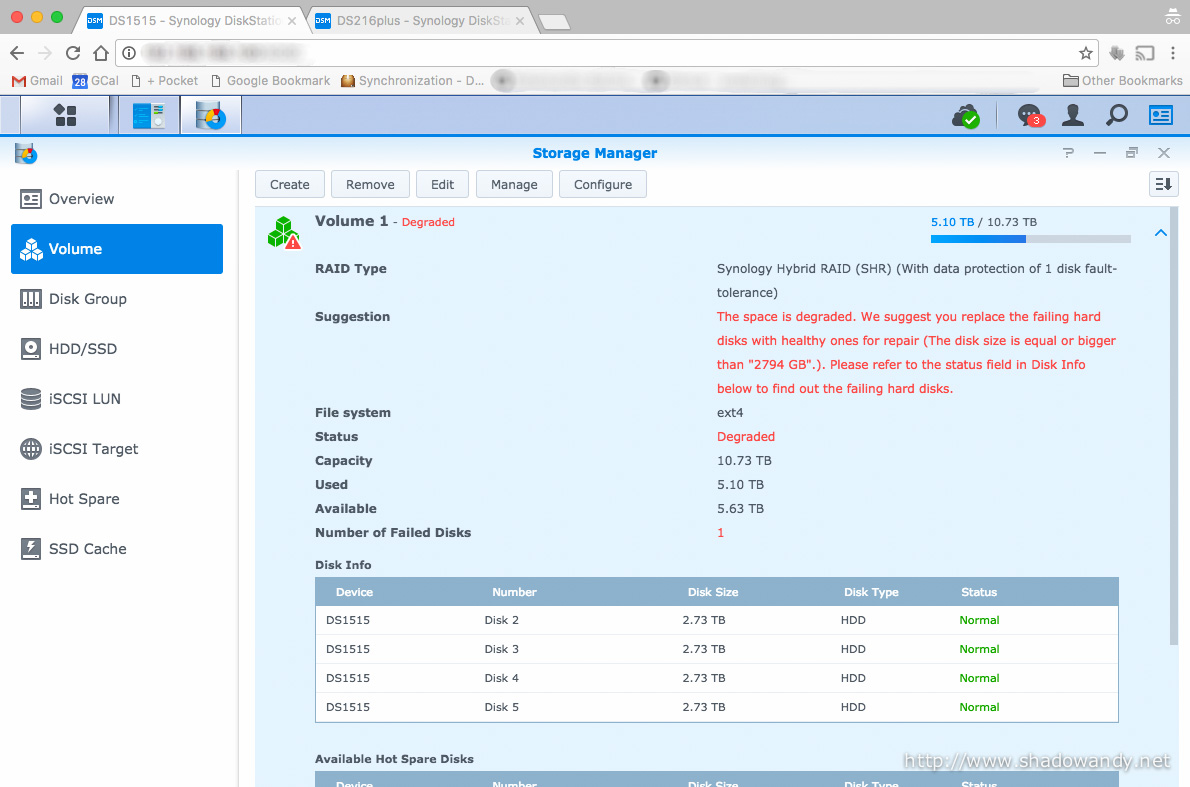
The current hard drives in the Synology DS1515+ are Western Digital Red 3TB hard drives bought back in August 2012 with 3 years warranty. I will be refreshing all the five 3TB hard drives in the DS1515+ to 5TB hard drives. The DS1515+ is on Synology Hybrid RAID (SHR) on Ext4 file system.
Strategy
The rough approach for expanding the storage capacity would be:
- Backing up of (important) data on the DS1515+ to somewhere;
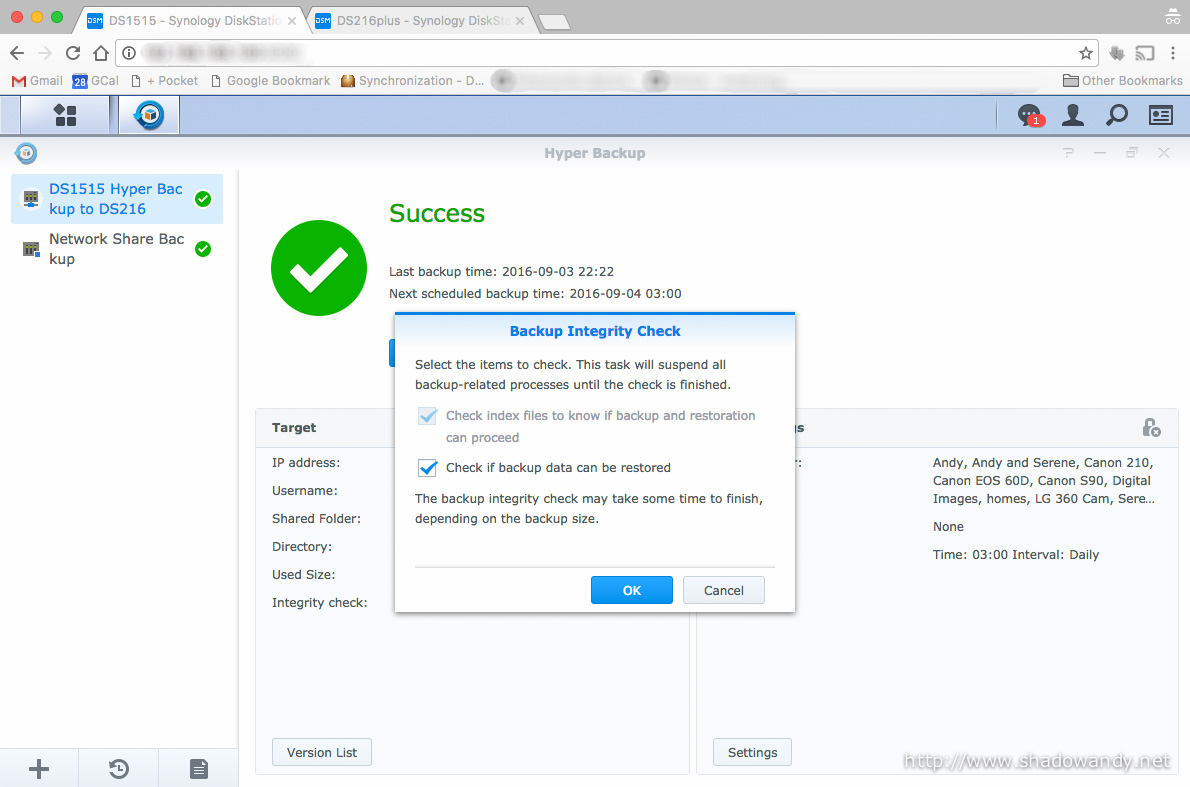
- Verifying backed up data;
- Disk by disk replacement and data volume repair;
- Verifying data on the DS1515+.
Without further ado, let’s walk through the entire expansion process. This guide can also be used to replace a failed hard drive.
Selecting the new hard drives
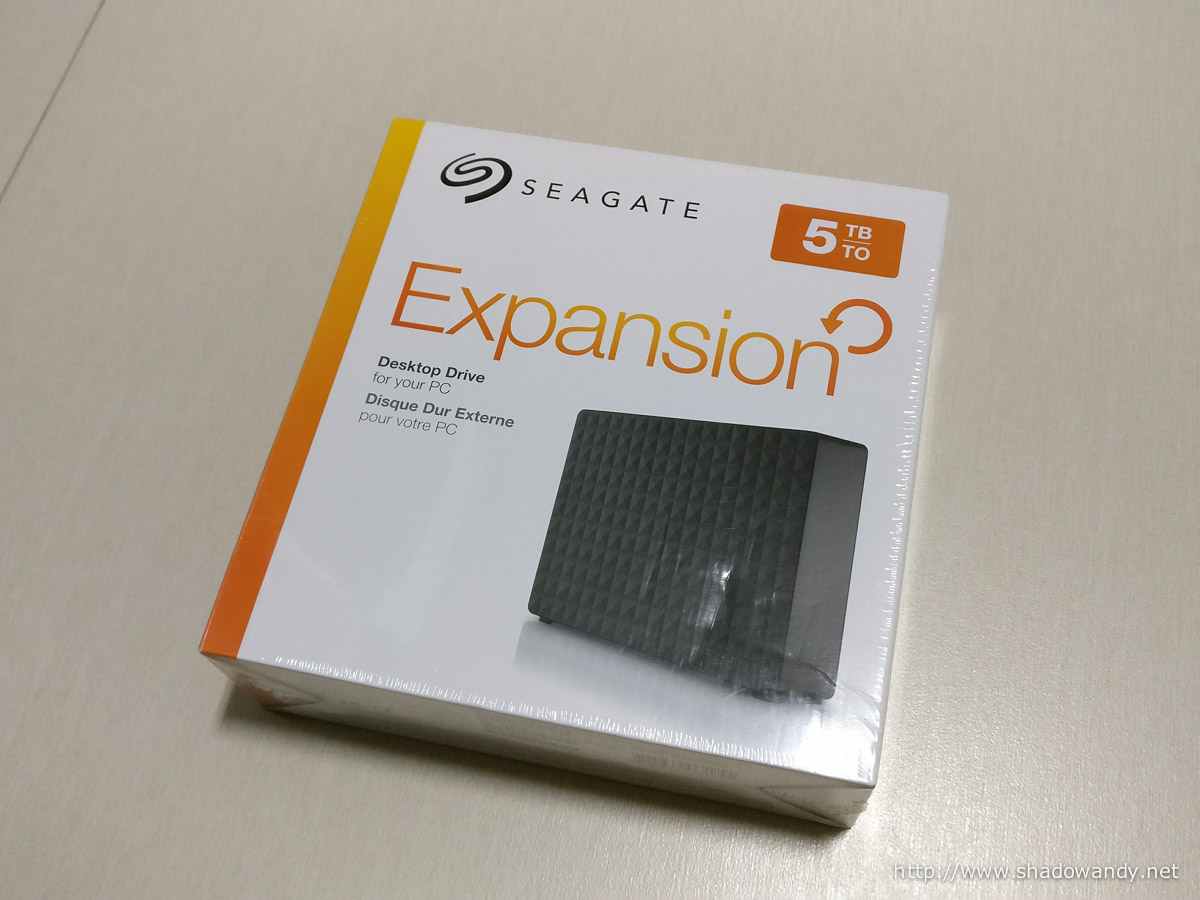
At the time of writing, the sweet spot for price versus capacity is either the 5TB or 6TB. There are some sale going on and I bought the Seagate 5TB Expansion Desktop Drives.
Do note that this hard drive is neither in Synology’s compatibility list or incompatibility list.
Note: If a hard drive is not mentioned in Synology’s compatibility list, there are chances that it does not work well with the Synology NAS.
Shingled Magnetic Recording
Unlike the usual PMR (Perpendicular Magnetic Recording) hard drives, these drives utilises SMR (Shingled Magnetic Recording) that has higher storage density (more capacity per platter). The downside of it is that it is slightly slower than PMR drives. I reckoned that these SMR drives would suit my usage as I am not using the DS1515+ for high sustained throughput operations.
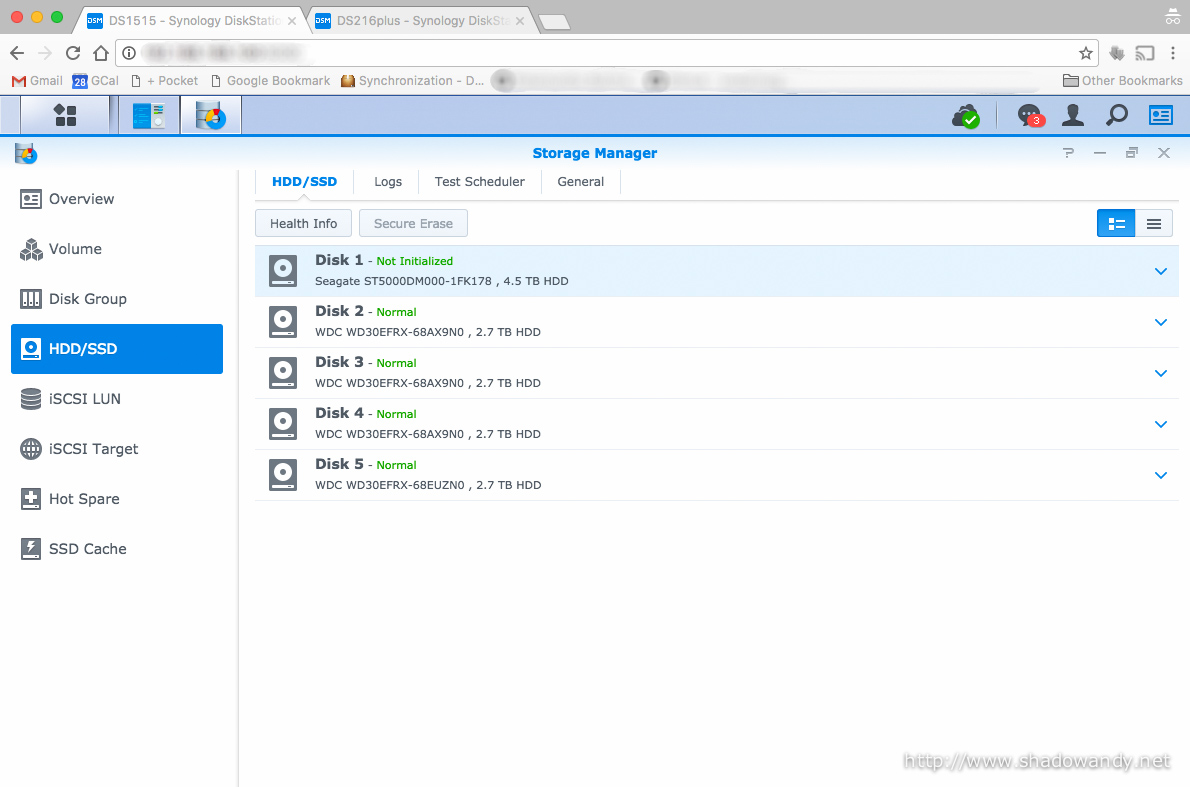
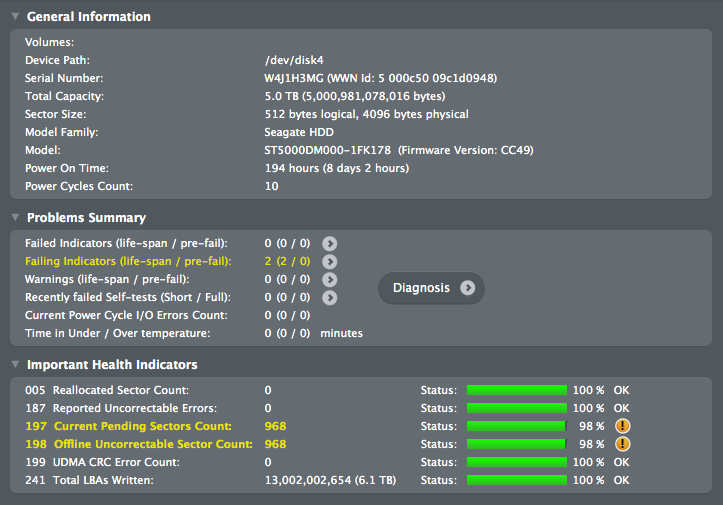
The model of the hard drives in the Seagate 5TB Expansion Desktop Drives is “ST5000DM000”. The SMR is drive managed so it does not require the host system (i.e. the Synology DS1515+) to do anything special in order to communicate with the hard drive. We will use it as though it is a regular PMR drive.
Gutting the hard drive from the USB enclosure
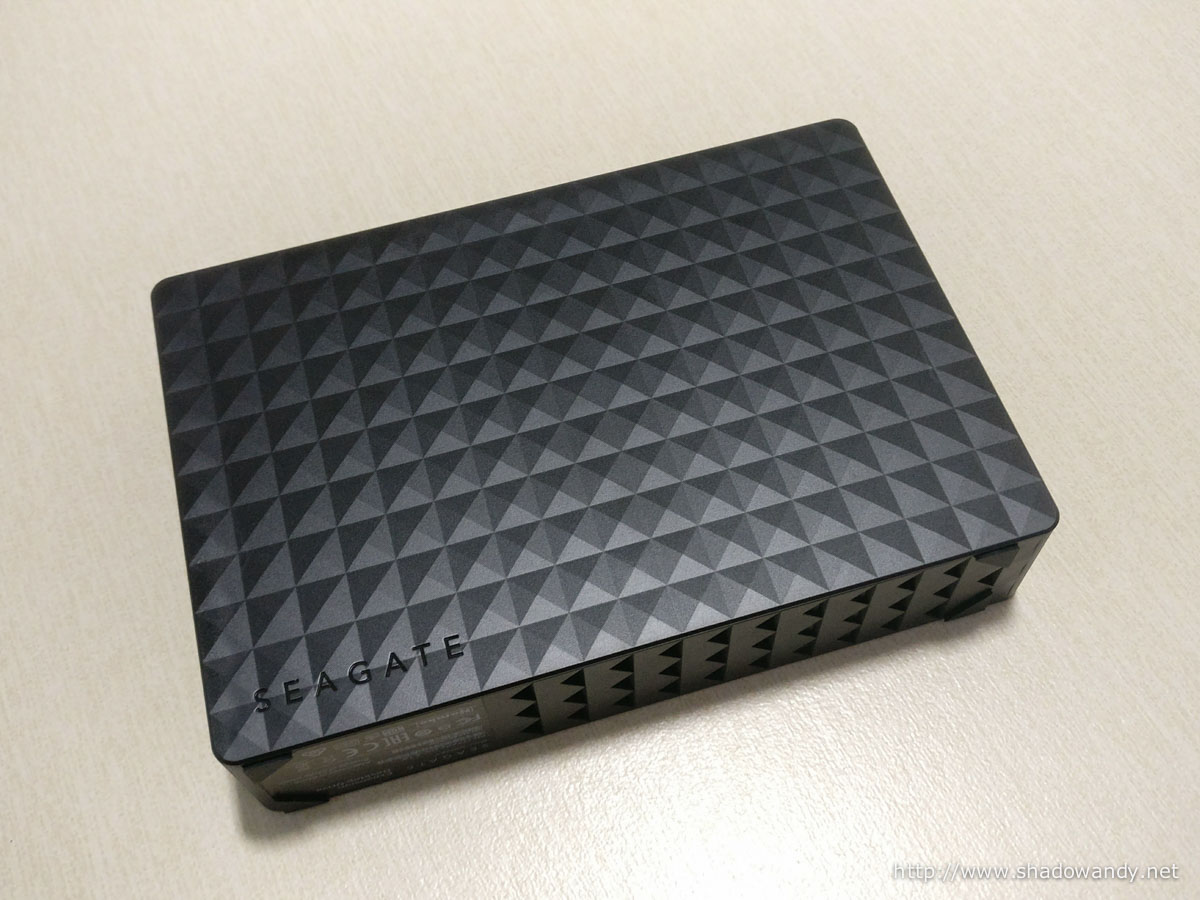

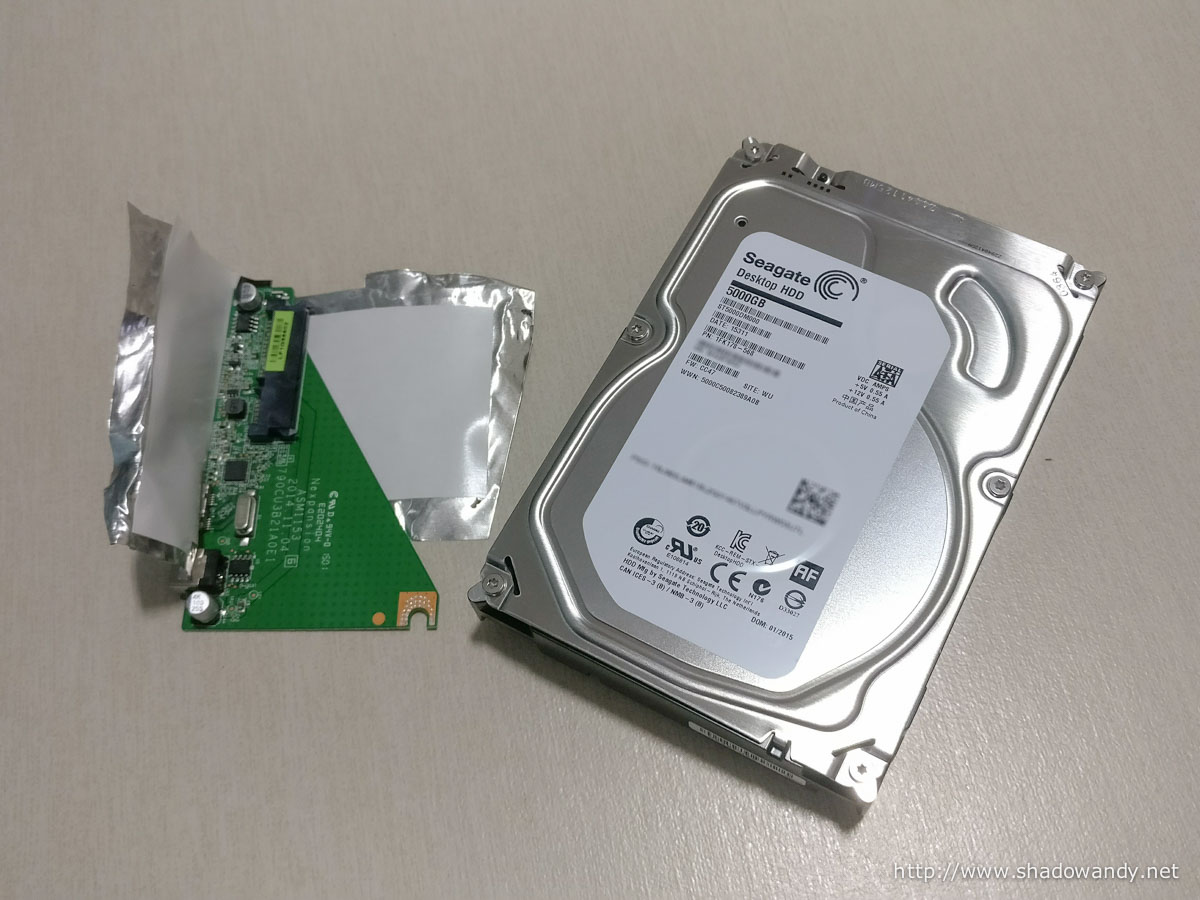
The Seagate 5TB ST5000DM000 SMR drives cost me US$109 each at the time of this post. That works out to be approximately US$22 per Terabyte of raw storage.
Backing up the important data
Before we start the refreshing the hard drives and expanding the storage capacity, it is important to backup important data to somewhere safe. In the event that the storage expansion goes wrong, you would still have your important data somewhere. In my case, the backup came in useful and I will explain why in the later sections.
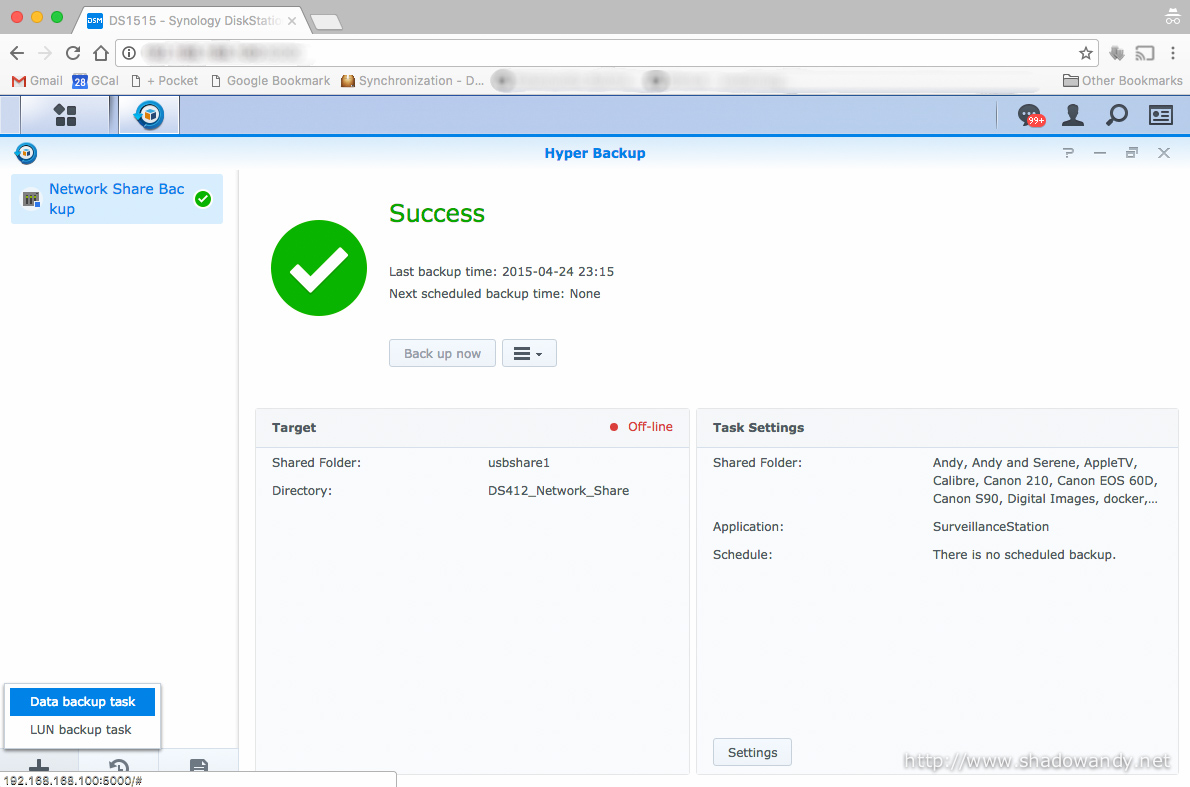
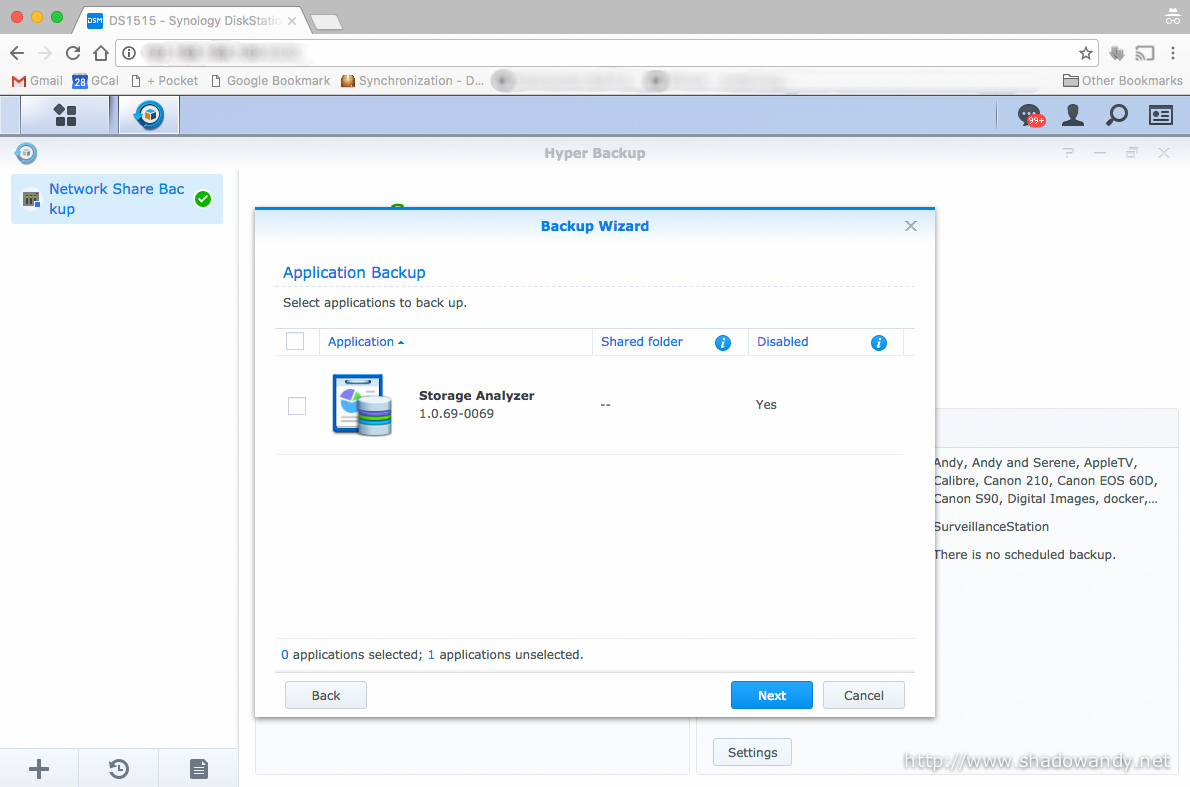
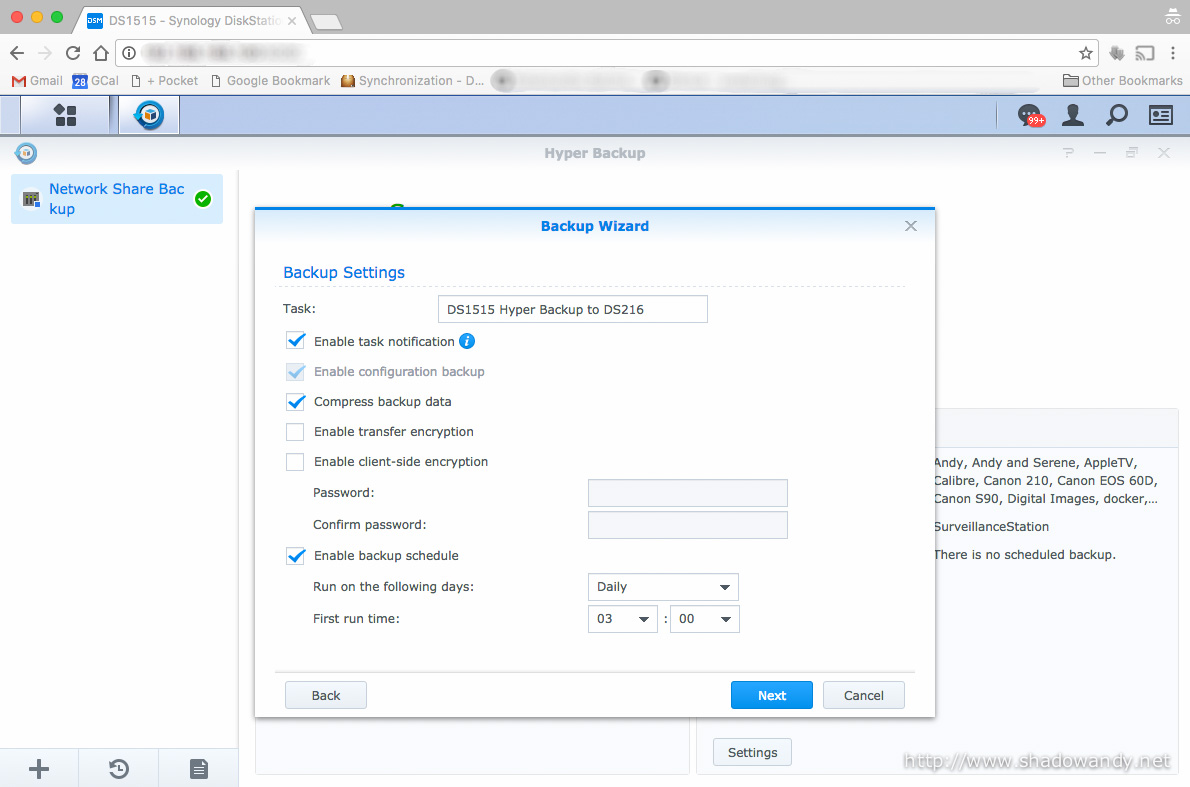
If you have yet to realise, Synology has got a useful backup application/ tool called “Hyper Backup”. Hyper Backup can backup data and settings to attached USB storage, remote Synology NAS, Cloud Storage providers, etc. I would say the backup process (through Hyper Backup) is extremely easy:
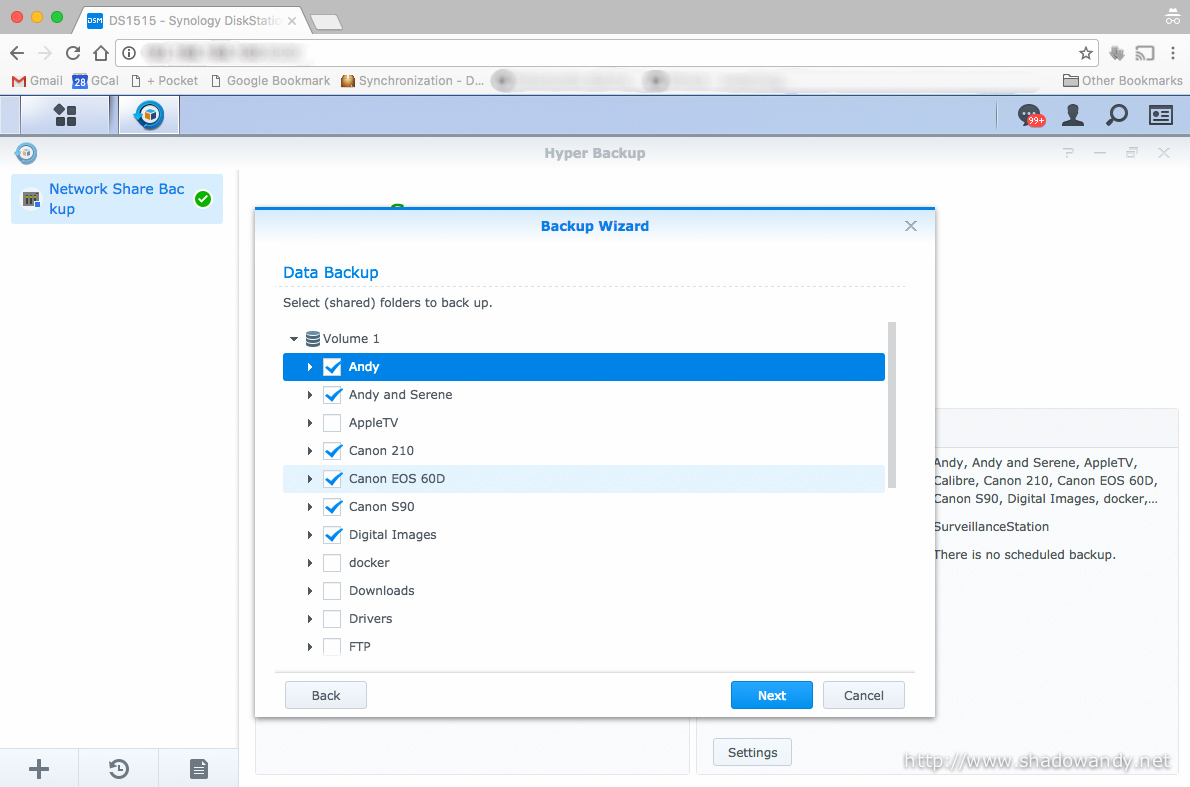
- Determine where to backup to;
- Select the data to be backed up;
- Decide when/ how often to back up; then
- Start the backup process.
In my case, I will be backing up the important data of the DS1515+ to a Synology DS216+. So let’s walk through the backup process using Synology Hyper Backup and Hyper Backup Vault.


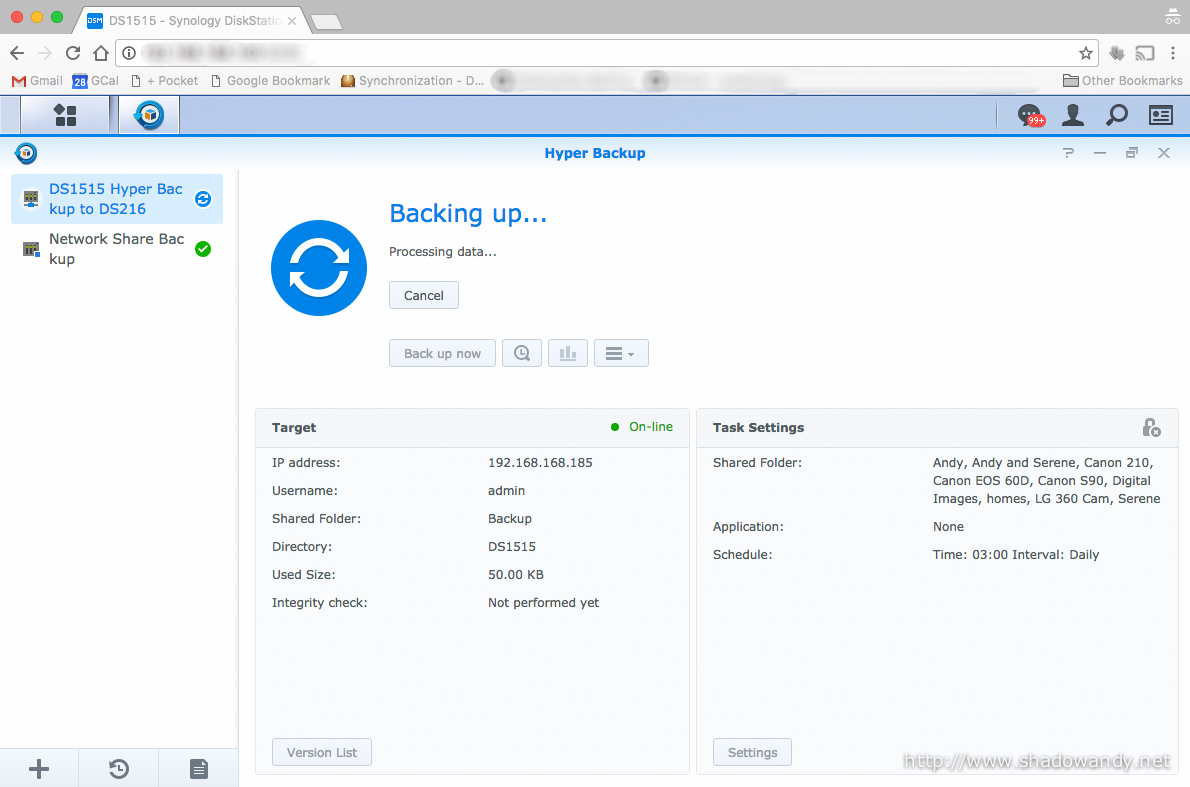

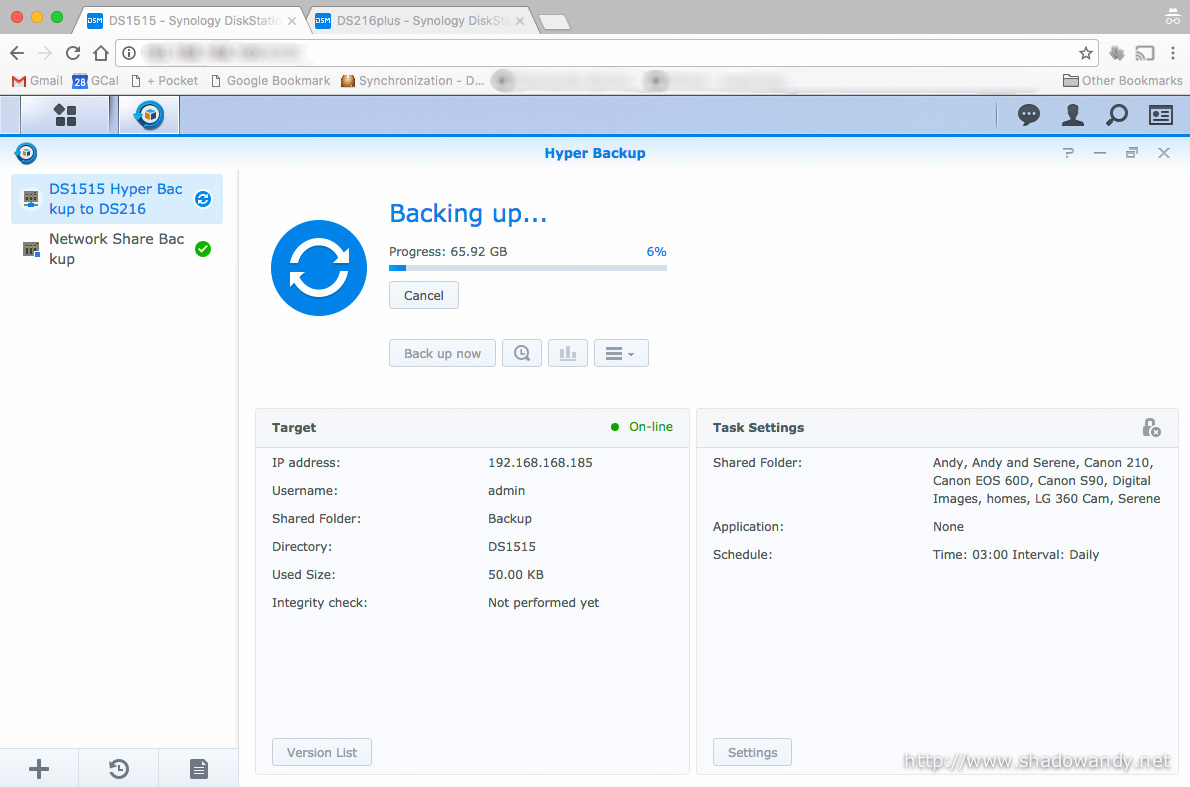
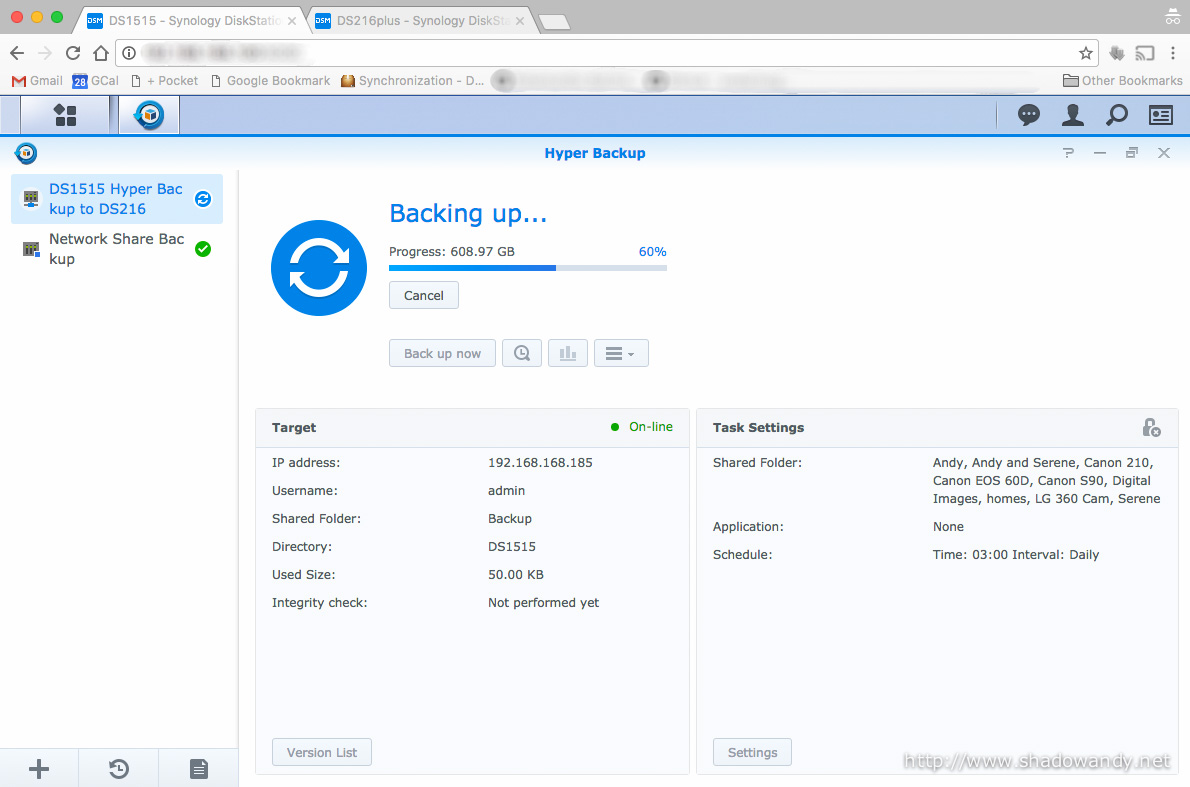
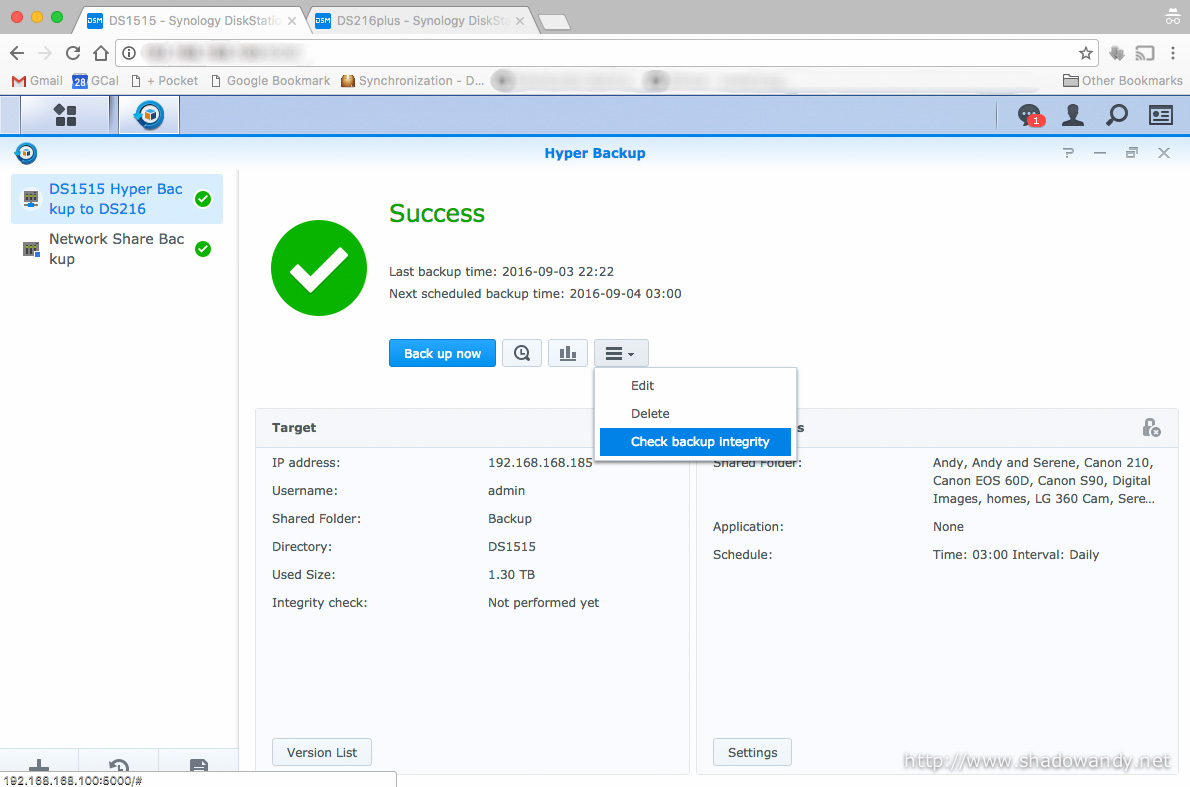
Once the data backup has been verified, we can proceed to expand the storage capacity by replacing the 3TB hard drives with 5TB hard drives one-by-one.
Expanding the storage capacity
The process of expanding the storage capacity of the Synology NAS involves:
- Deliberately breaking the RAID volume;
- Adding a new (higher capacity) hard drive to the RAID volume;
- Running S.M.A.R.T test on the new hard drive; and
- Repairing the RAID volume.
I know the steps above sound daunting but rest assured that Synology has made it simple. We can achieve all of that with just a couple of reboots and mouse clicks.
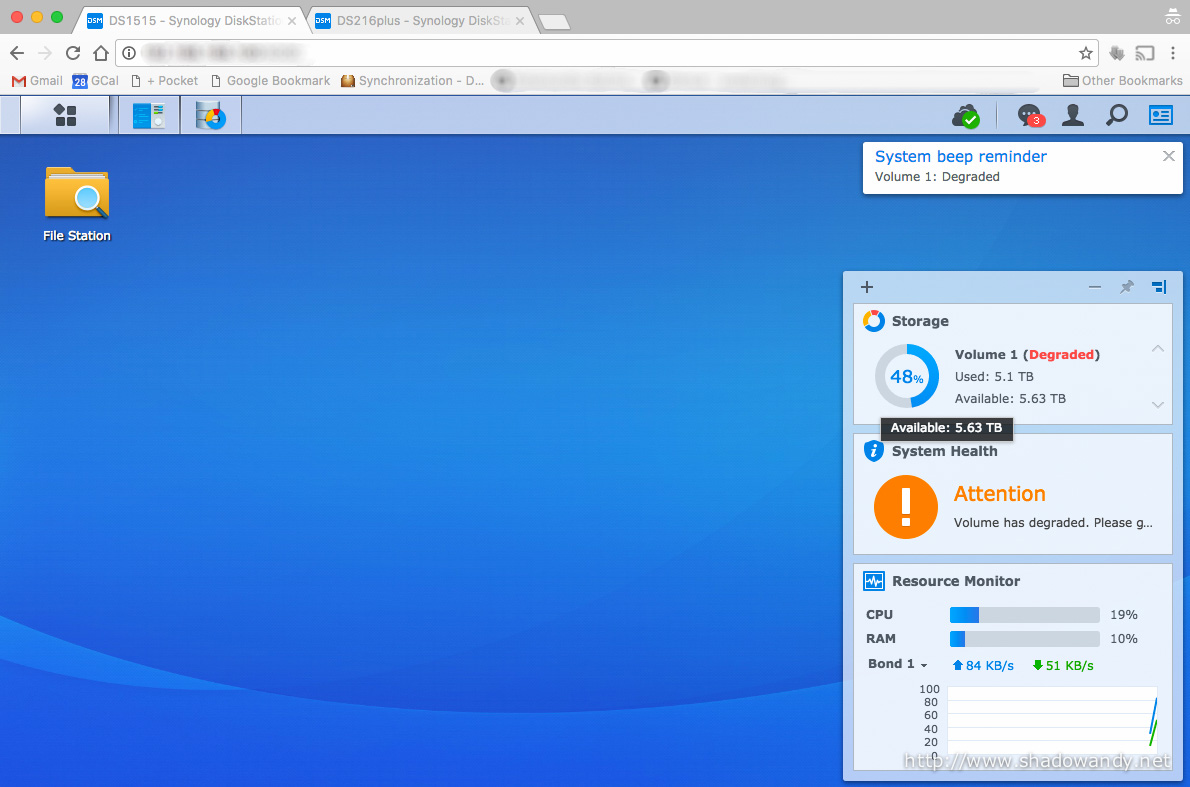
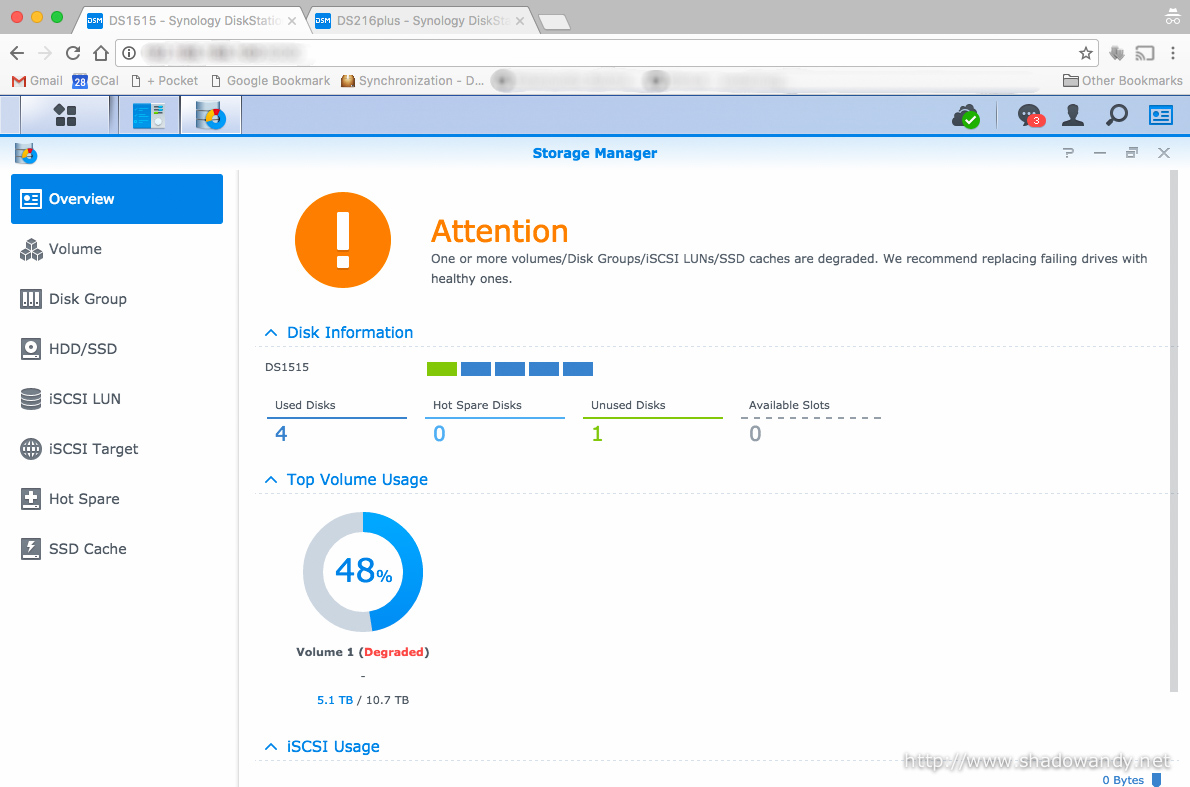
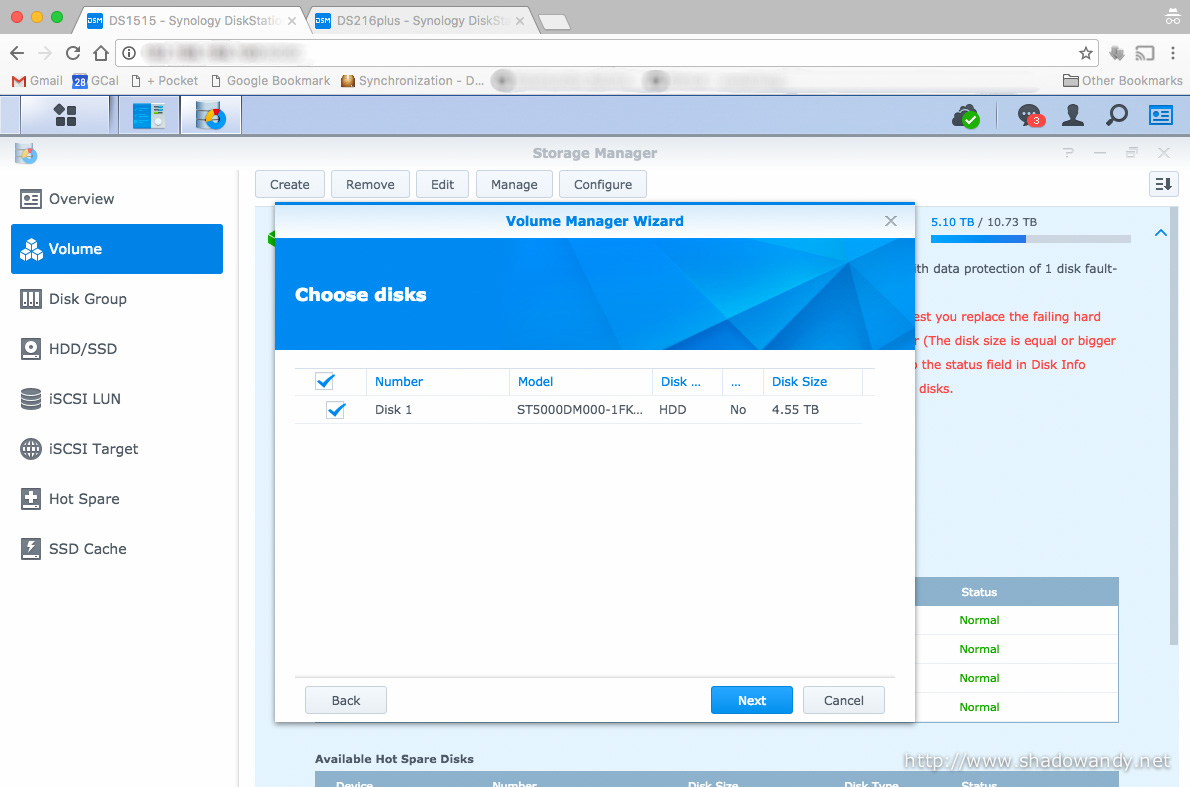
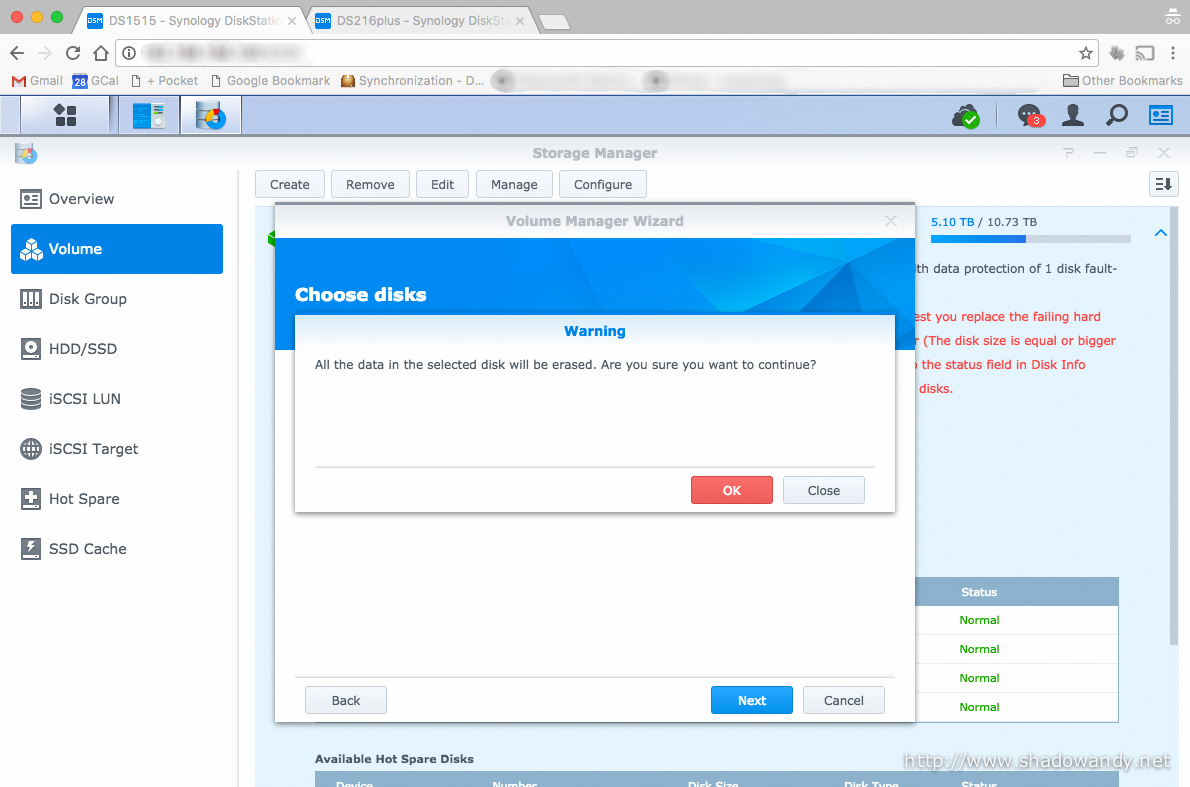
I started off by powering down the DS1515+ to replace an existing 3TB hard drive with a 5TB hard drive in its place. This effectively breaks the RAID volume as one of the 3TB has been replaced with a blanked 5TB hard drive. Once the DS1515+ boots up, the Storage Manager starts to alert me of degraded volume.
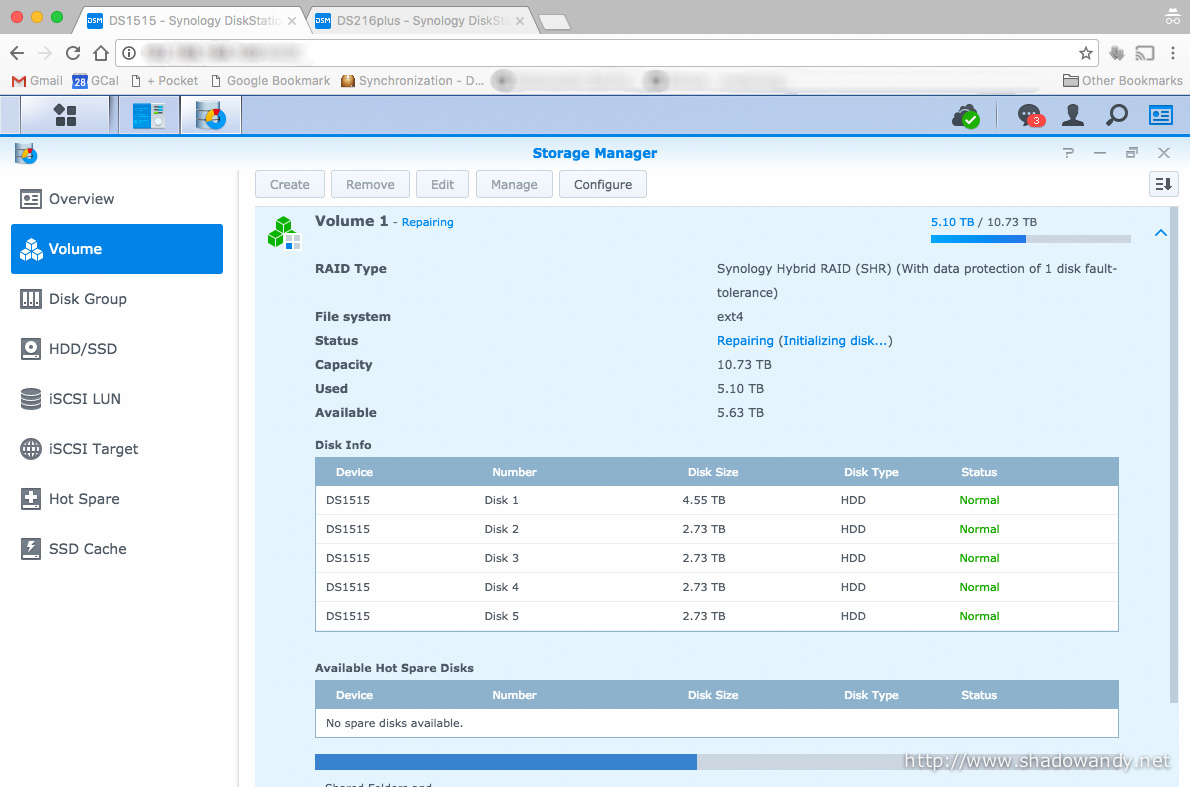
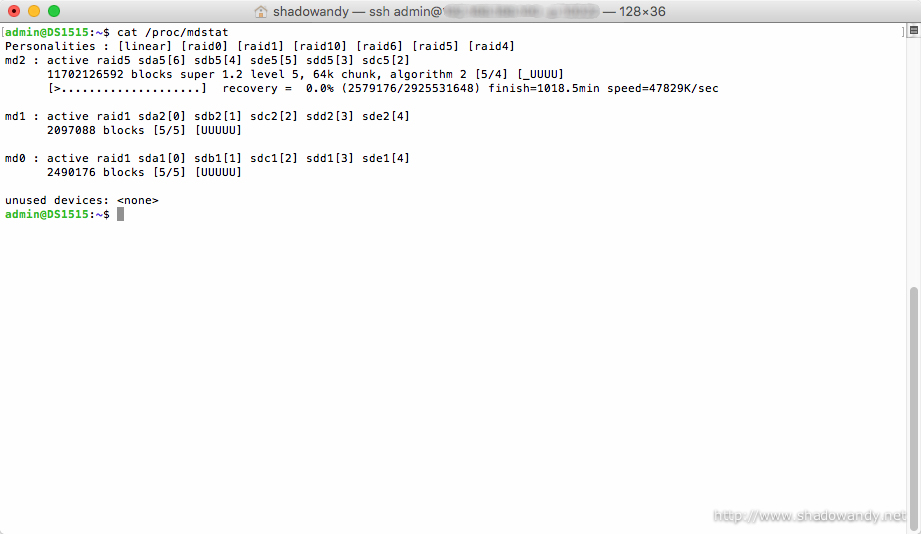
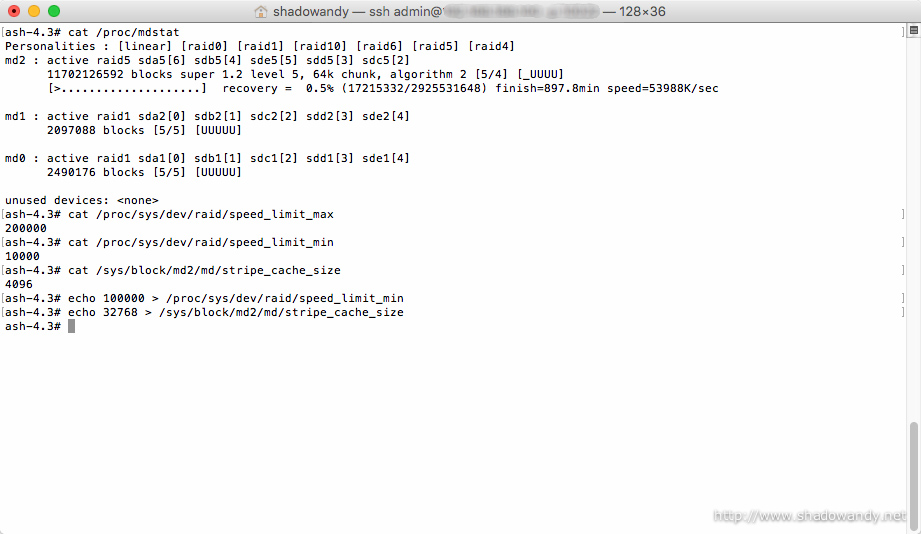
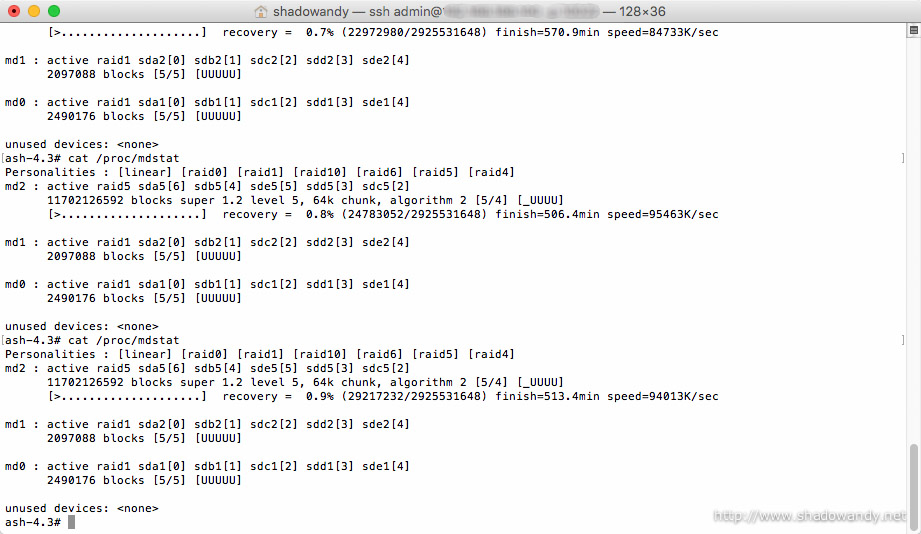
So let’s walk through the storage capacity expansion process. I have also done the optional step of speeding up the RAID recovery process by changing the stripe_cache_size, min and max speed limit.
Do be aware that the recovery process is time consuming. It took approximately 35 hours to rebuild and verify the volume with a new hard drive. So five hard drives took me at least 175 hours.


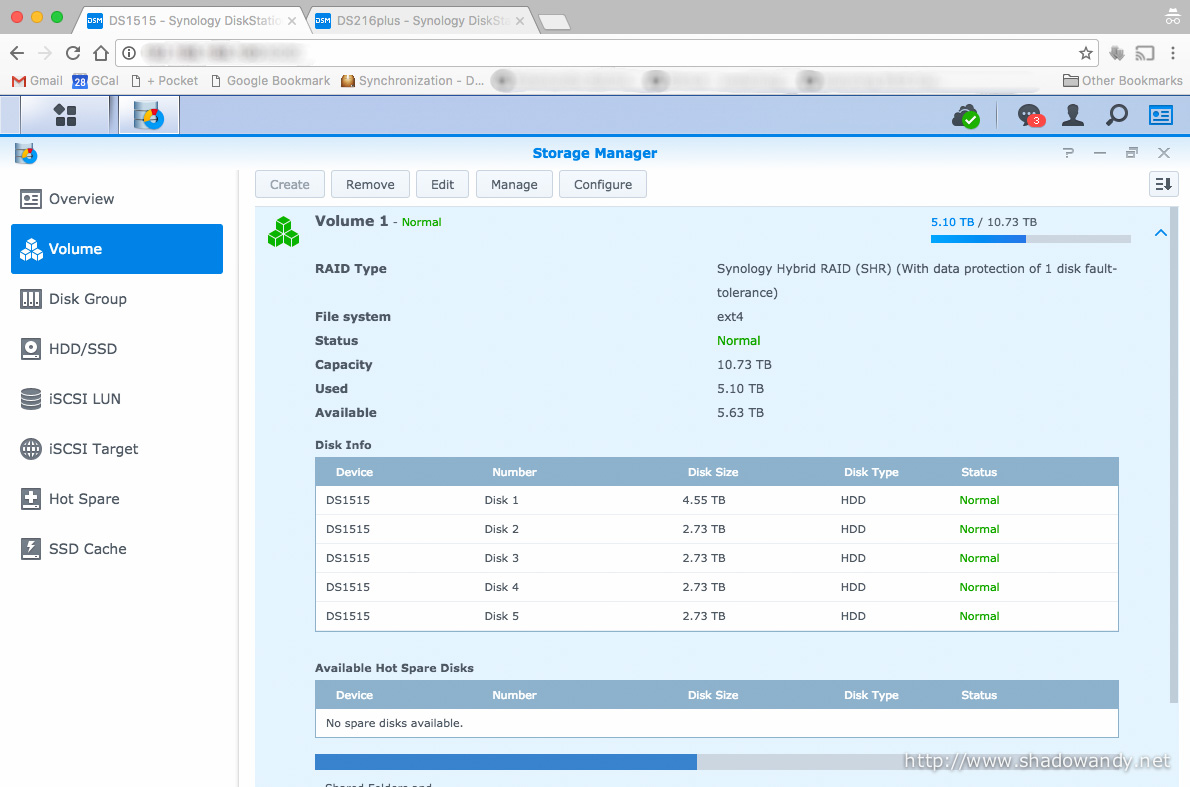
At this juncture, you should have successfully expanded the storage capacity of your Synology NAS. Your Synology NAS would be on the same RAID and File System as before
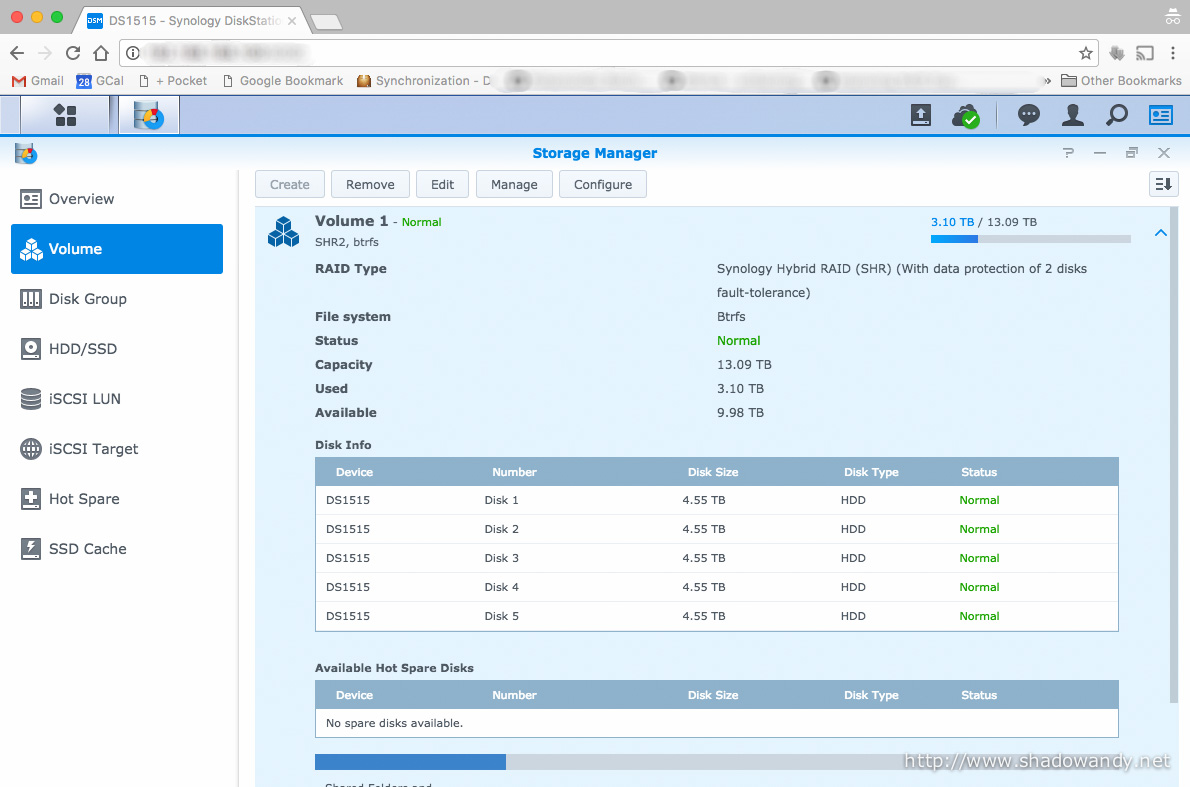
For those eagle-eye readers, you would have noticed that my Synology DS1515+ is now on SHR2 with Btrfs file system instead of SHR with Ext4 file system. Something went wrong during my storage capacity expansion process and I had to recreate the volume (and non-backed up data in the process).
Recovering from an unexpected hard drive failure
One of the new Seagate 5TB hard drives had issues and it wasn’t picked up by the smart S.M.A.R.T test. The failed hard drive crashed the RAID volume when two hard drives went offline. One genuinely went offline while the other is being rebuilt.
I had upgraded the hard drive in the order of Disk 1, followed by Disk 2 until the last disk (Disk 5). However, Disk 2 went offline while the DS1515+ is still rebuilding Disk 4. In simple terms, Disk 4 had not been fully added to the RAID volume and Disk 2 went offline. It means that two hard drives are offline for SHR. SHR only tolerates one hard drive failure per RAID volume.
I reran another extended S.M.A.R.T test and discovered that Disk 2 had developed high number of unrecoverable sectors during the past few days while rebuilding Disk 3 and Disk 4.
The RAID volume crashed happened when I was overseas with my family. Try imagining receiving a email titled “Volume 1 on DS1515 has crashed” with content “The system may not boot up” at 1.33am in the midst of your vacation.
I crossed my fingers and initiated a reboot while hoping that Disk 2 might miraculously come online and remain online until Disk 4 completes its recovery. Nope. It did not.
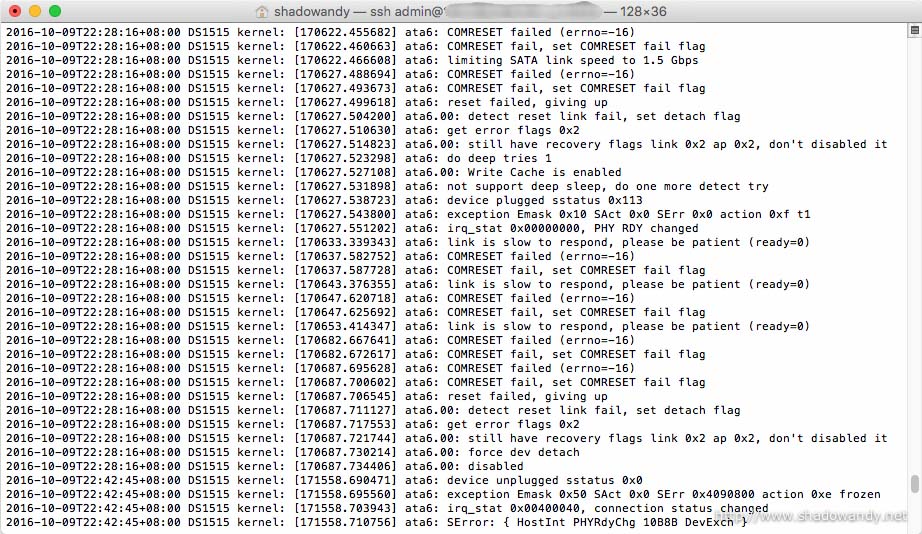
Desperate for help, I contacted Synology Support and owned up to using a hard drive that is neither in Synology’s compatible list nor Synology incompatible list. We did some troubleshooting and I highlighted that there are some weird exchanges between the ATA controller and hard drive.
We came to realise that the Synology NAS was pretty strict when it comes to hard drive communications. The ATA controller had issued a series of instructions to the hard drive and it did not receive timely response. As a result, the ATA controller ejected the hard drive from the system and cause the RAID volume to degrade. I made a request to Synology Support to relax the timing and they were happy to assist. The ATA errors went away and the DS1515+ behaved well. Let’s hope it remains this way.
The down point now is that I have to wait for this tweak to be baked into DSM 6.1 RC1. Until then, I cannot upgrade the DSM.
With this painful experience of two hard drive failures, I decided to use SHR2 as it allows up to two hard drive failures. For the file system, I decided to change to Btrfs as it is supposedly a better file system. Synology is going to add new features for Btrfs in the upcoming DSM 6.1.
After creating the volume, I simply restored the data via Hyper Backup once again.
Concluding the storage capacity expansion
I hope that this walk through has been/ would be useful to you. Synology simplified the storage capacity process, sparing you from typing commands to add hard disks to RAID volume and fiddle with the logical volume manager.
My predicament was a little unfortunate but the lucky thing is I did a backup for my important files on the Synology DS1515+. The not-so-important files are lost forever. You might be thinking why I did a selective data backup instead of everything. The reason is that I only have a 2TB RAID volume on the Synology DS216+. Perhaps it is time to upgrade the drives on the DS216+ too?
Lastly, do perform backup frequently and keep your important data safe.