Synology DiskStation DS916+ Review
The Synology DS916+ is the latest addition to Synology’s “Plus” series of NAS appliances. It is for IT professionals and small businesses who wants an affordable four-bay network storage with growth in the future. With the Synology DX513 expansion unit, the DS916+ becomes a nine-bay NAS that boasts 90TB of raw storage (9 x 10TB) with great data protection features.
The DS916+ comes in two variants – 2GB and 8GB model. According to Synology’s DS916+ specifications page, higher number of concurrent access is observed for apps like Cloud Station Server, Docker DSM, MailPlus, Surveillance Station, etc. The price difference between the two models is marginal. Both variants are backed by three-years warranty.
| Synology DiskStation DS916+ Specifications | |
|---|---|
| Processor | Intel Pentium N3710 (Quad Core 1.6 GHz, Burst up to 2.56 GHz) |
| Memory | 2GB or 8GB DDR3 |
| Encryption | AES-NI Hardware Encryption Engine |
| Storage | 4 x 3.5"/2.5" SATA II/III; Hot Swappable Maximum of 9 drives with DX513 Expansion Unit |
| SSD Support | SDD as Read/Write Cache TRIM support |
| File System | Internal Drives – Btrfs, EXT4 External Drives – Btrfs, EXT4, EXT3, FAT, NTFS, HFS+ |
| RAID Levels | Single Disk JBOD RAID 0/1/5/5 + Hot Spare/6/10/Synology Hybrid RAID |
| Capacity | up to 40TB (4 x 10TB) up to 90TB with DX513 expansion unit (9 x 10TB) |
| iSCSI | Target & Initiator |
| Networking | 2 x 10/100/1000 Mbps Supports Link Aggregation/Failover |
| Connectors | 3 x USB 3.0 1 x eSATA |
| Fan | 2 x 92mm |
| Dimensions | 165 (H) x 203 (W) x 233.2 (D) mm |
| Weight | 2.04kg |
| Power Consumption | Sleep – 13W Operation – 30W |
| Noise Level | 19.4 dB(A) |
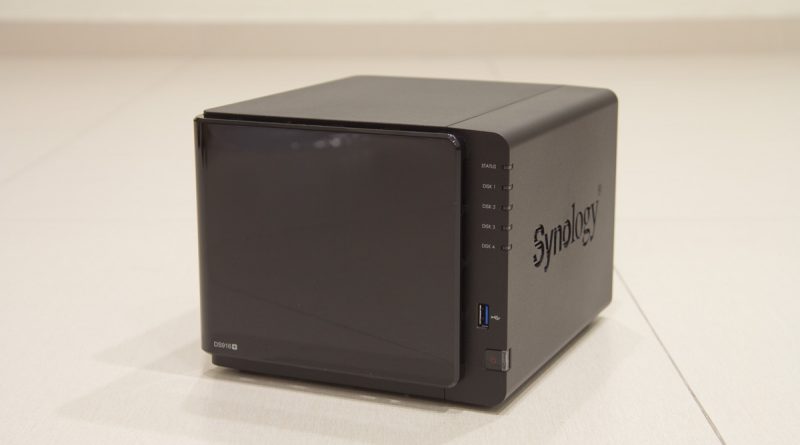
Unboxing the Synology DS916+
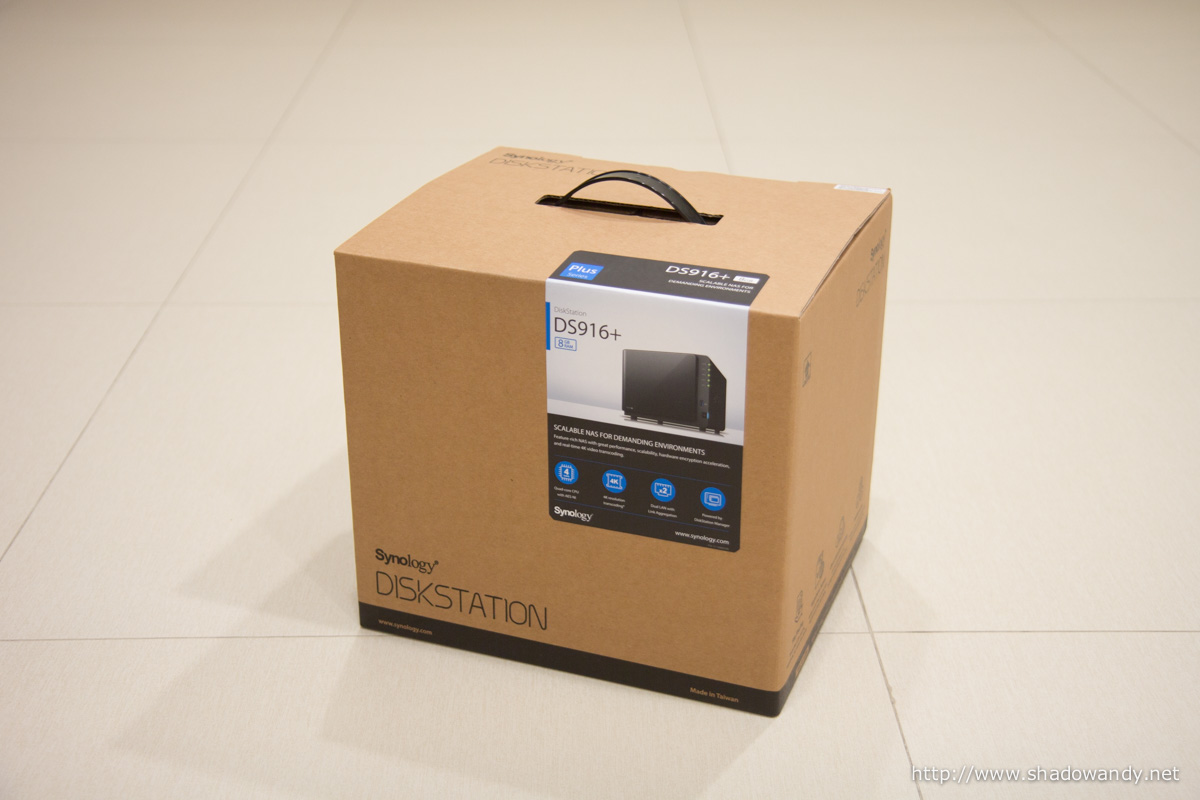
The DS916+ came packed in the usual brown coloured box. From what I can remember for the “plus” series, only the DS412+ was packed in a non-brown box. For those who are getting the 8GB variant, do ensure that you see the wording “8GB” on the sticker.
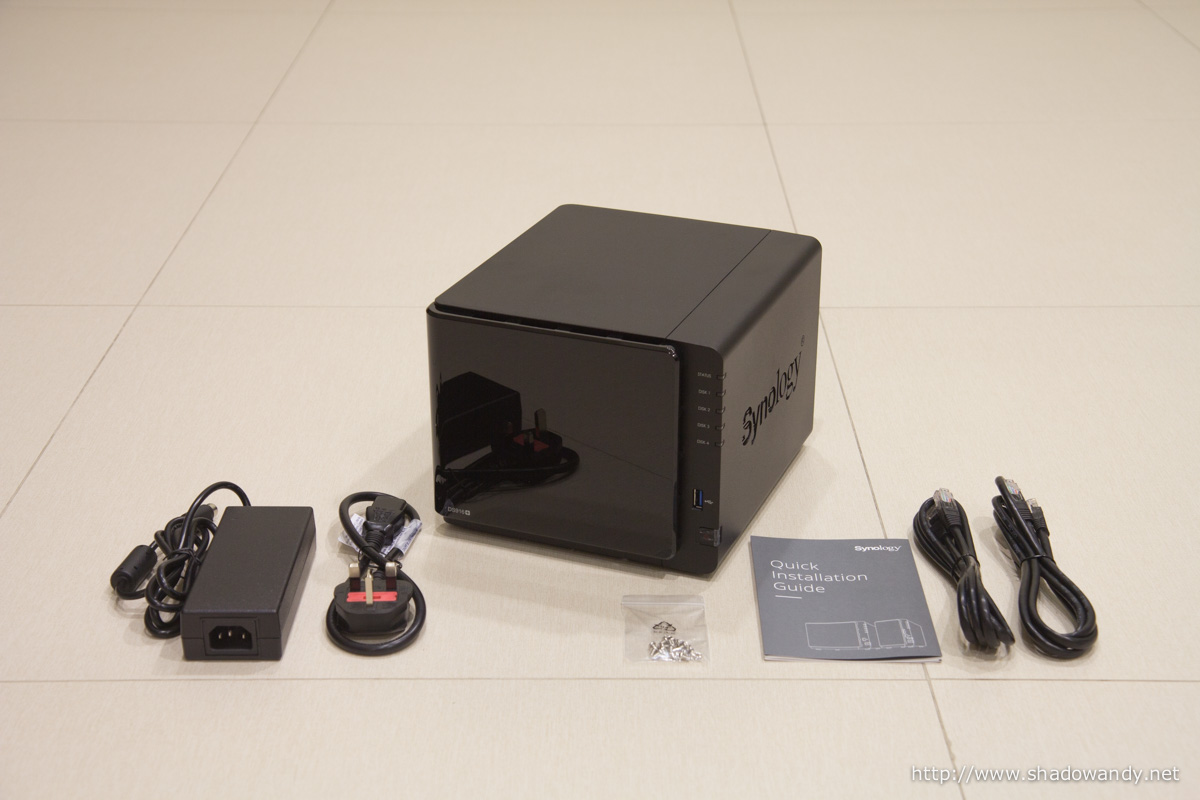
The package comes with:
- Synology DS916+
- Quick Installation Guide
- Pack of mounting screws
- AC Power Cord
- AC Power Adapter
- 2 x Patch Cords
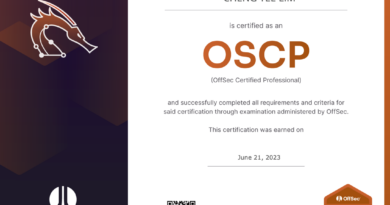
Looking at the Synology DS916+
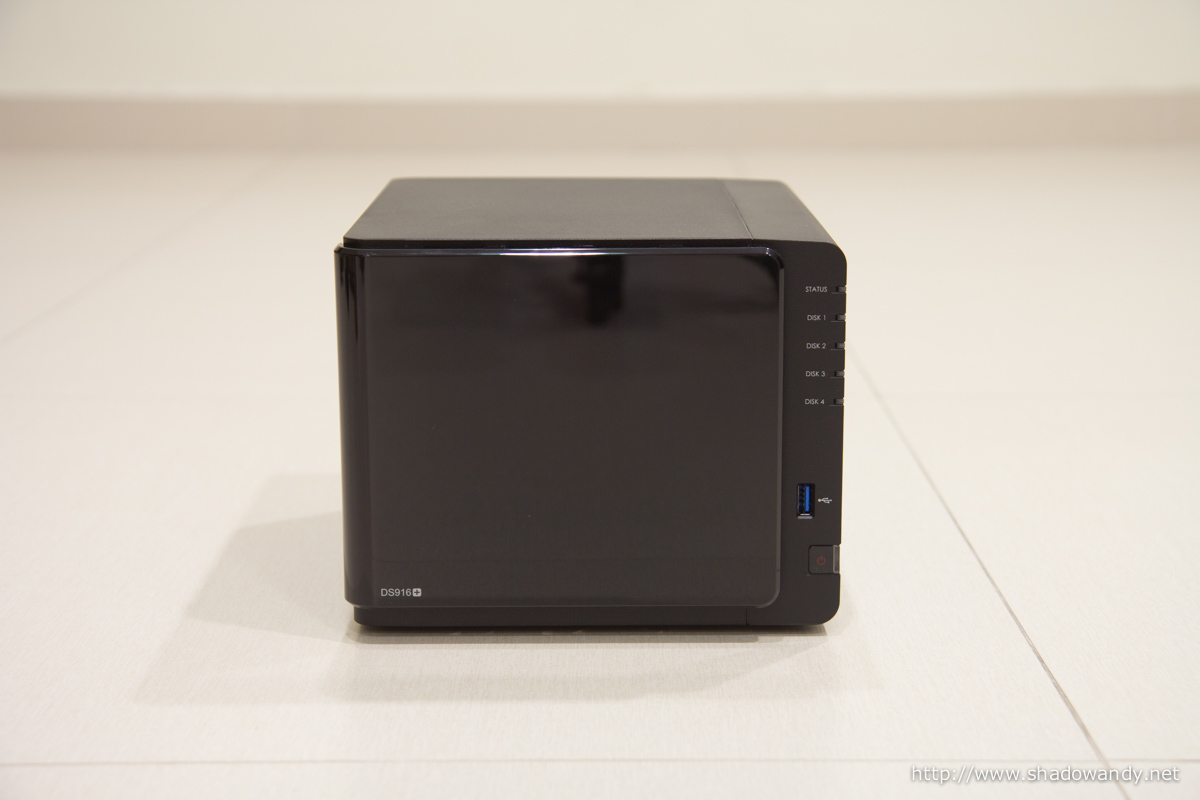
On the front of the DS916+ is a glossy plastic panel that keeps the four drive bays hidden. To the right is the home to several LED indicators, USB 3.0 port and Power button. There are LED indicators for the status of the system and four disks.
The DS916+ enclosure is made of plastic with matte black finish.
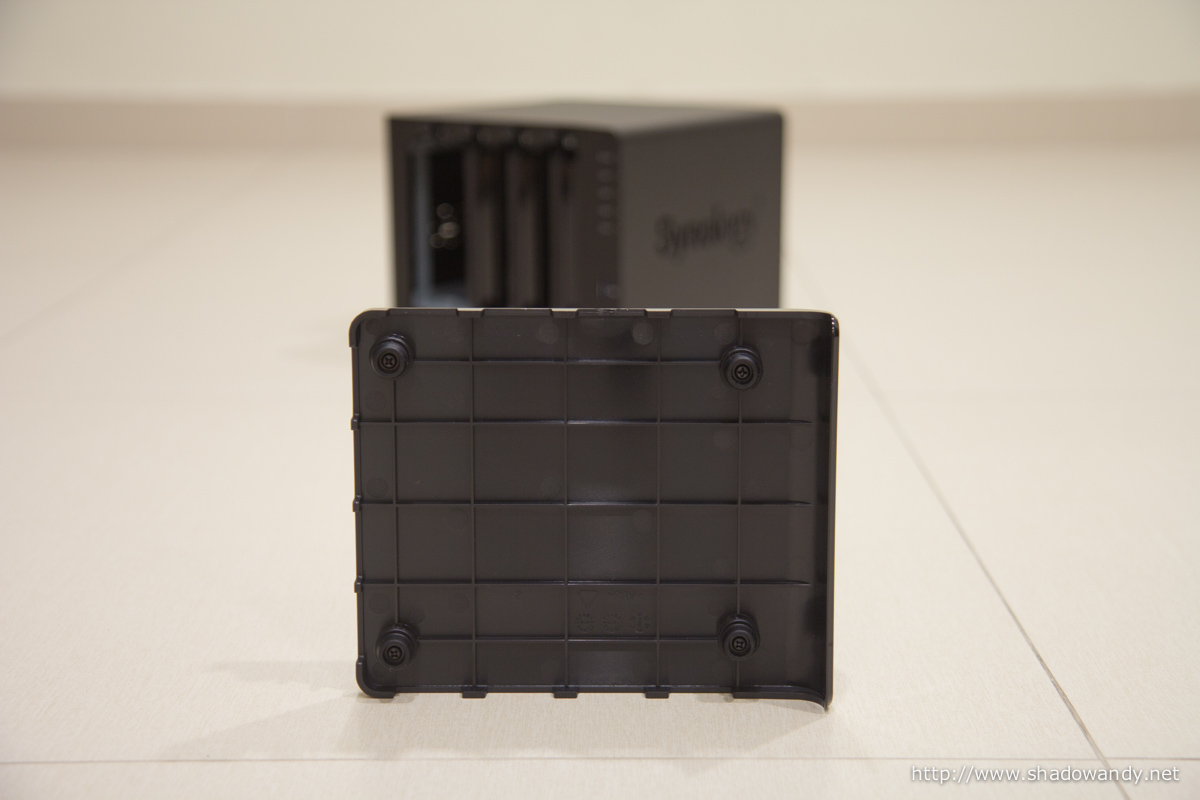
The front glossy panel is secured to the body with four rubber stoppers/ grommets. Hence, it can be easily popped off without any tools.
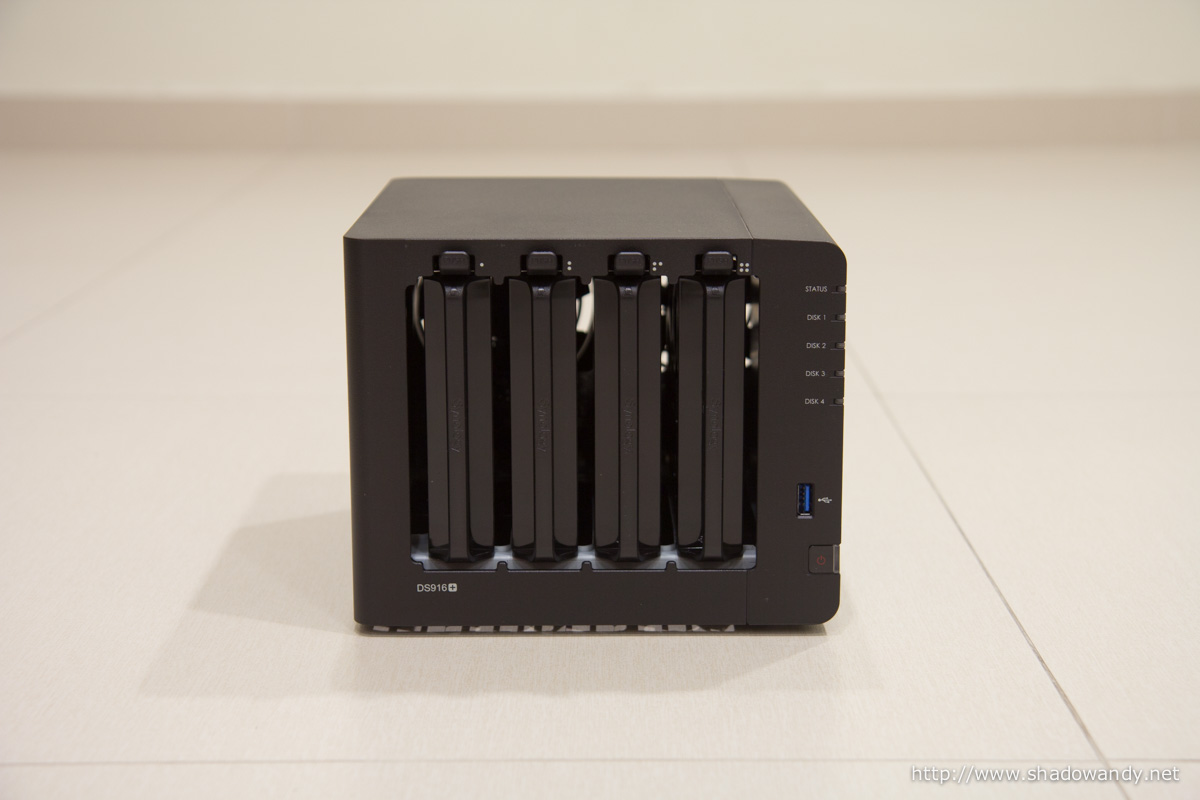
Behind the front panel are the four drive bays. Its order is clearly marked using white dots near the top of the DS916+. The drive trays are not lockable.
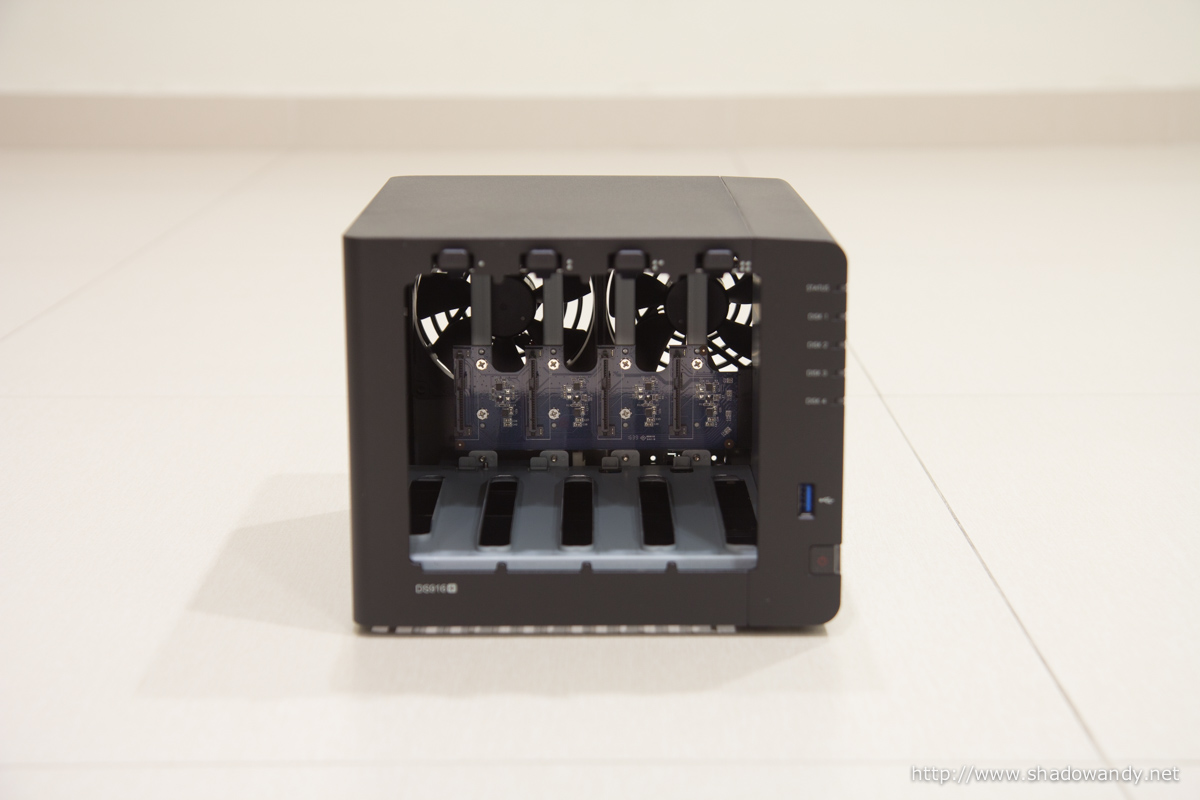
Removing the drive trays reveals the hot swap backplane. Not much obstructions from the front to the system fans to the back. It helps to improve the airflow through the DS916+, reducing noise generated and temperature of the unit.

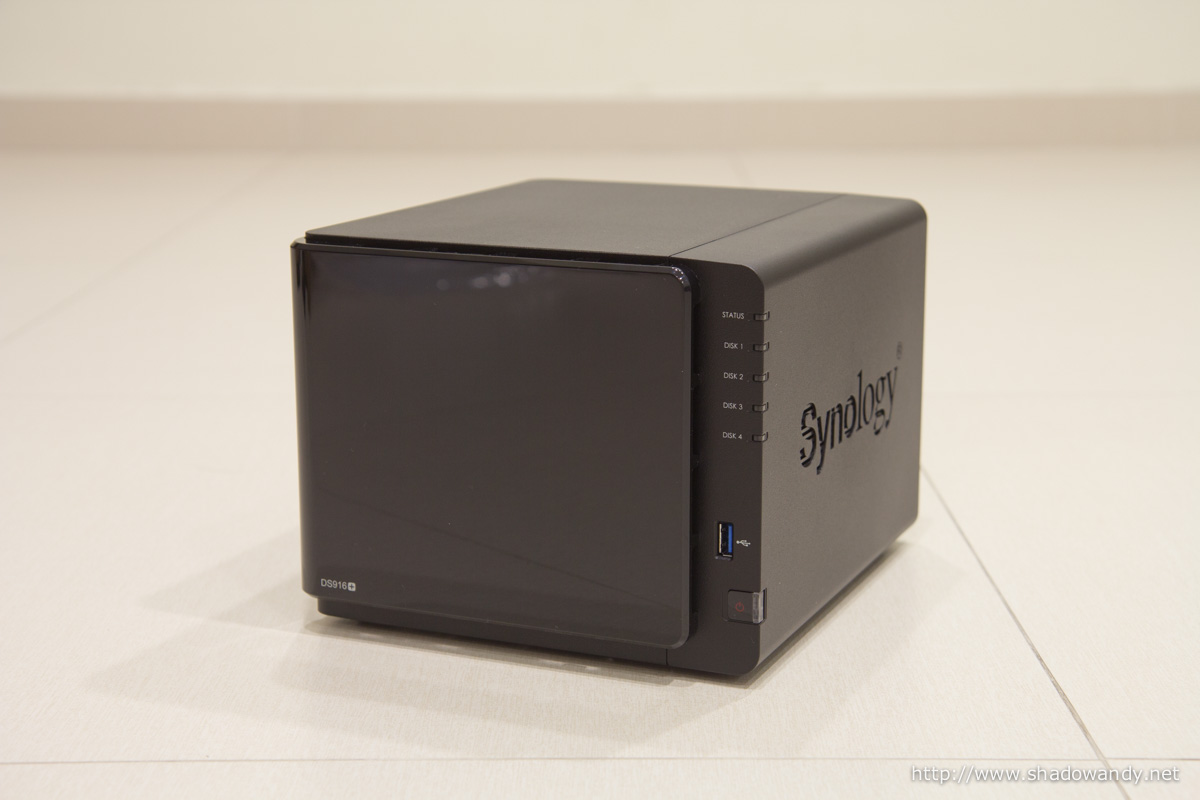
The Synology logo at both sides doubles up as ventilation holes for the DS916+, keeping the it cool.

At the back of the DS916+, you can find the:
- 2 x 92mm system fans
- 2 x Gigabit Ethernet ports
- Power connector
- eSATA port
- 2 x USB 3.0 ports
- Kensington lock port
- Reset button
Installing the Hard Disks
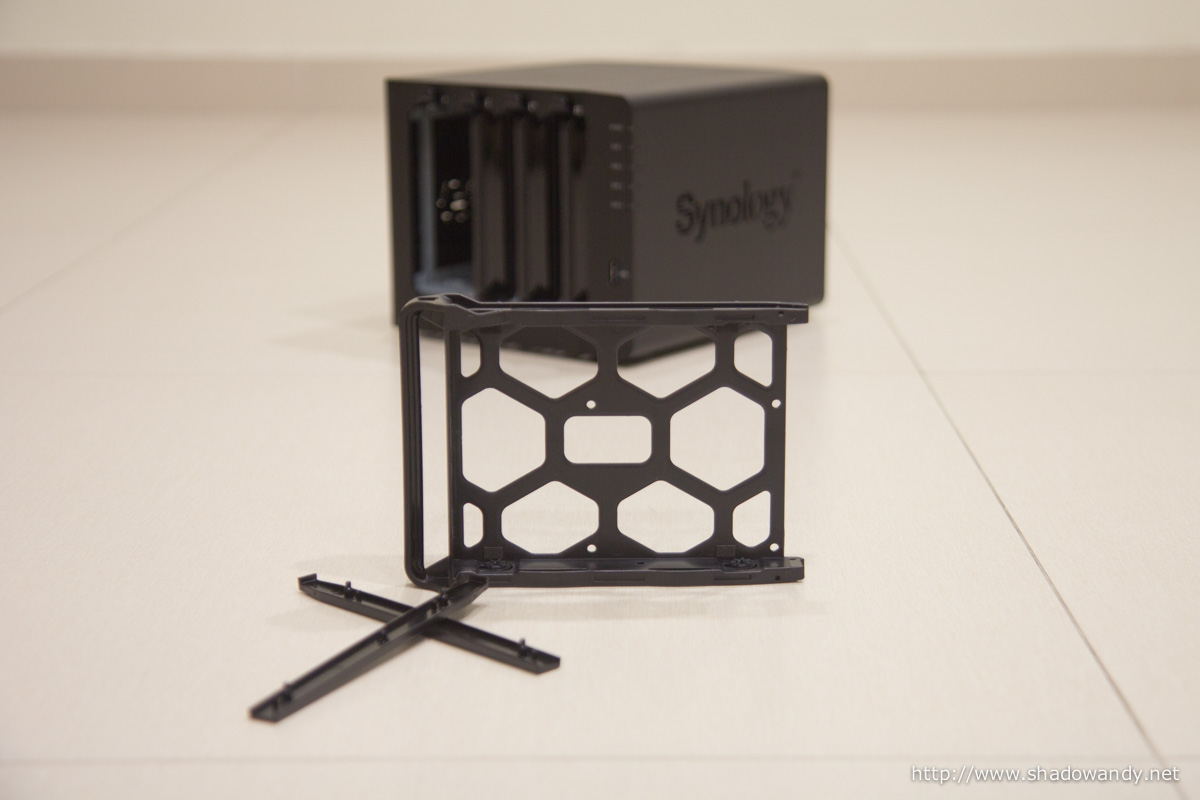
For the DS916+, you do not need any tools to install standard 3.5″ hard disks. You just have to remove the two side plastic rails, place the hard disk into the drive tray and snap back the two plastic rails to secure the disk in place. That’s all.
However, you will need to use the screws from the included accessories pack to mount 2.5″ hard disks.
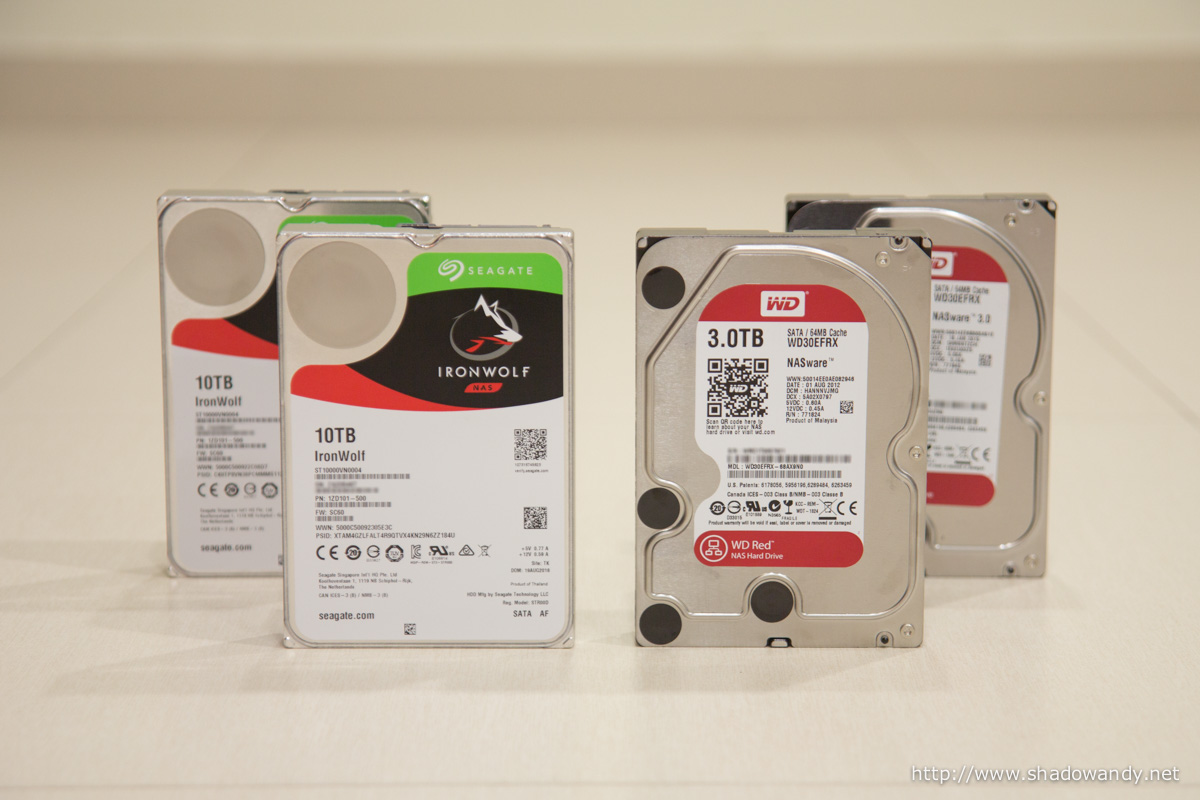
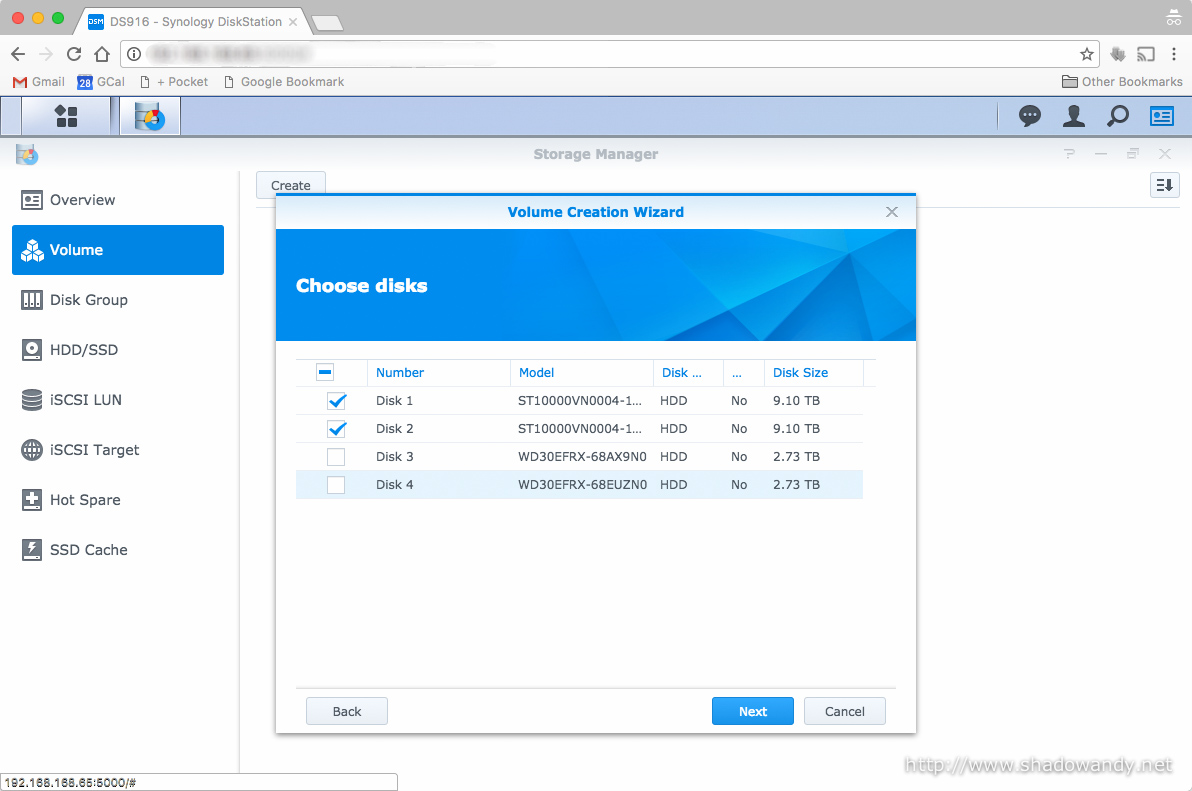
This time round, I will be installing two units of Seagate IronWolf 10TB NAS drives and two units of Western Digital Red 3TB NAS drives. These two models are marketed for NAS usage so they should be good!
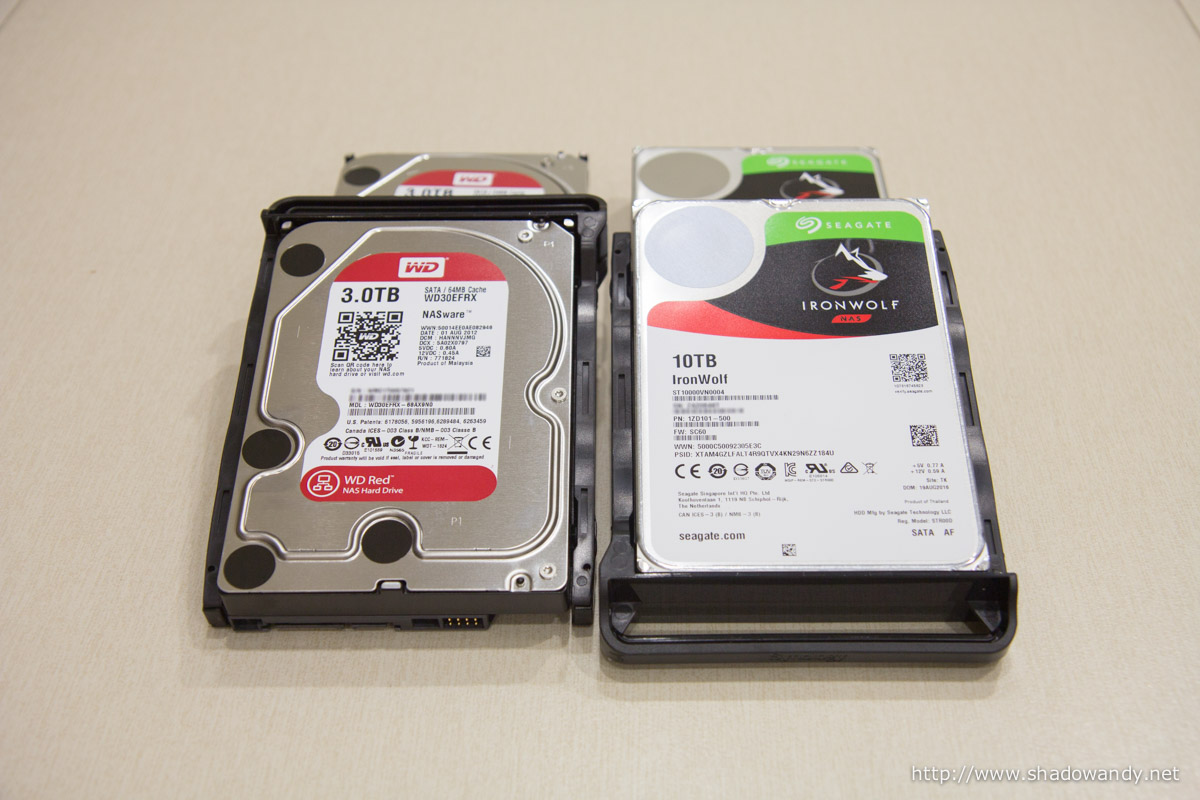
The hard disks are installed into the drive trays and it is time to set up the software aspect of the DS916+. The Seagate IronWolf 10TB NAS drives will be in Disk bays 1 and 2 while the Western Digital Red 3TB NAS drives will be in Disk bays 3 and 4.
A little information about Seagate IronWolf
You might be thinking what is the difference between a desktop drive and NAS hard drive like the Seagate IronWolf? Below are features of the Seagate IronWolf NAS hard drive.
- Higher usage rating than typical desktop drives to handle multi-year workloads. The NAS is often accessed concurrently by multiple users and the Seagate IronWolf is designed to meet that.
- Minimised vibrations through Dual-Plane balancing and Rotational Vibration (RV) sensors. The Seagate IronWolf’s vibrations are damped and the RV sensors enables the drive heads can compensate for vibrations from other installed hard drives and system fans to always remain on-track to avoid read/ write retries which in turn improves NAS performance.
- Firmware optimised for multi-drive RAID environment. The Error Recovery Control ensures the Seagate IronWolf always remain active to the RAID array. This avoids unnecessary drive drops from RAID array, avoiding RAID recovery and rebuild.
- Energy savings through Seagate’s AgileArray power management. The power management ensures appropriate power mode to ensure lowest power load and heat for different operations.
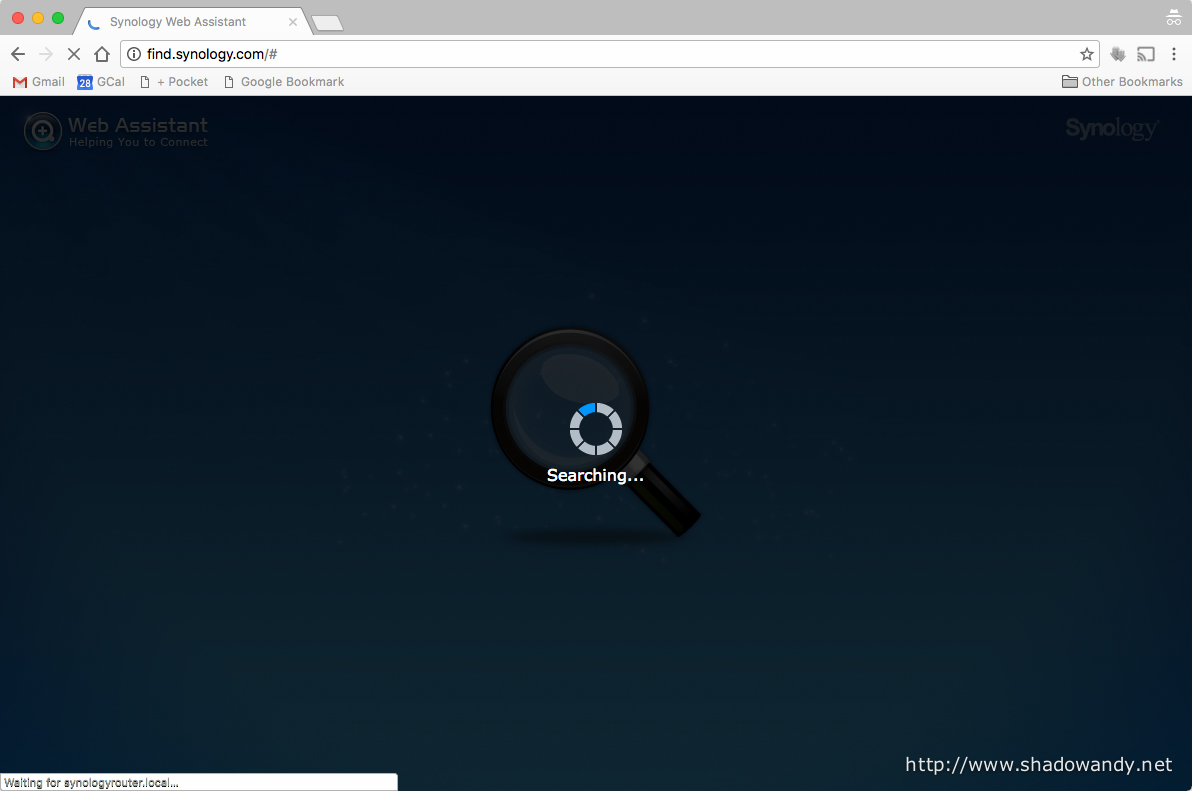
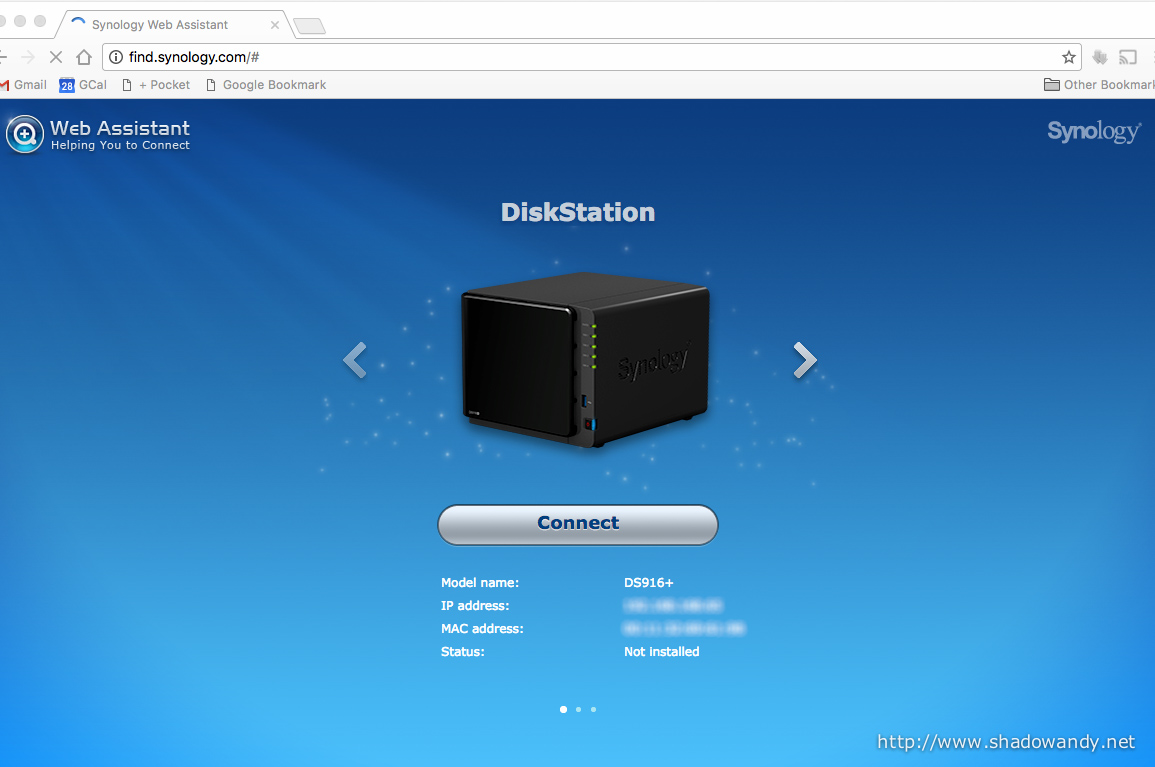
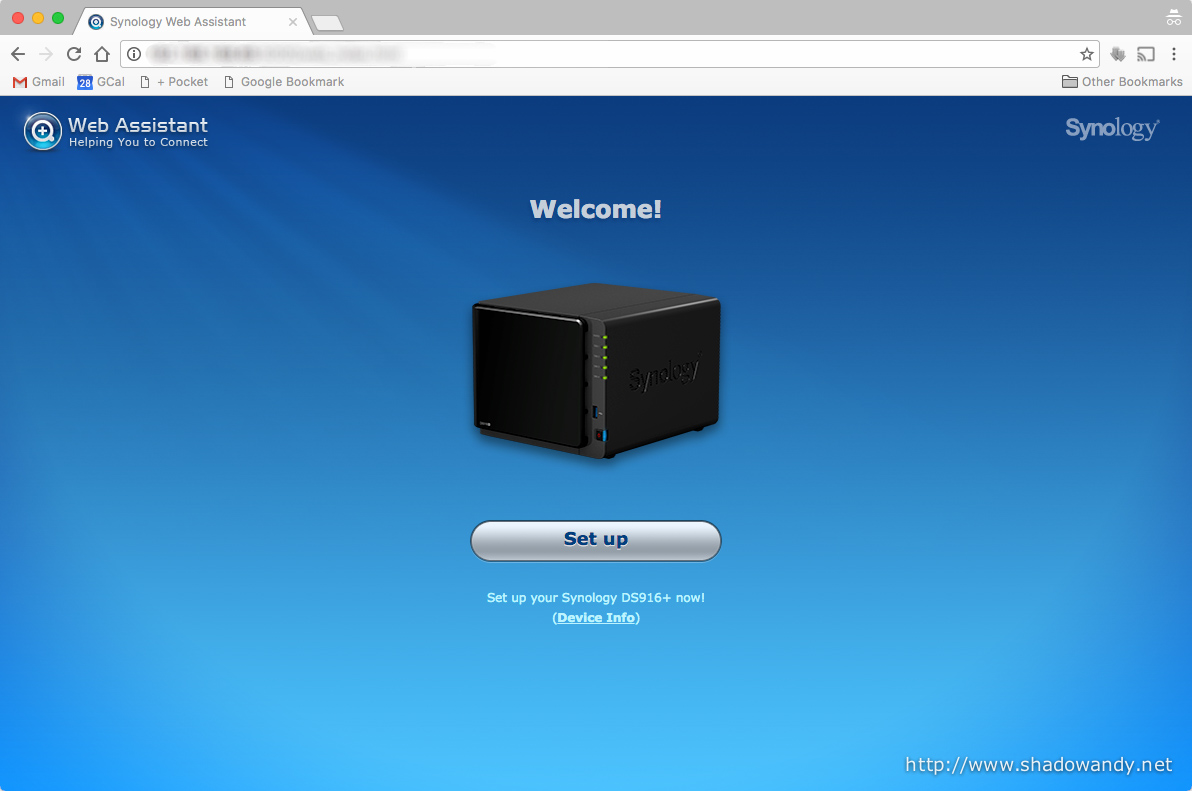
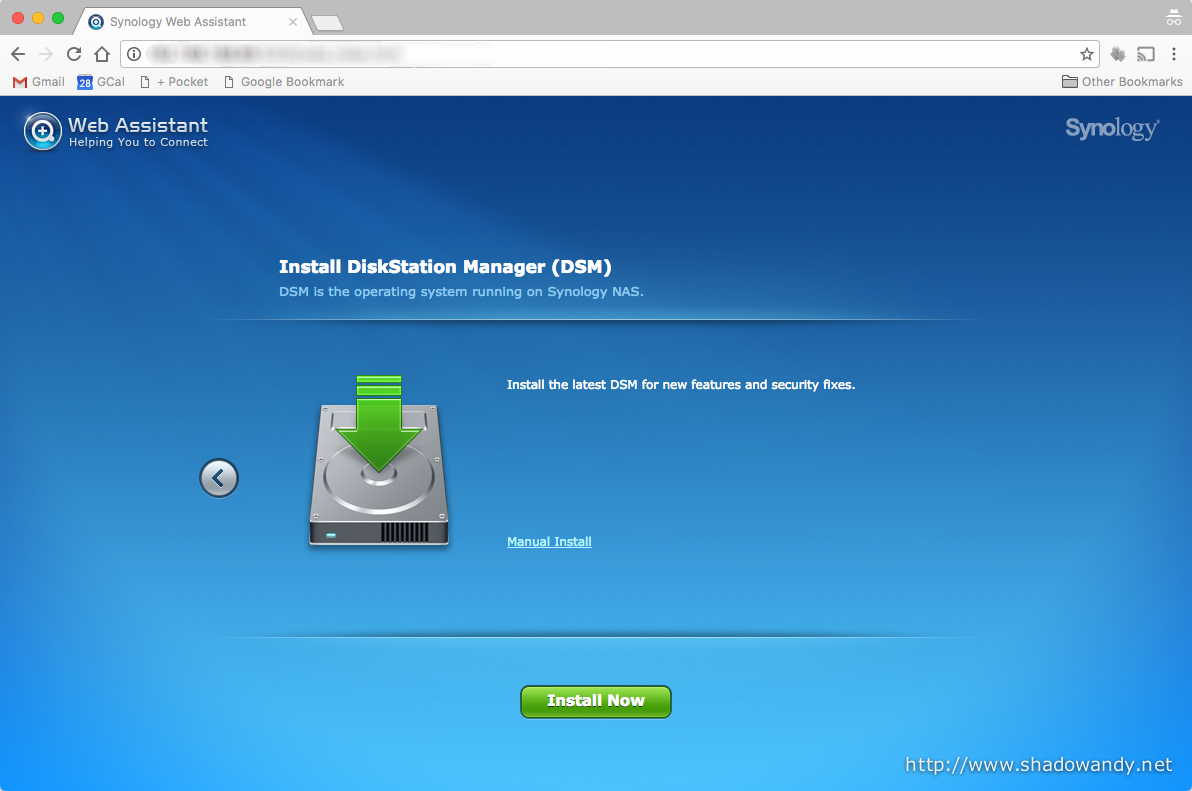
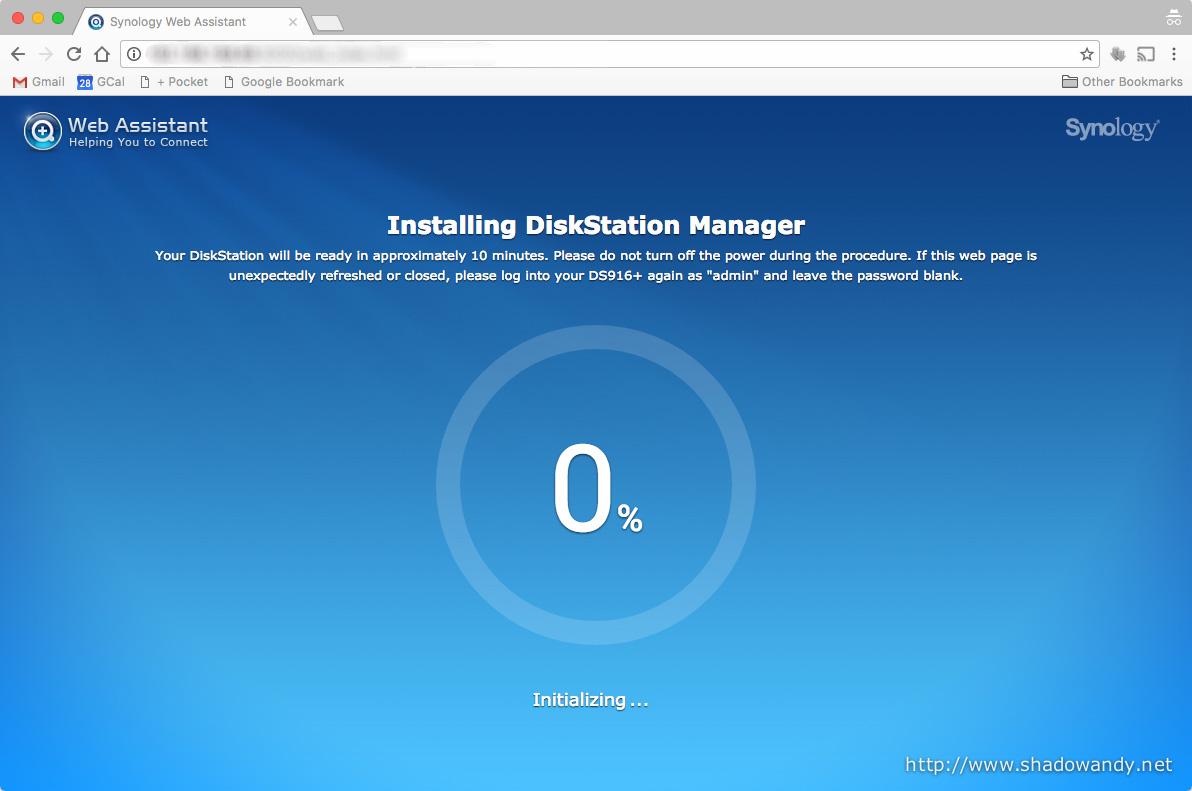
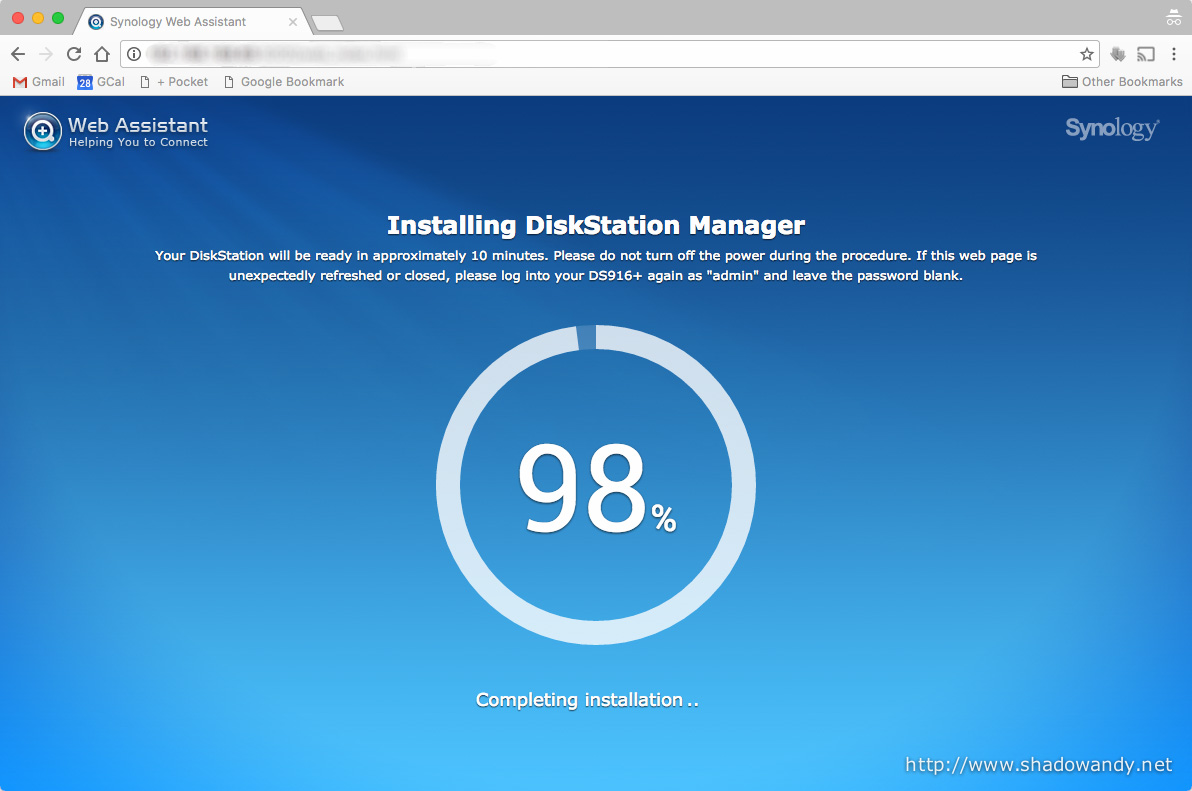
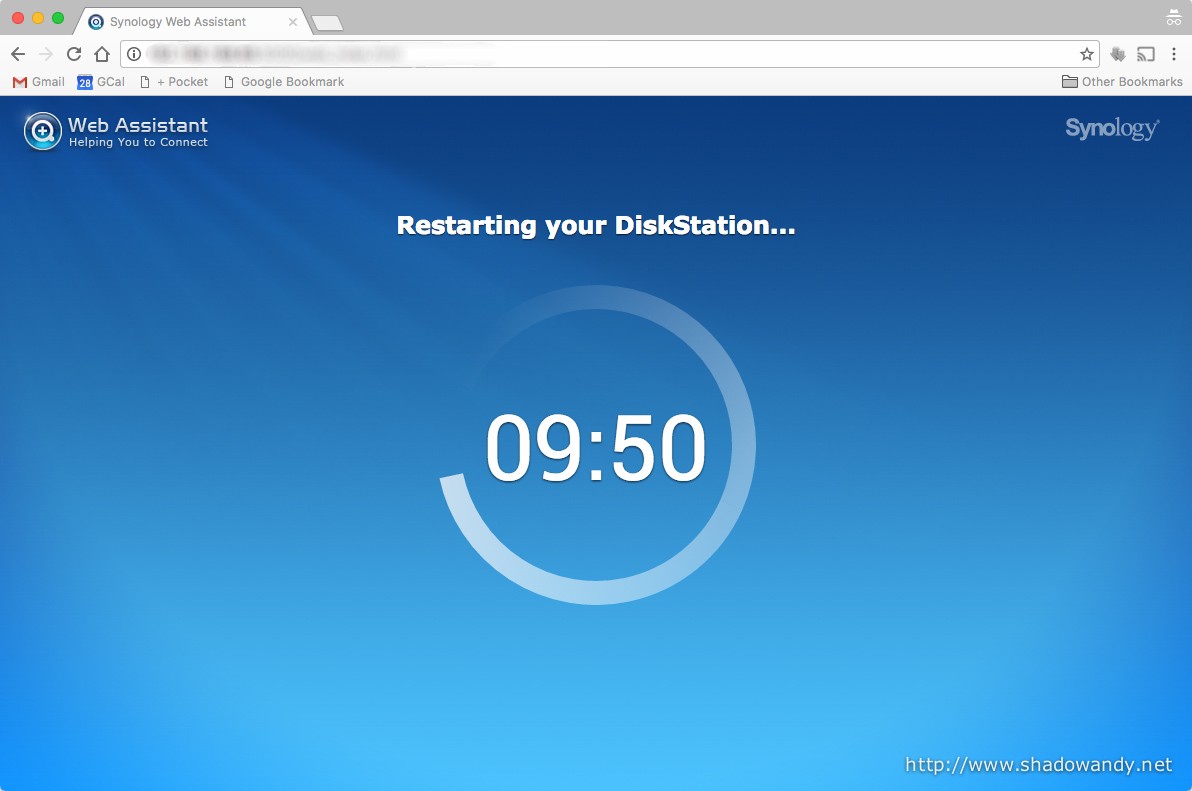
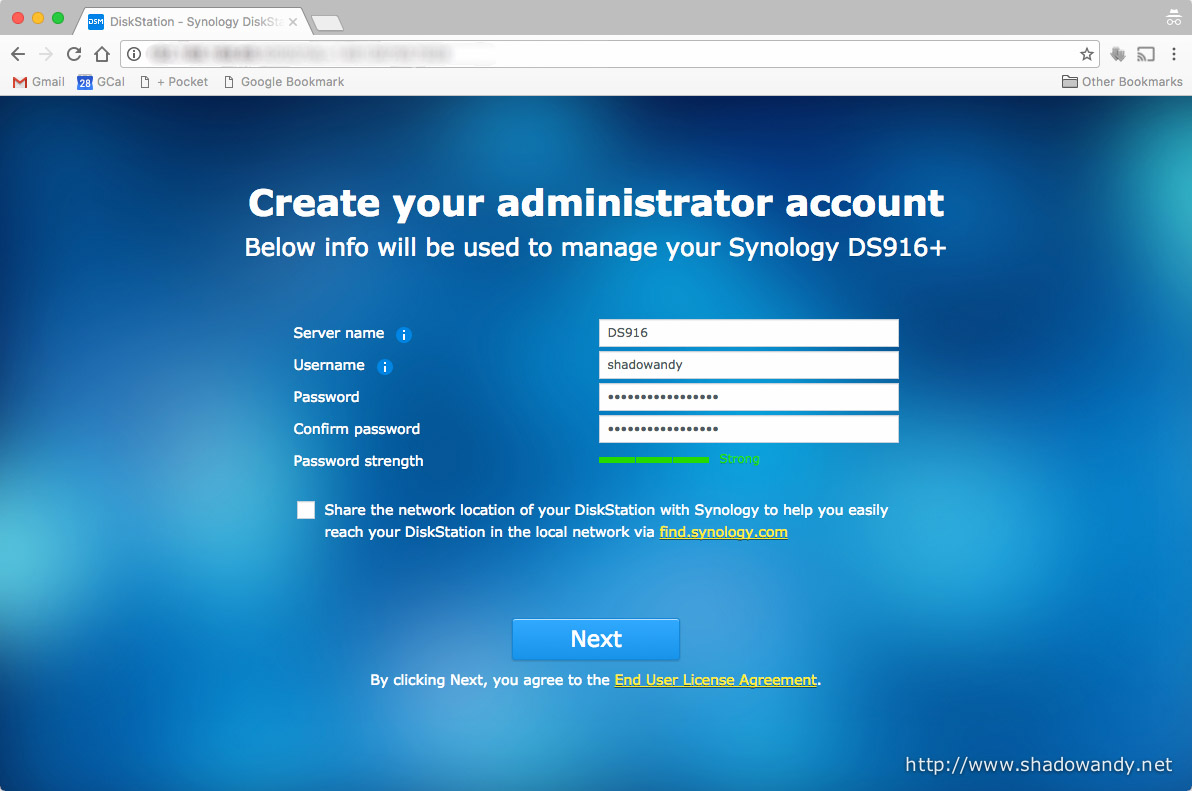
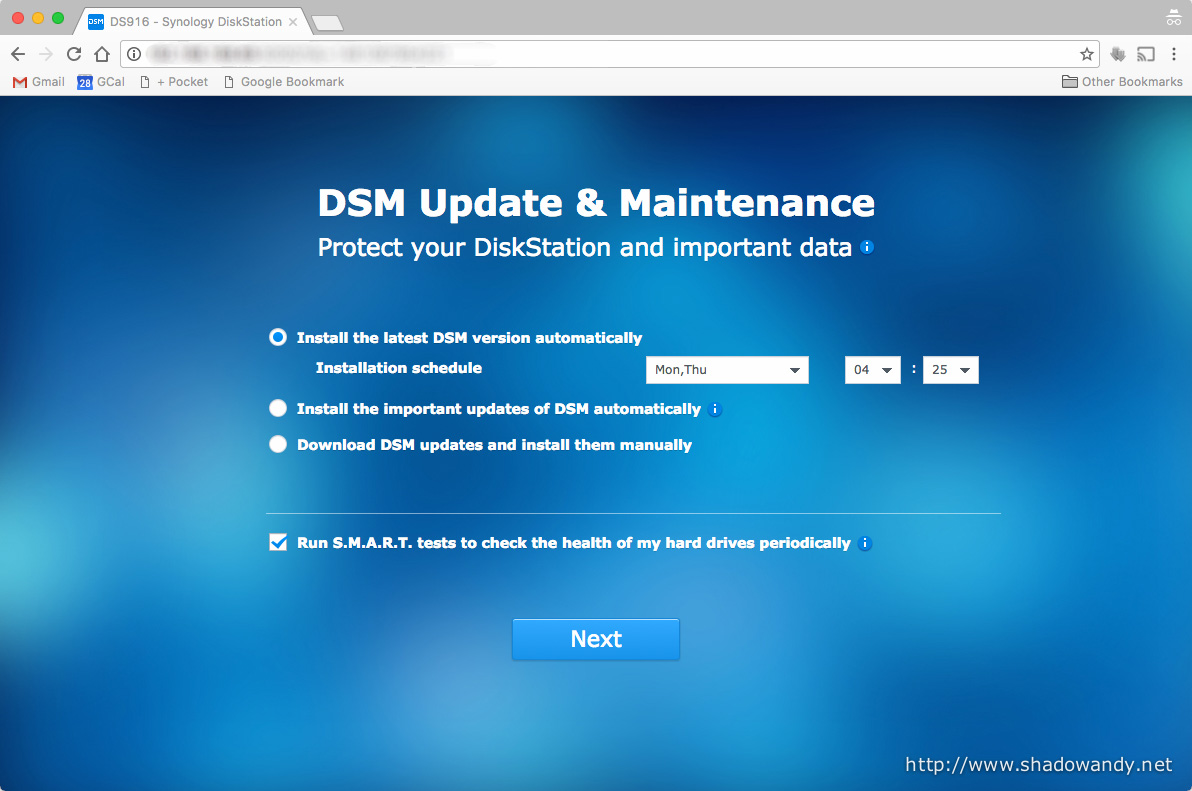
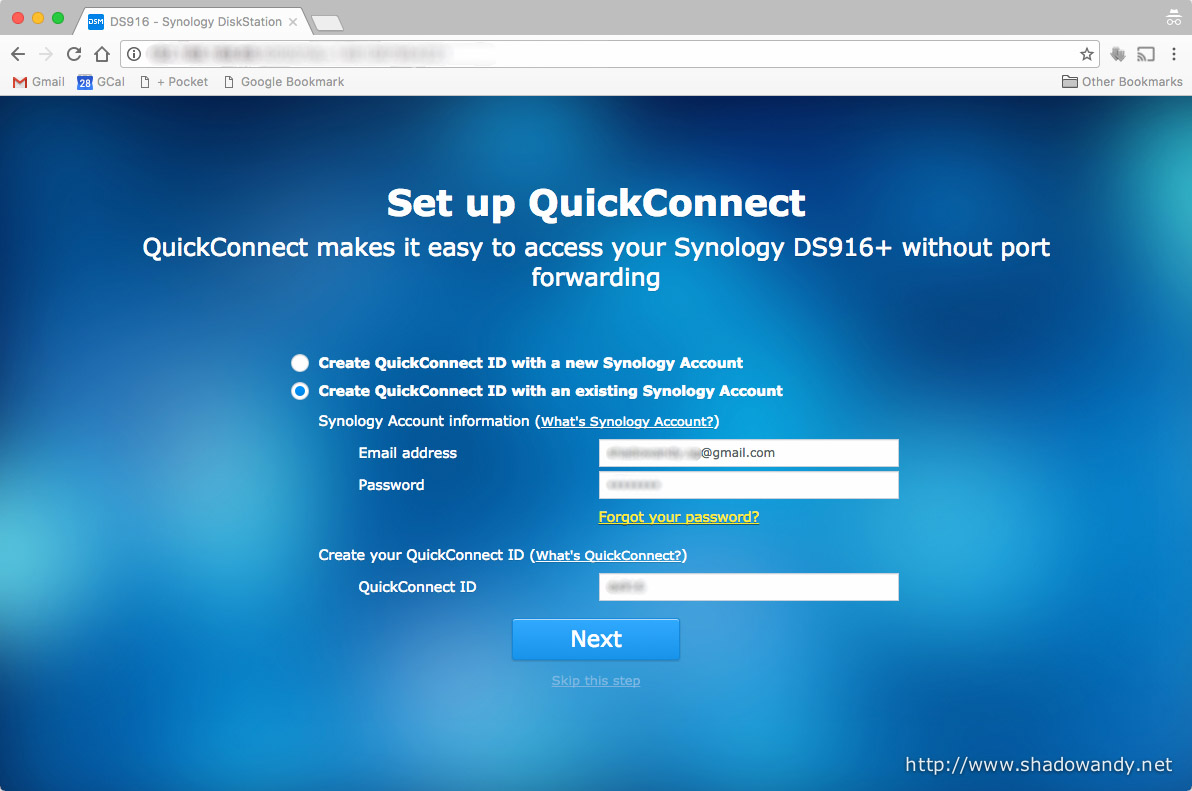
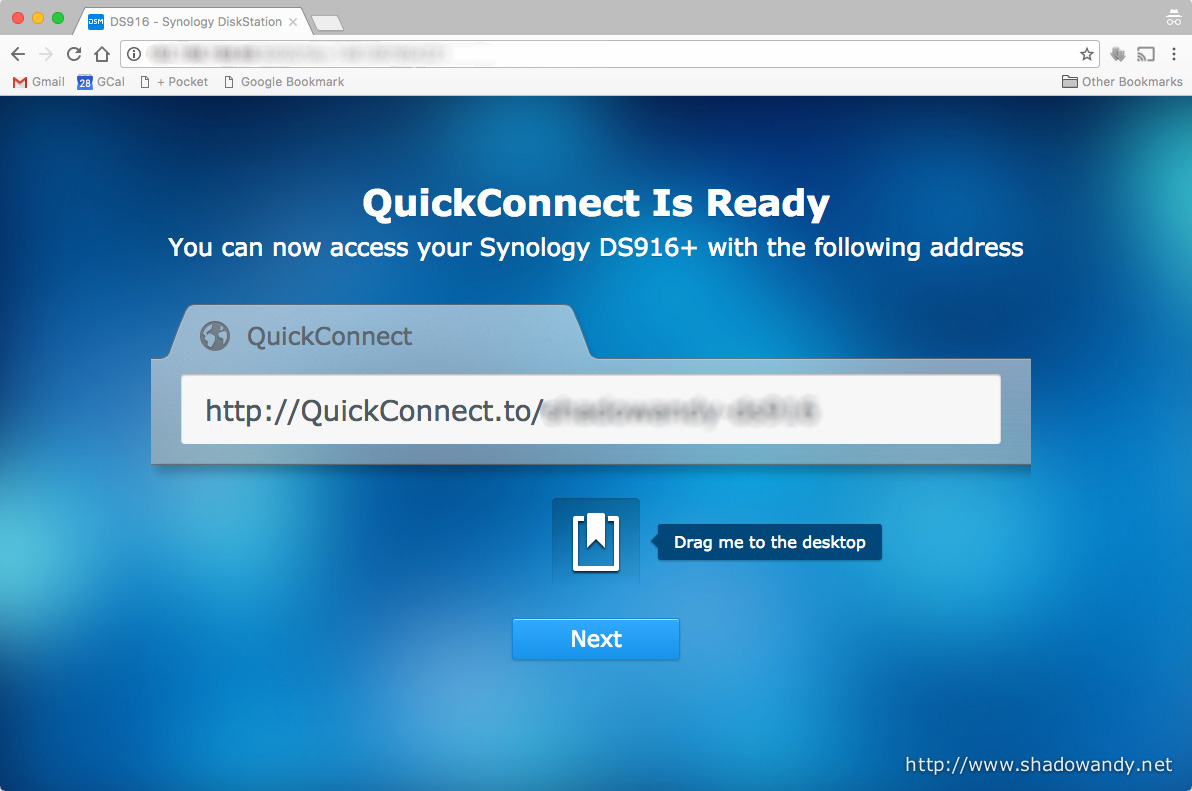
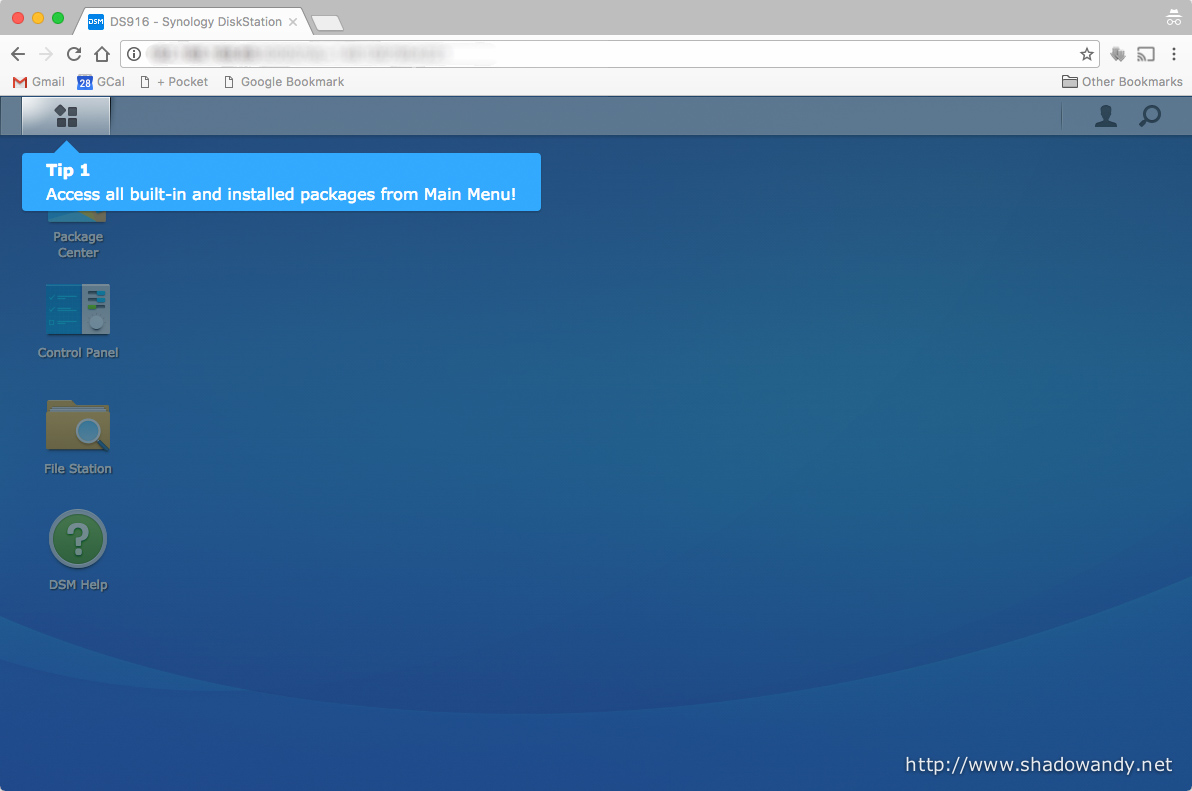
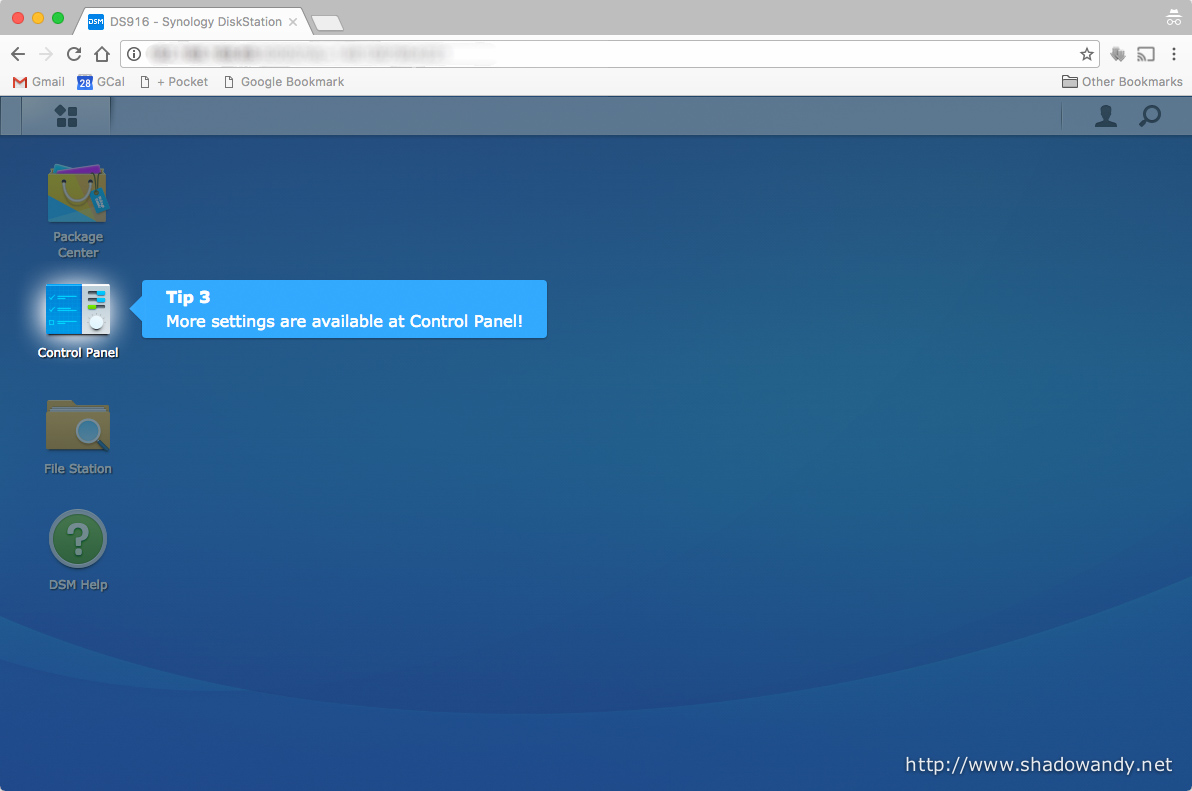
Setting up Disk Station Manager
The set up is a straightforward process. Once the Synology DS916+ is (physically) connected to your network and powered up, launch a web browser and navigate to http://find.synology.com. The discovery and setup process will guide you through the installation of Disk Station Manager (DSM).


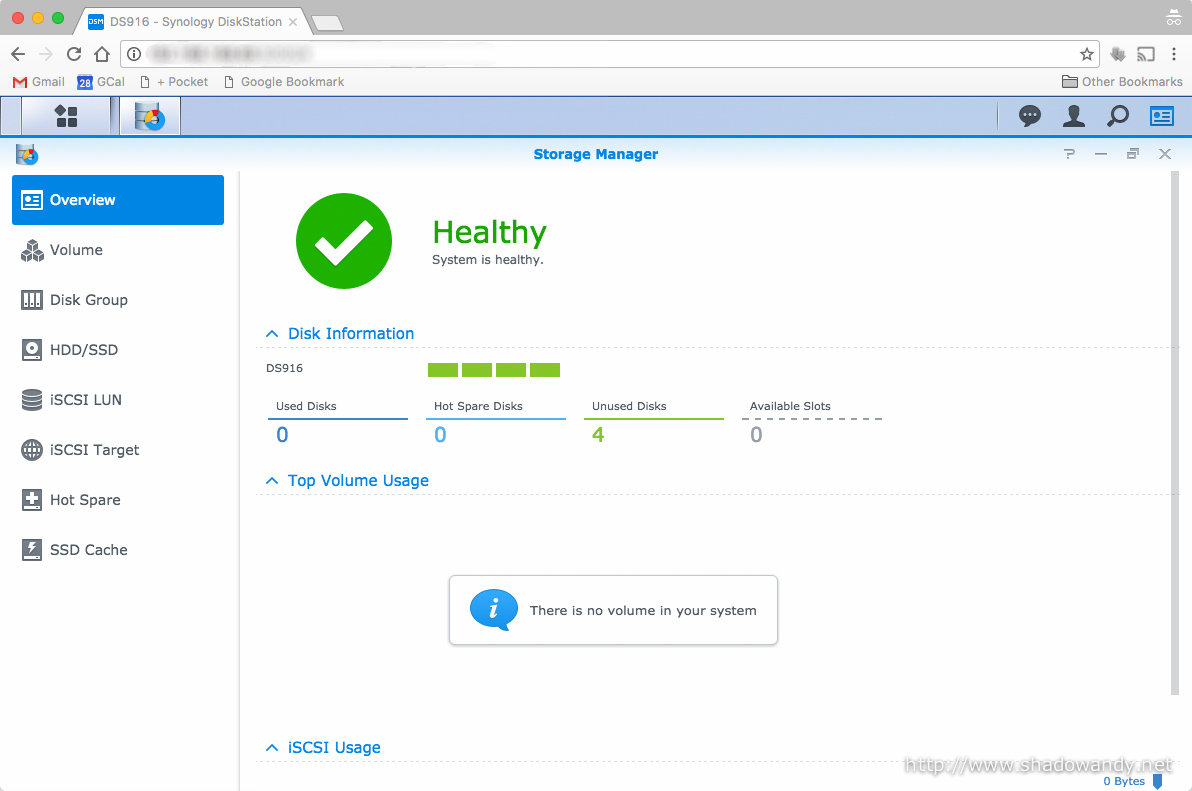
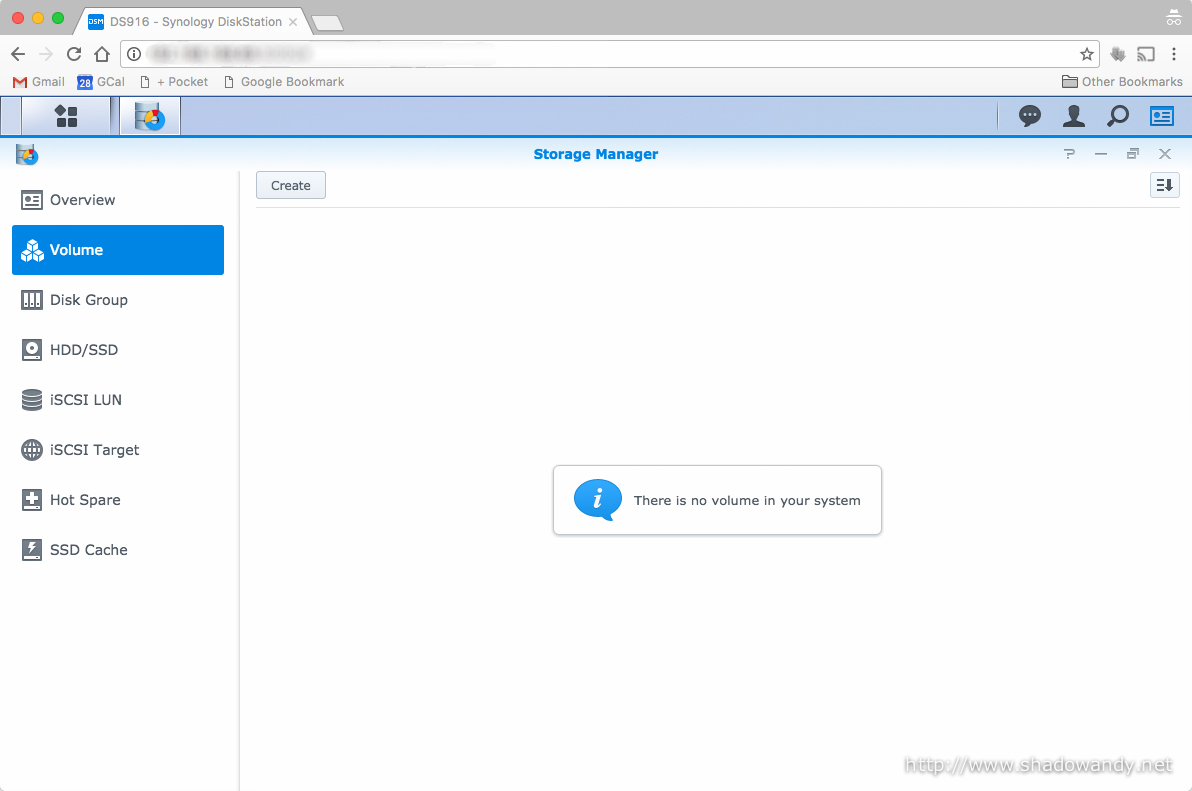
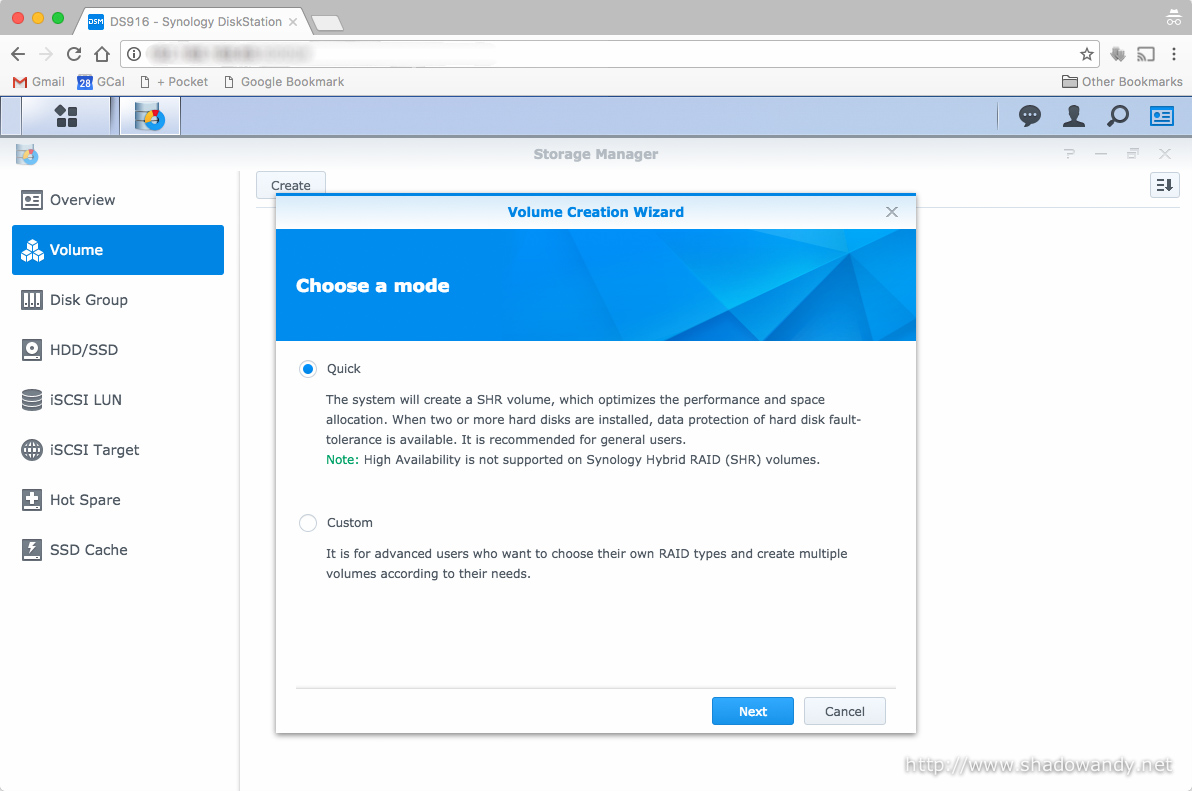
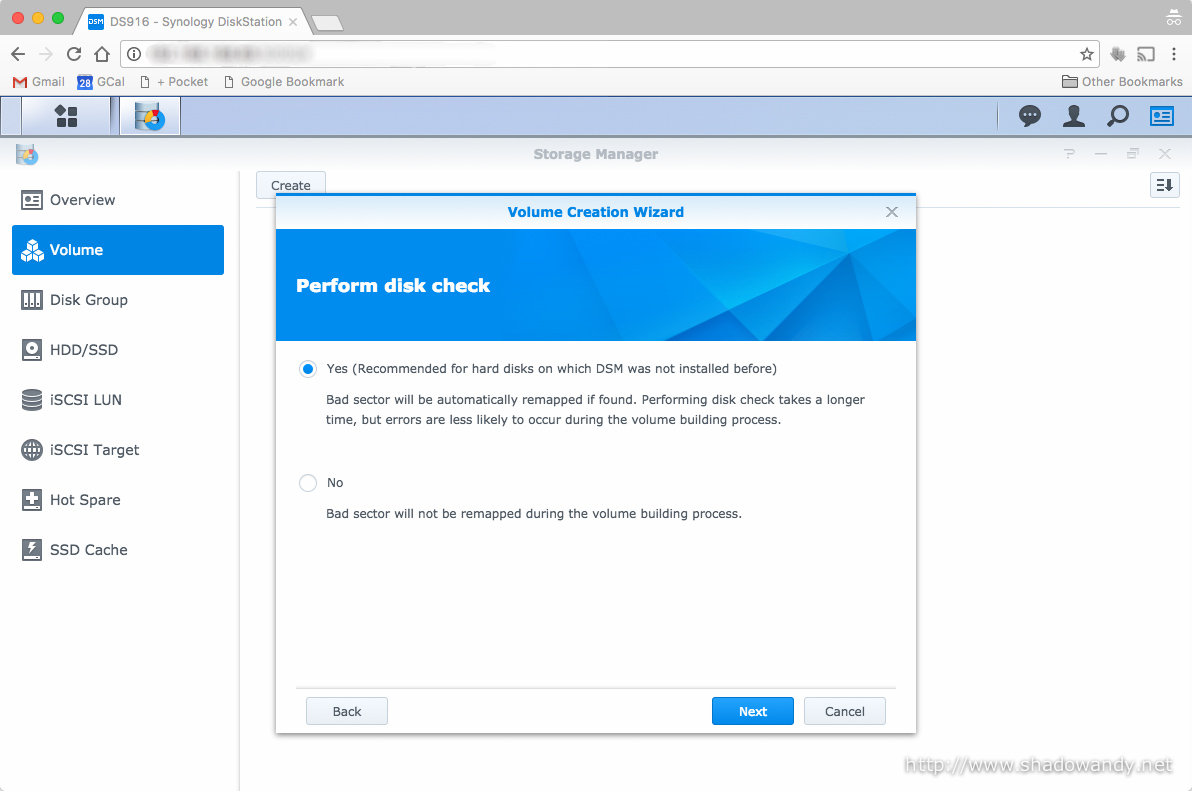
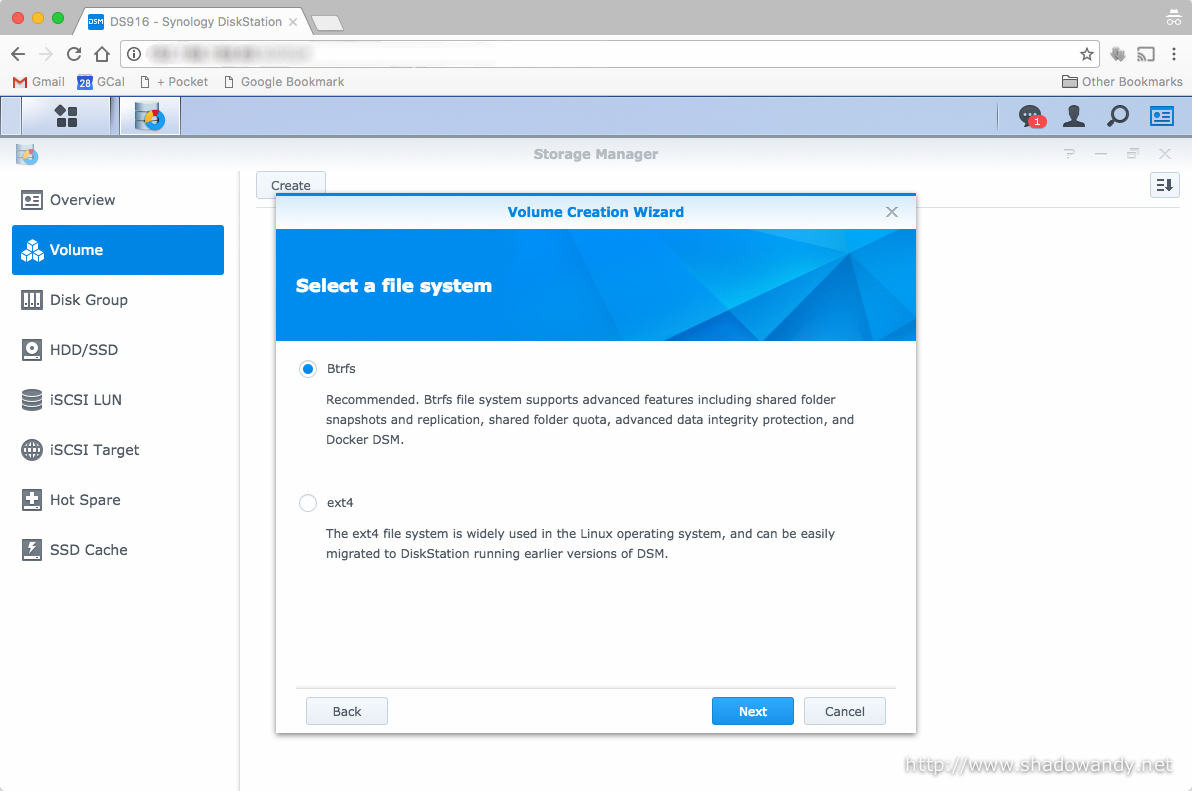
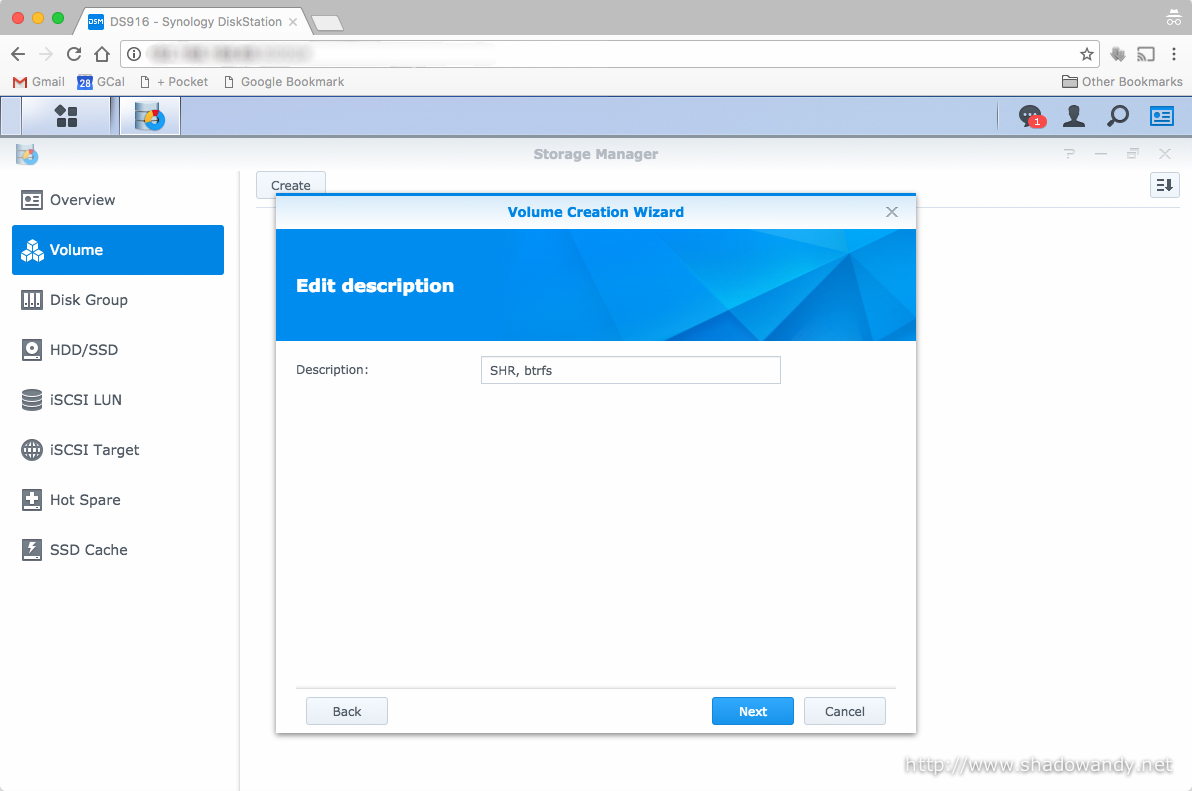
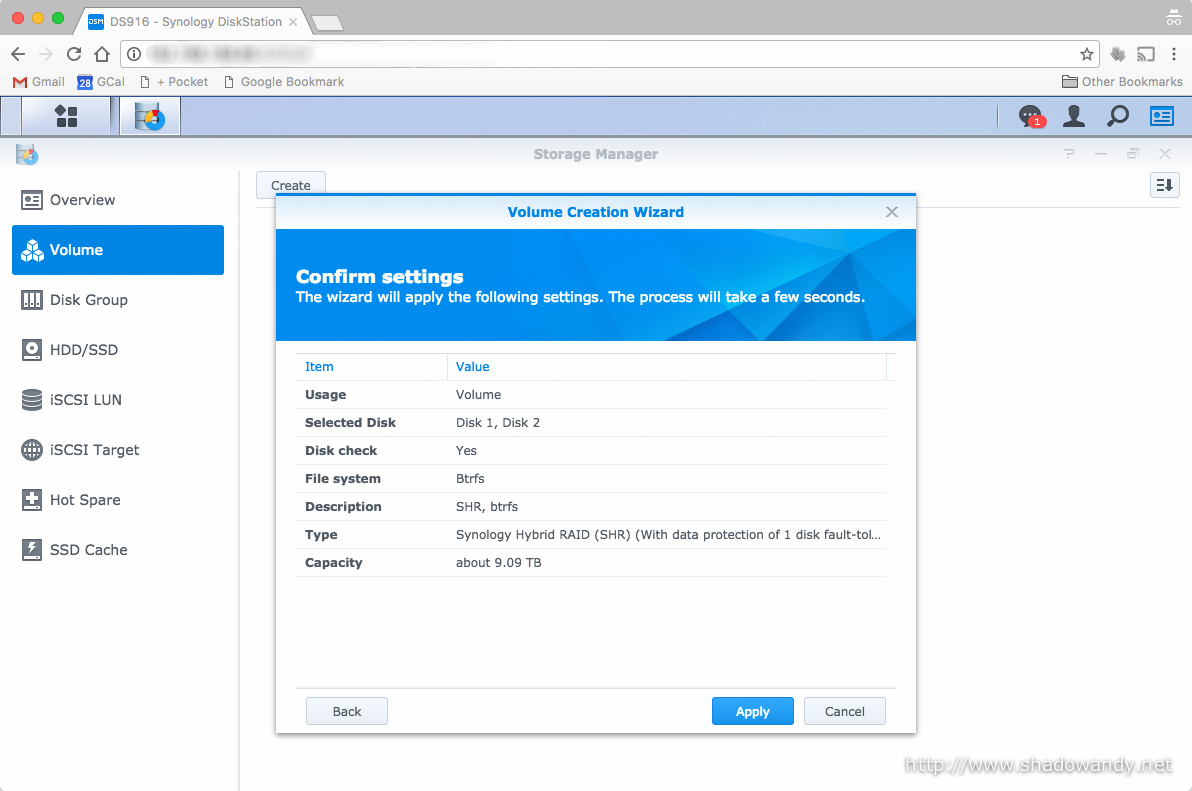
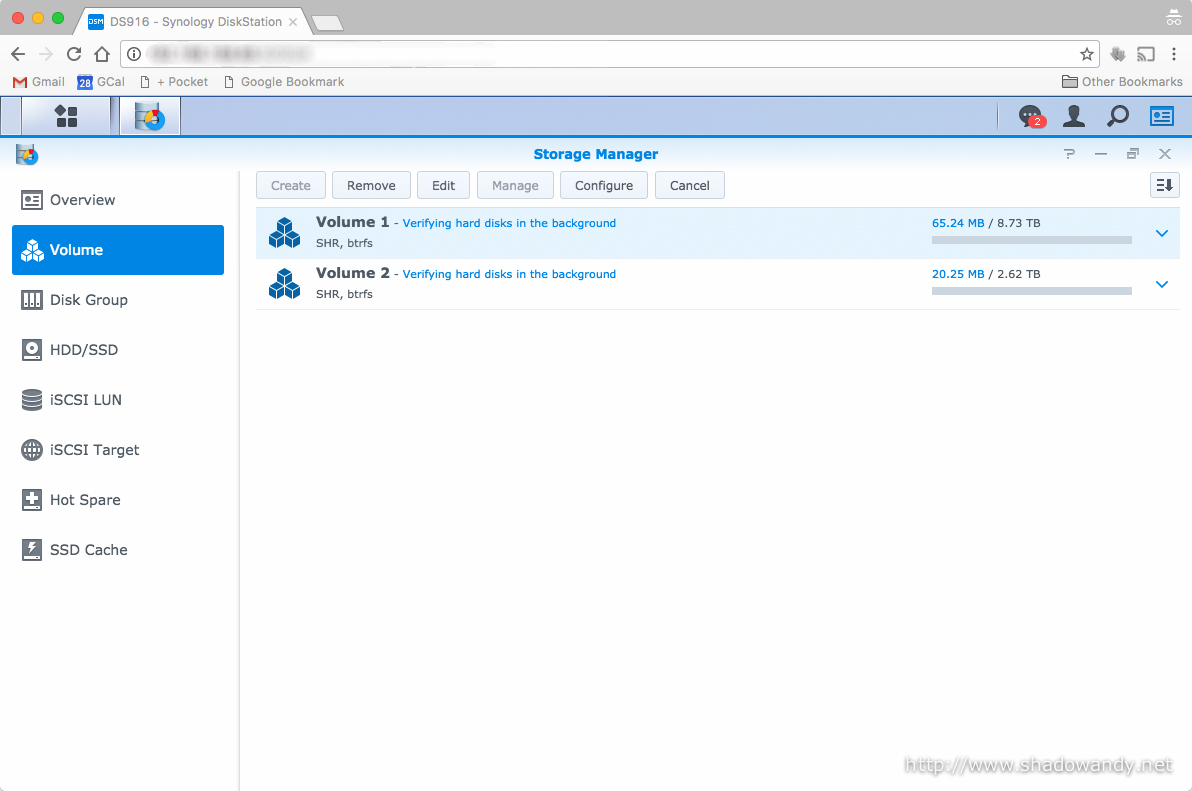
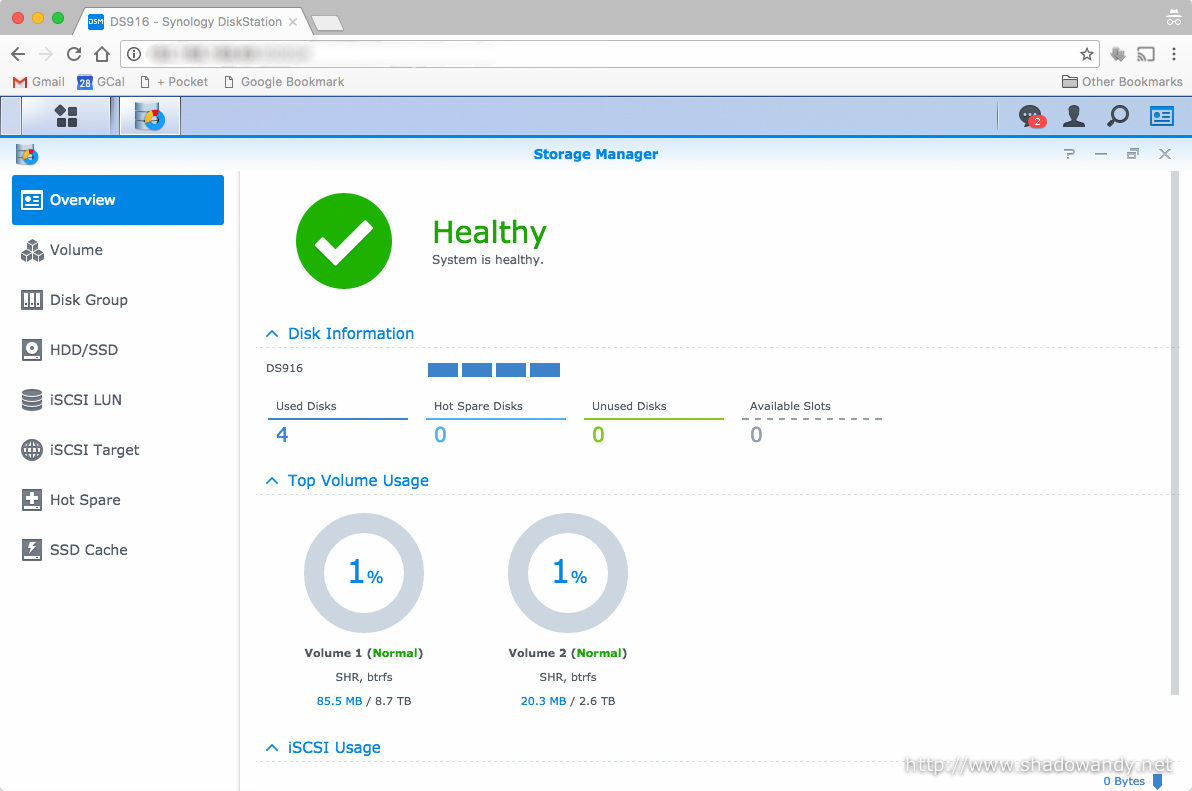
Setting up the Volume(s)
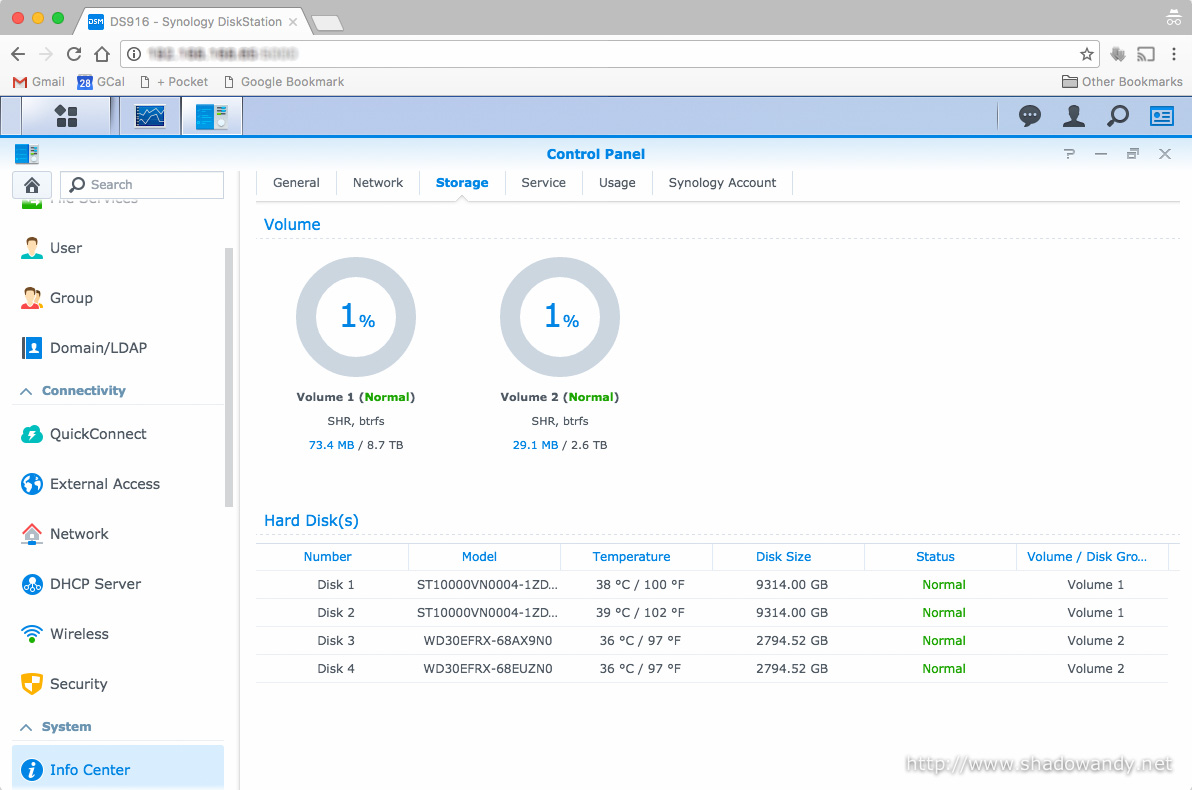
The Disk Station Manager has been installed but the DS916+ is not yet ready for use as the storage volume has not been created. In here, we choose the RAID configuration and file system for the volumes. I have the intention to test if there are difference between the Seagate IronWolf NAS hard drives and Western Digital Red NAS hard drives so I will be creating two volumes.
Speed Testing the DS916+
With both volumes ready for use. It is time to perform a speed test to check the transfer performance of the Synology DS916+.
I will be doing the speed/ performance test to Volume1 and Volume2 separately to see if there are any noticeable differences between the Seagate IronWolf NAS hard drives and Western Digital Red hard drives.
Test Equipments
For this speed, I have connected the following devices together:
- Synology DS916+;
- iMac 27-inch (mid 2011); and
- Synology RT1900ac
The maximum theoretical speed is limited by the single Gigabit link (1000Mb/s or 125MB/s).
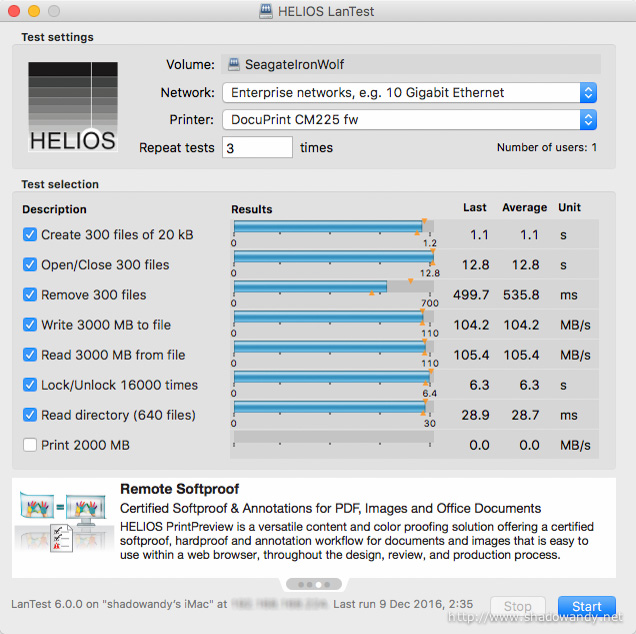
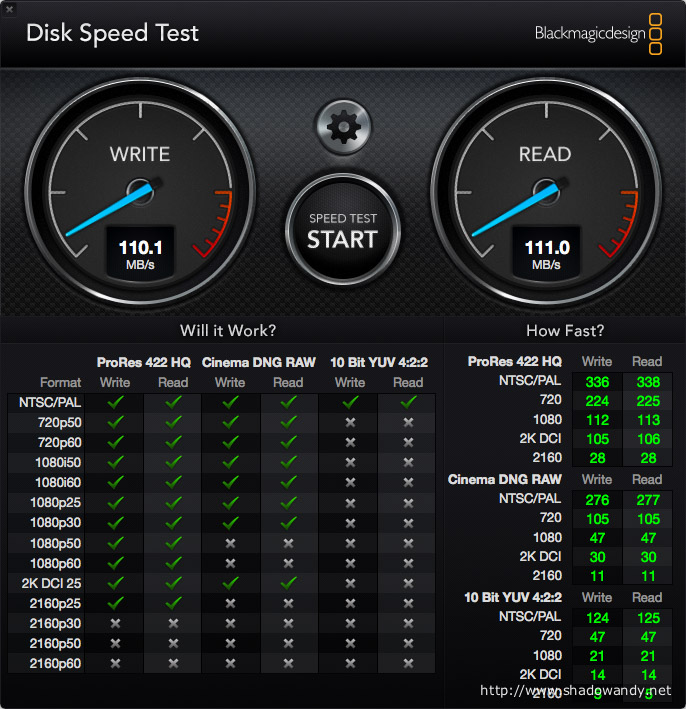
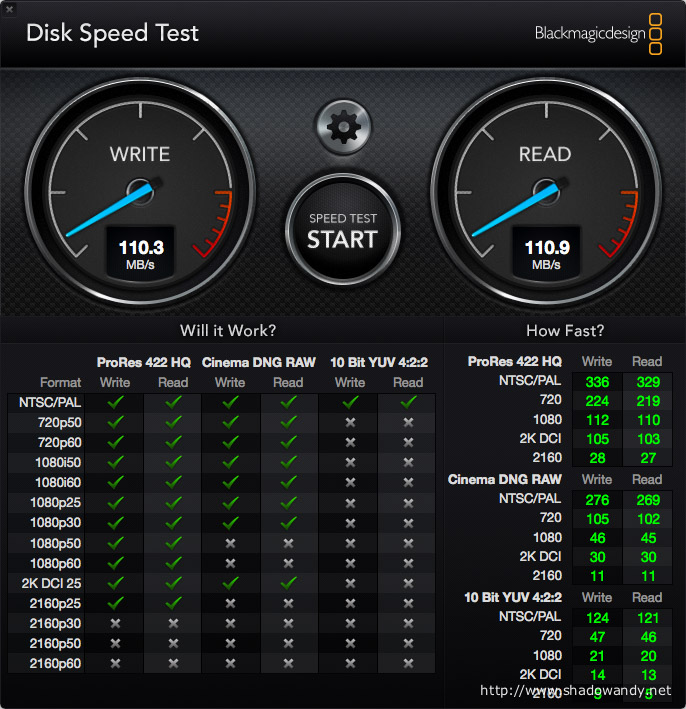
As for software, I will be using HELIOS LanTest and Blackmagic Disk Speed Test to simulate the workload and recording of performance metric.
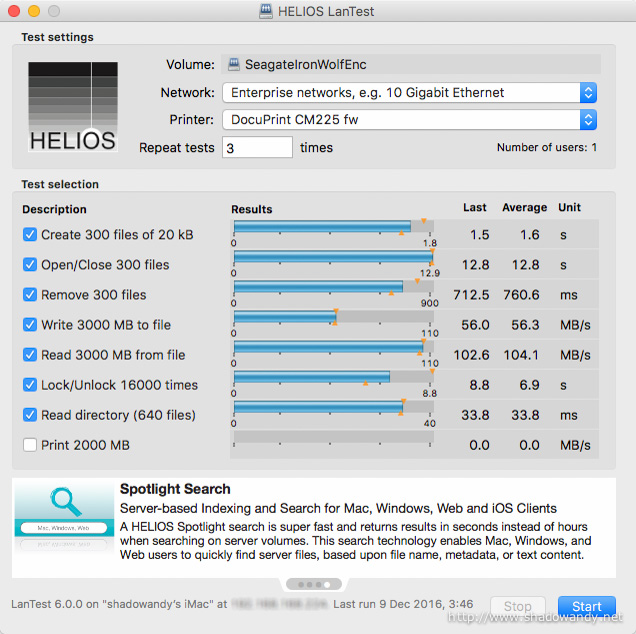
Seagate IronWolf Speed Test
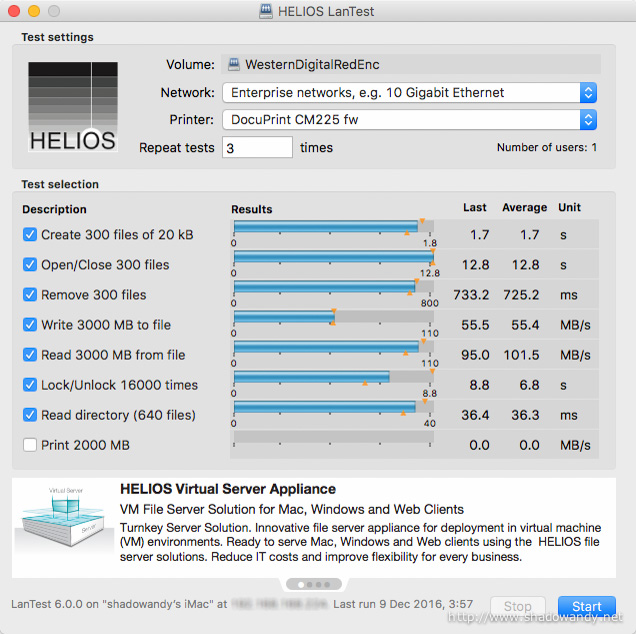
Western Digital Red Speed Test


Temperature of the Disks during Speed Test
Combined Speed Test Results
| Description | Seagate IronWolf | Western Digital Red | Seagate IronWolf (Encrypted) | Western Digital Red (Encrypted) |
|---|---|---|---|---|
| Create 300 files of 20 kB (s) | 1.1 | 1.3 | 1.6 | 1.7 |
| Open/Close 300 files (s) | 12.8 | 12.8 | 12.8 | 12.8 |
| Remove 300 files (ms) | 535.8 | 547.4 | 760.6 | 725.2 |
| Lock/Unlock 16000 times (s) | 6.3 | 6.2 | 6.9 | 6.8 |
| Read directory (640 files) (ms) | 28.7 | 28.7 | 33.8 | 36.3 |
| Temperature (℃) | 38.5 | 36 | 38.5 | 36 |
Good Performance
The Synology DS916+ performed well for the speed test. The reading and writing speeds to the file share averaged around 111MB/s and 110MB/s. It is also responsive in terms of handling multiple files as seen in the above results. The average CPU usage was around 25% for the speed test in clear.
In the encrypted file share speed test, the writing speed is noticeably impacted. The average writing speed dipped from 110MB/s to 65MB/s. However, the reading speed is not affected and remains near 111MB/s. Time taken for multiple files operation slightly increased. During the encrypted file transfer test, the CPU usage went up to 45%.
As for the performance difference between the Seagate IronWolf and Western Digital Red, I would say the different is marginal. This could be due to the number of disks in the RAID array. Perhaps a larger RAID volume of five Seagate IronWolf hard disks would make a difference?
Conclusion
With the DS916+, Synology has added another great product to its “plus” family. This four-bay hot-swappable NAS has the option to expand up to nine hard disks with the DX513 expansion units. The DS916+ features AES-NI hardware to accelerate encryption/ decryption operations. It also comes with a hardware transcoding engine for on-the-fly H.264 4K/ 1080p video transcoding.
The Synology DS916+ is noticeably quieter than my current DS1515+ during sleep and heavy loads and I hardly notice that the DS916+ is on my desk while writing this entry.
Lastly, Synology’s DiskStation Manager (DSM) and the huge library of applications (available in Package Center) makes the Synology DS916+ a great NAS appliance. If you plan to run most-if-not-all the apps, do get the DS916+ 8GB variant.