Enabling Time Machine on D-Link DNS-320

Enabling Time Machine support on the D-Link DNS-320 is, surprisingly, a straight-forward task. Yes, you can use your own NAS (Network Attached Storage) for Time Machine backups instead of Apple Time Capsule. However, Time Machine seems to use all the available space (on the NAS) for backup purposes. So I started to explore how can I limit the amount of disk space used for Time Machine.
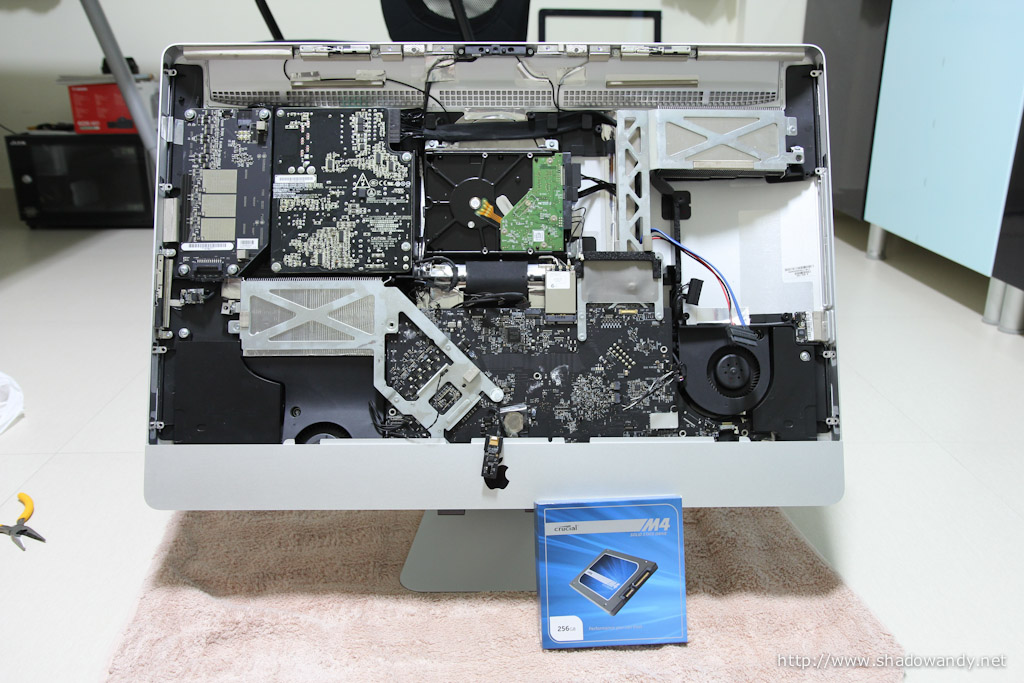
After getting my Apple iMac 27-inch recently from a computer show, I started to explore Time Machine on Mac OS X (Snow Leopard). I managed to set up Time Machine to backup to my DNS-320 and, at the same time, limit the disk space used by Time Machine.
I’ve put together a short guide on configuring Time Machine to backup to the NAS. In my case, I am using the DNS-320 as the backup target, you might want to tweak the guide slightly to suit your own needs.
What you will need
- A fun_plugged D-Link DNS-320
- A Mac
- Some free space (on the DNS-320) for Time Machine backup
Configuration summary
- Enabling AFP support on the NAS
- Testing (default) Time Machine backup to DNS-320’s Volume_1
- Creating a sparsebundle with specific disk size
- Editing the sparsebundle
- Uploading the edited sparsebundle file back to the NAS
Enabling AFP support on the NAS
In this section, we will enable the Apple Filing Protocol (AFP) on the NAS, which in my case is a D-Link DNS-320. CIFS works too (the default network share settings) but I think Mac are more optimized for AFP.
- Login to your DNS-320’s web administration page
- Navigate to Management –> Application Management –> AFP Service
- Under the AFP Service Setting, select Enable
- Click on the “Save Settings” button
AFP is enabled by default for network shares (DNS-320 firmware version 2.00)
Testing Time Machine backup to DNS-320’s Volume_1
Before you proceed. Ensure that you are able to read and write to the DNS-320’s Volume_1. You can verify it by:
- Navigate to Applications –> Utilities –> Terminal
A terminal window should launch - Type the command “defaults write com.apple.systempreferences TMShowUnsupportedNetworkVolumes 1” without the quotes
- Launching Finder
- Press ⌘ + k
A Connect to Server prompt should appear
Using Finder to connect to network share - Browse to your DNS-320 or simply specify “afp://<DNS-320’s IP address>/Volume_1” without the quotes. You should replace <DNS-320’s IP address> with its LAN IP address and Volume_1 with your network share name if you are not intending to use Volume_1
- Press the “Connect” button
The network share, Volume_1, on DNS-320 should appear - Test read & write by creating a new folder in the network share

After verifying that you are able to write to the network share. Try if Time Machine is able to use your NAS as a backup disk
- Navigate to System Preferences –> Time Machine
Time Machine preference should launch
Time Machine - Click on the “Select Disk…” button
A disk selection prompt should appear
Time Machine - Using Network share for Time Machine backup - Select the network share you connected to earlier
- Click on the “Use for Backup” button
- Force a backup by selecting “Back Up Now” from the Time Machine icon on the menu bar

If you look at your network share, a new file in the format <computer name>.sparsebundle should be created. This sparsebundle file allows Time Machine to use all the available free space on your NAS. We will need this sparsebundle image for the later section, don’t remove it.
Pause the Time Machine temporarily by switching it to the Off state while we do the rest of this guide.
Creating a fixed-size sparsebundle for Time Machine backups
In this section, we will be creating a 256GB sparsebundle file for Time Machine backup. First locate your computer name, you can find it by navigating to System Preferences… –> Sharing. After getting your computer name, we will create a fixed size sparsebundle image on your Desktop:
- Navigate to Applications –> Utilities –> Terminal
A terminal window should launch - In the terminal window, type “cd Desktop” without the quotes
- In the terminal window, type “hdiutil create -size 256G -fs HFS+J -volname “Time Machine Backups” -type SPARSEBUNDLE <computer name>.sparsebundle” without the quotes and replacing <computer name> with your computer name
The <computer name>sparsebundle file should appear on your desktop
Great! What’s left now is to edit the sparsebundle image!
Editing the sparsebundle(s)
Remember the sparsebundle image on your NAS? Navigate to the network share that contains the sparsebundle (hint: you can use ⌘ + k in Finder). We will need to
- Navigate the network share containing the sparsebundle created by Time Machine
- Right-click on the <computer name>.sparsebundle and select “Show Package Contents”
A new Finder window should appear
Editing the sparsebundle file - Copy the file “com.apple.TimeMachine.MachineID.plist” onto your Desktop
You should have a new file com.apple.TimeMachine.MachineID.plist - Close the Finder window
- From your desktop, right-click on the <computer name>.sparsebundle and select “Show Package Contents”
A new Finder window should appear - Copy the “com.apple.TimeMachine.MachineID.plist” on your Desktop into the Finder window. It means that, you copy the “com.apple.TimeMachine.MachineID.plist” file into the <computer name>.sparsebundle
- Right-click on “Info.bckup” and select “Get Info”
A new window named “Info.bckup Info” should appear - Under the “Sharing & Permissions” section, change the Privilege of “everyone” to “Read Only”
- Close the “Info.bckup Info” window
- Right-click on “Info.plist” and select “Get Info”
A new window named “Info.plist Info” should appear - Under the “Sharing & Permissions” section, change the Privilege of “everyone” to “Read Only”
- Close the “Info.plist Info” window
- Close the <computer name>.sparsebundle Finder window

You are almost there! Hang on!
Uploading the edited sparsebundle file back to the NAS
In this section, we are replacing the <computer name>.sparsebundle file on your NAS with the one on your Desktop.
- Navigate to the network share containing the <computer name>.sparsebundle. (hint: you can use ⌘ + k in Finder)
- Copy the Desktop’s <computer name>.sparsebundle file onto the network share, replacing the one on the NAS
After you have finished copying the edited file, do the following:
- Telnet/SSH to your DNS-320
- Navigate to the folder containing the sparsebundle image
- Navigate into the spasebundle image by typing “cd <computer name>.sparsebundle” without the quotes and replacing <computer name> with your computer name
- Change the permission of the Info.* files by typing “chmod 555 Info.*” without the quotes
- Close the telnet/SSH window
Turn on Time Machine! Time Machine backups will be capped at the size you have defined. If you check the console logs, you will notice that Time Machine throws an error as it attempts to resize the sparsebundle to your NAS’s max free capacity. It is perfectly normal.
Now you have got a fixed-size Time Machine backup on your NAS.
Checking whether you did it correctly
You can check whether you created a fixed size sparsebundle image. The console messages should reflect that Time Machine (backupd) “Could not resize backup disk image (DIHLResizeImage returned 13)”.
To check, simply do the following:
- Navigate to Applications –> Utilities –> Console
- From the top navigation bar, click on “Show Log List”
- On the left menu bar, select “All Messages”
- In the Filter, type “backupd” without the quotes
- Look for the message “Could not resize backup disk image (DIHLResizeImage returned 13)”

If you see the message “Could not resize backup disk image (DIHLResizeImage returned 13)”, it means that Time Machine failed to resize the sparsebundle image. You have successfully limited Time Machine backups to a fixed size image!