ASUSTOR AS-606T Review – Setting it up

Setting up of the ASUSTOR AS-606T is straight forward. You know the drills:
- Pop out the drive trays / caddies
- Put in the hard drives and secure them to the drive tray
- Pop in the loaded drive trays
- Initialise the NAS and have fun
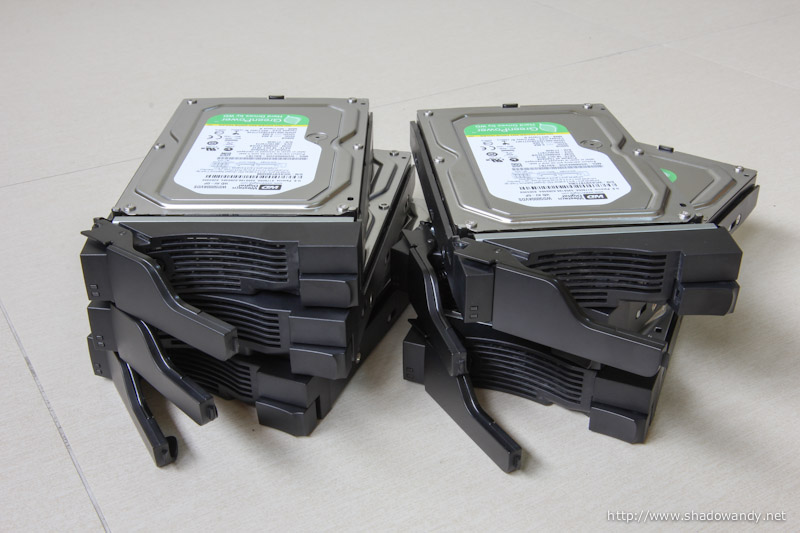
So what hard drives will be going into the ASUSTOR NAS this time round? I have decided to go Green this time round. Yes, Western Digital Green hard disk drives.

The drive trays
The drive trays are made of metal and plastic. The portion that is holding the hard disk is made of metal while the front part where the handle/lever is location is made of plastic. There are no options of locking the drive tray though.

There are also no rubber grommets for the screw area to dampen the hard disk vibrations. Well, this is not an issue as the hard drives don’t really rattle.

The clear strips of plastic is certainly new to me. They transmit the light all the way to the front to show you the HDD status. I think other products simply built the light indicators on the enclosure itself. ASUSTOR probably did this to consolidate the circuitry at the back of the NAS enclosure so that it can be more easily assembled or disassembled.

Now to the screws. ASUSTOR has provided two sizes. The left (shorter) one is for 2.5″ hard disk drive while the right (taller/longer) one is for 3.5″ hard disk drive mounting.

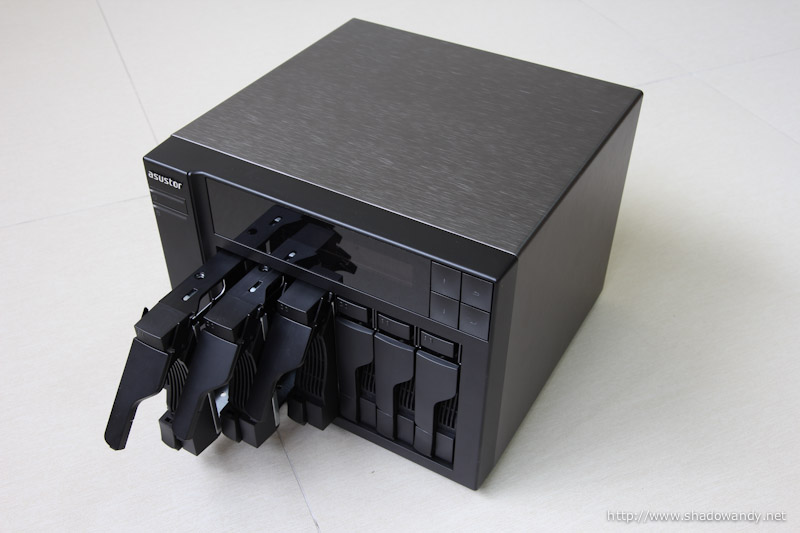
Setting it up

Once the hard disks are mounted onto the drive trays / caddies. Slide them into the ASUSTOR AS-606T. Hook up the network cable(s) and power cable and it is good to go!
To initialise the ASUSTOR NAS, you can use any of the three methods below:
- Through the ASUSTOR Control Center (from the Installation CD)
- Using a web browser. Simply navigate to the IP Address of the ASUSTOR NAS
- Using the LCD display as seen in the picture above
Simply let it do its own initialisation. Once it is complete, navigate to the ASUSTOR NAS’s IP shown on the LCD display and login to the web administration page using the “admin” user account (password is “admin” without the quotes).
The different parts of ASUSTOR AS-606T review
- ASUSTOR AS-606T Review – Introduction
- ASUSTOR AS-606T Review – Setting it up
- ASUSTOR AS-606T Review – ASUSTOR Data Master (ADM)
- ASUSTOR AS-606T Review – Speed Test!
- ASUSTOR AS-606T Review – Turning it into a HTPC with Boxee
Picture gallery