Migrating to a new Synology NAS using Migration Assistant
Recently, I used the Migration Assistant to migrate data and system settings from the Synology DS1817+ to the DS1821+ NAS. Other than refreshing the NAS, a brand new set of 10TB hard drives replaced the existing 6TB. The migration was seamless and services remained available during the process.
Various Migration Options
Synology has several migration methods on the table, they are:
- Hard drives migration
- Migration via Migration Assistant
- Migration via Hyper Backup
I decided to go for Migration Assistant as I am refreshing the hard drives along with the NAS.
Usually I will just migrate the existing hard drives (Seagate IronWolf 6TB) to the new NAS but not this time round because they are out of warranty and I am in need of additional storage space.
Why not hard drive migration and replace drives with higher capacity?
Of course, I can migrate the existing hard drives over to the DS1821, replace the hard drives one-by-one and let it rebuild the RAID with each hard drive replacement. However, this process would be time consuming and incur unnecessary read-writes on the hard drives.
Then why not Hyper Backup?
One key requirement of using Hyper Backup is that you need twice the amount of storage capacity as the amount of data on the source Synology NAS. That is, if I have 30TB of data on my DS1817+, I will need 60TB of storage capacity on the DS1821+.
Even if I meet the storage capacity requirement, I would need a 30TB portable drive to move the backup data over without network for speed advantage. But if I will still be relying on network transfers, I might as well go for the Migration Assistant route.
My experience with the Migration Assistant
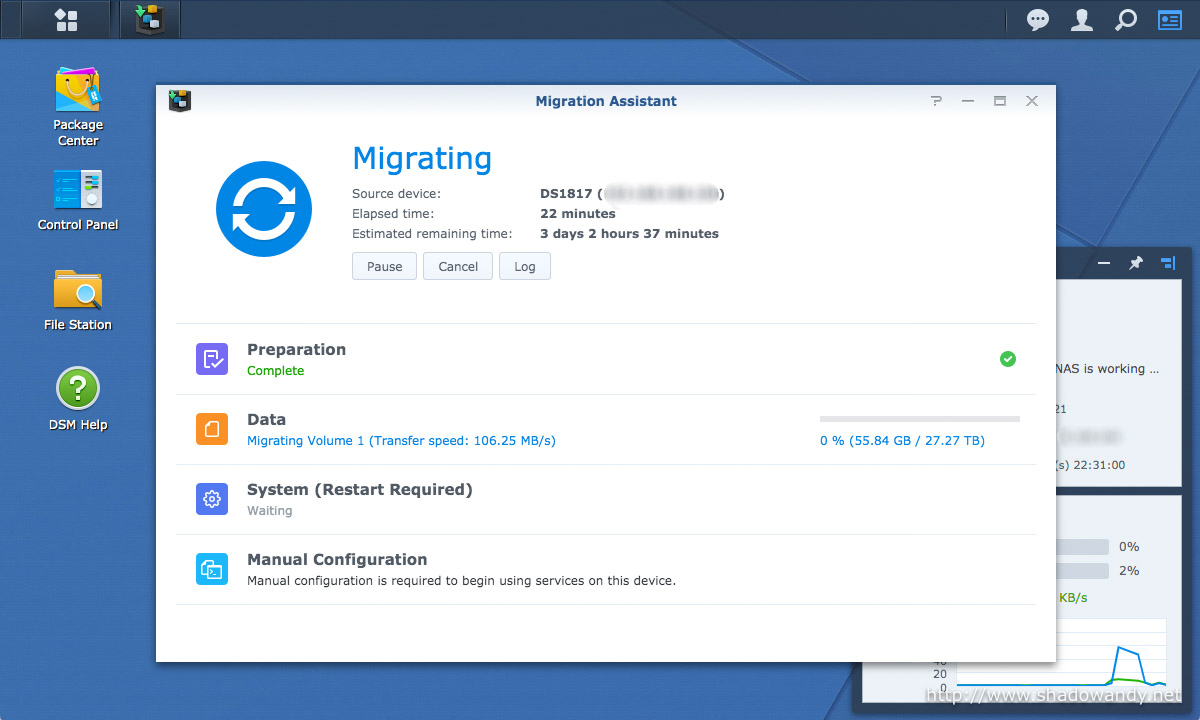
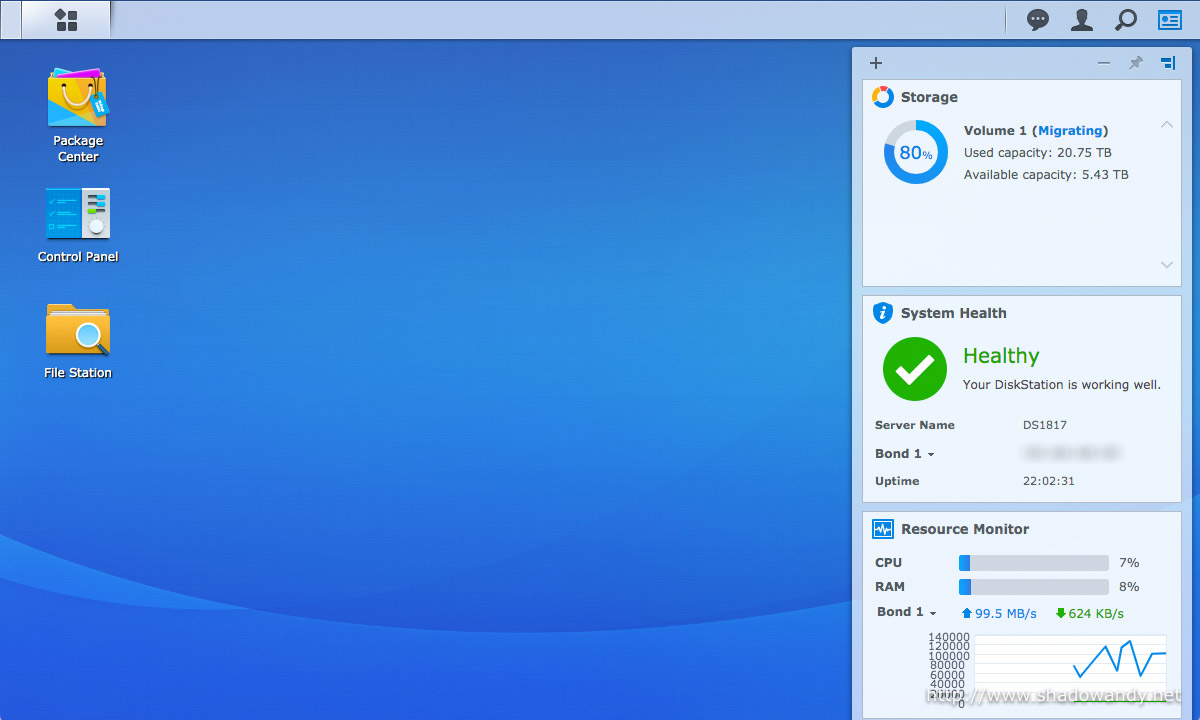
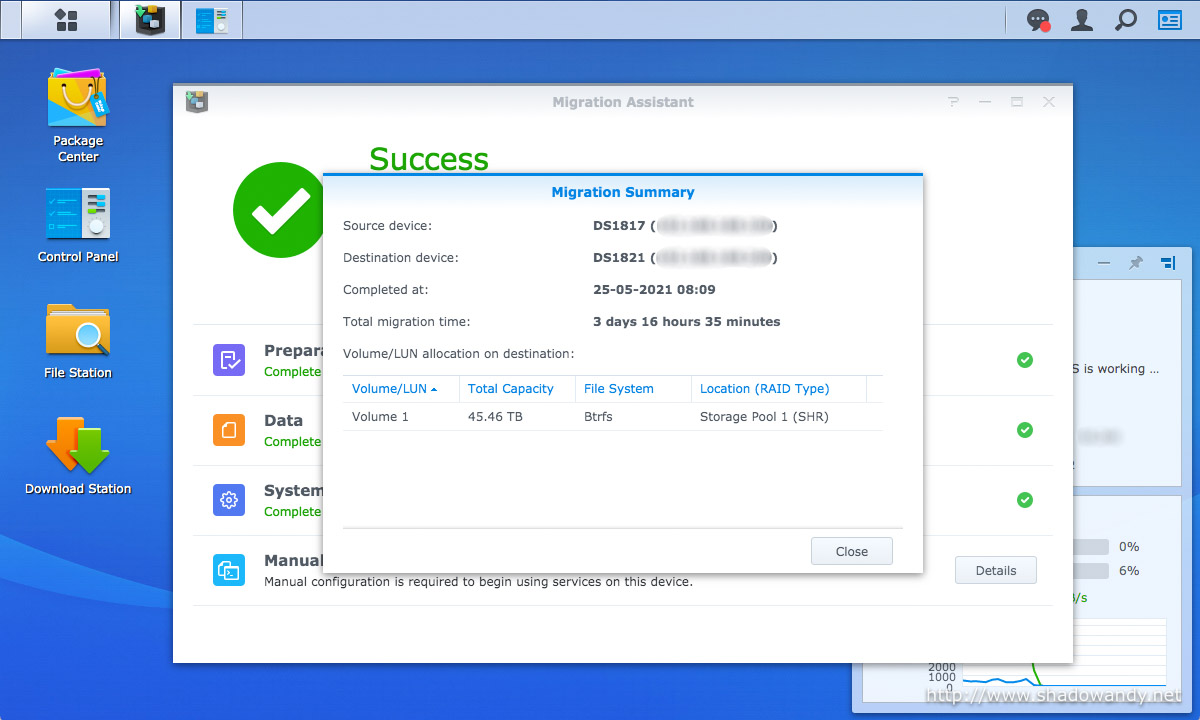
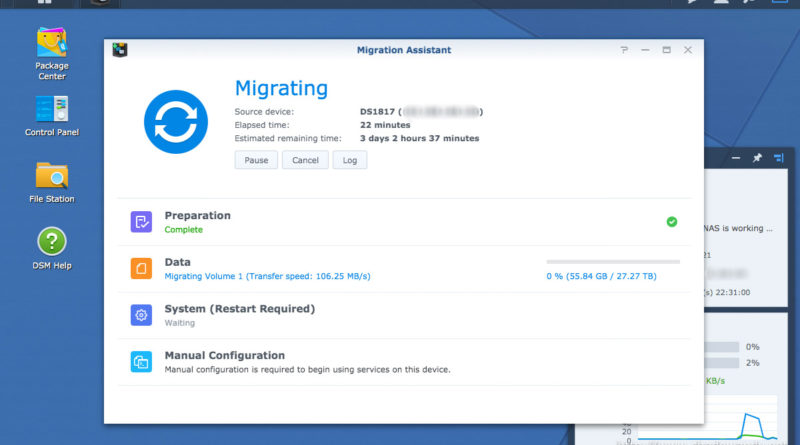
The migration to the new DS1821+ NAS took around three days for 27TB of data over my Gigabit network. During migration, the services are still available on the source NAS (DS1817+) and migration assistant adjusts its transfer speed to minimise impact to the services. Hence, services like Synology Drive, DS Cloud and Docker continue to serve the clients.
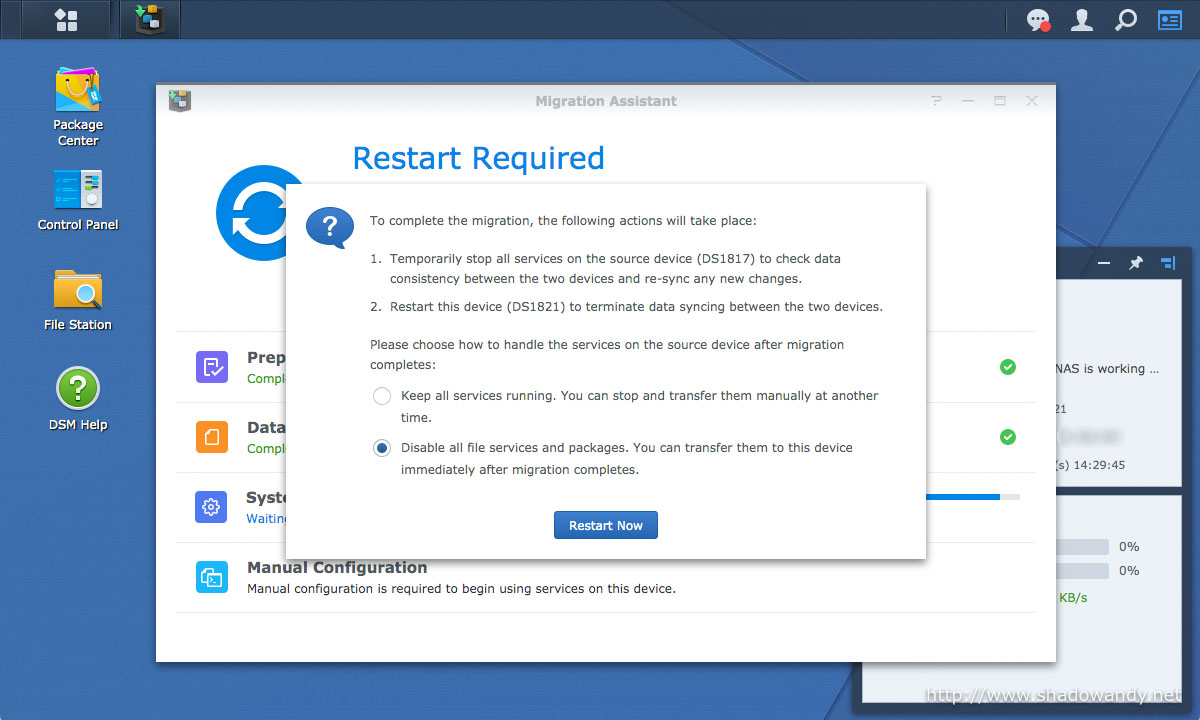
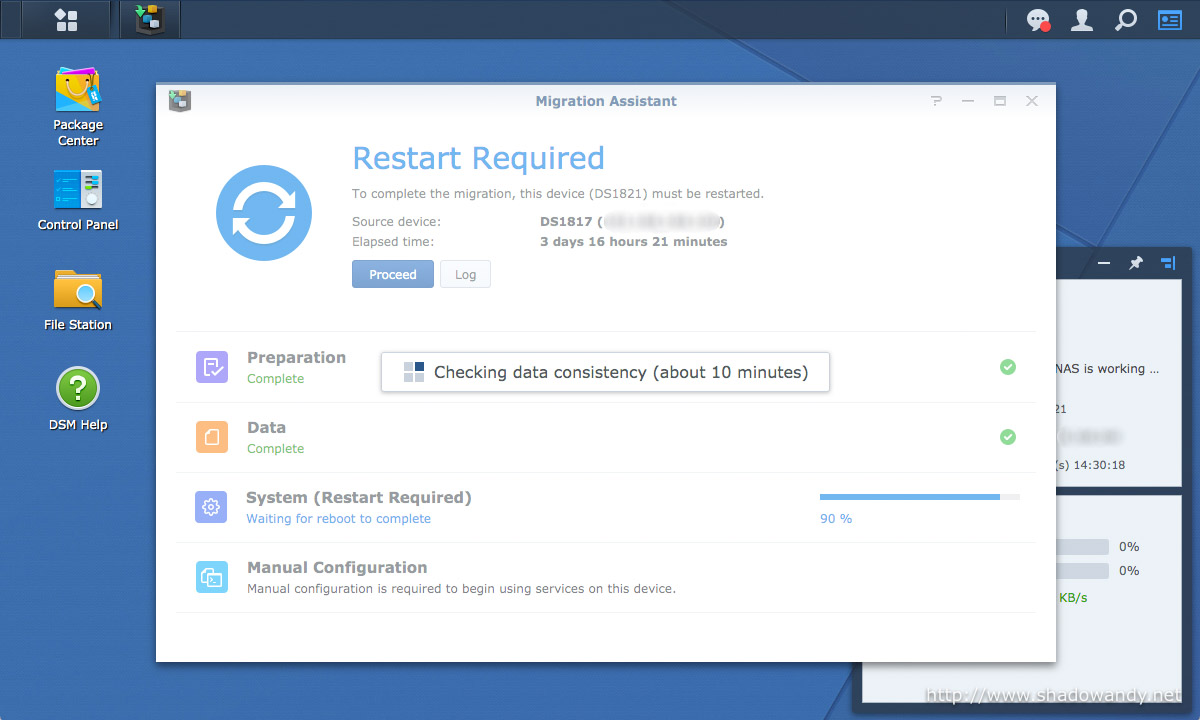
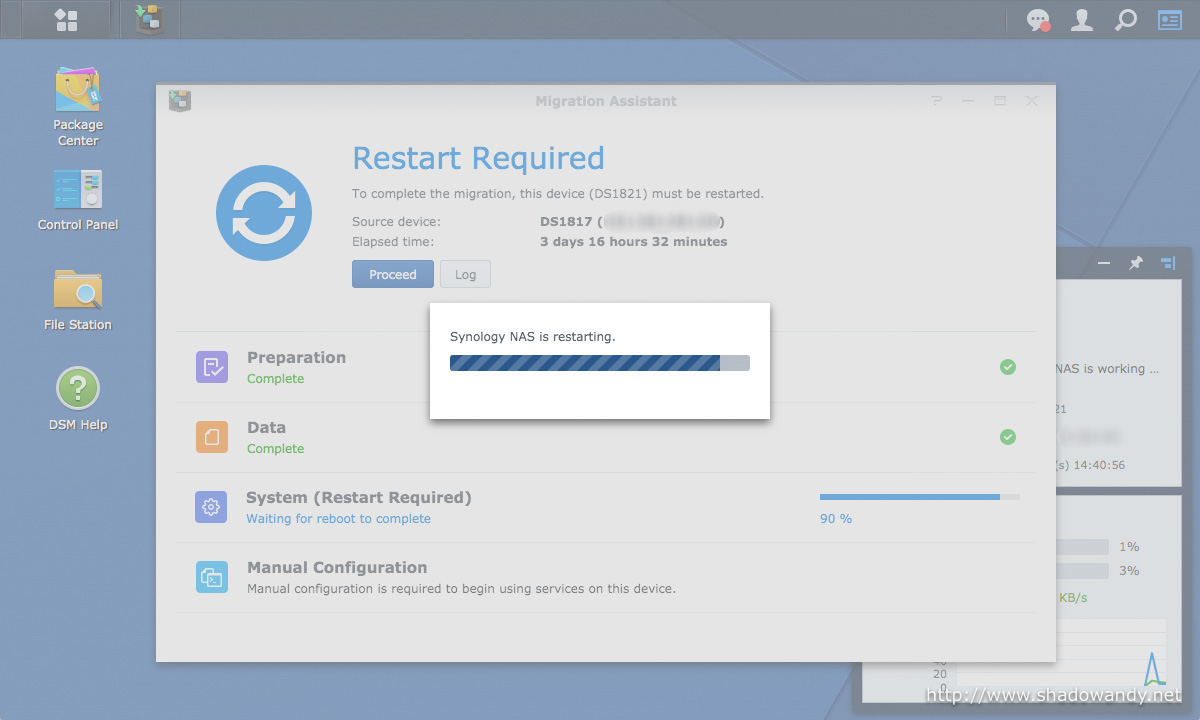
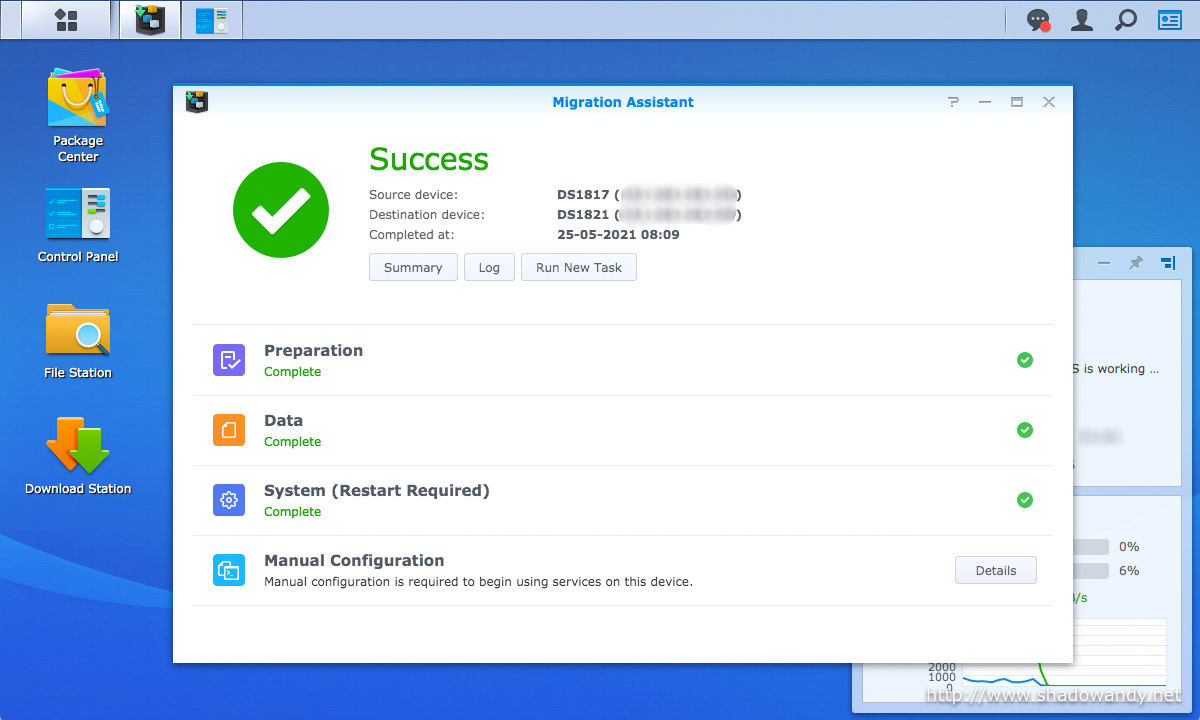
Before the actual cutover to the new NAS, the Migration Assistant does a final check and re-syncs any data inconsistencies. Considering that we cant avoid adding or removing data during the migration period, this is a great feature.
All in all, I am happy with the Synology Migration Assistant.
Some Tips
Make full use of the link aggregation feature on both the source and destination NAS. Even if your network switch do not support link aggregation, you can use adaptive load balancing (under Control Panel > Network > Network Interface) to improve the network throughput. Do match the speeds on both the source and destination Synology NAS as there is no point having 4000 Mbps on one end and 1000 Mbps on the other.
You can pause and resume the migration when needed. If you need your source Synology NAS and network to continue providing services at peak performance, you can manually pause and resume the migration during off-peak hours.
Some items are not migrated seamlessly
I observed the following packages/ settings are not enabled after the migration:
- The Docker images and containers settings were transferred but containers were not started
- Firewall profiles were transferred but not enabled
The following items that are not migrated:
- Community packages and settings
- Server name
- Self-defined static routes
- Desktop widgets
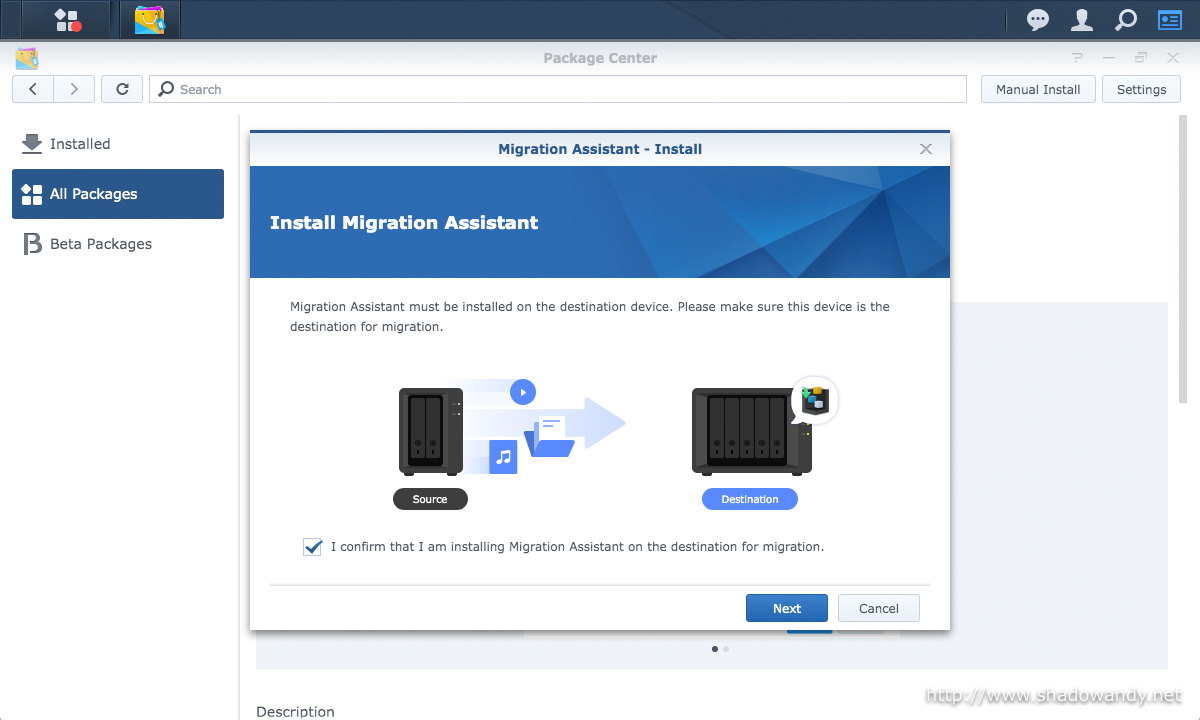
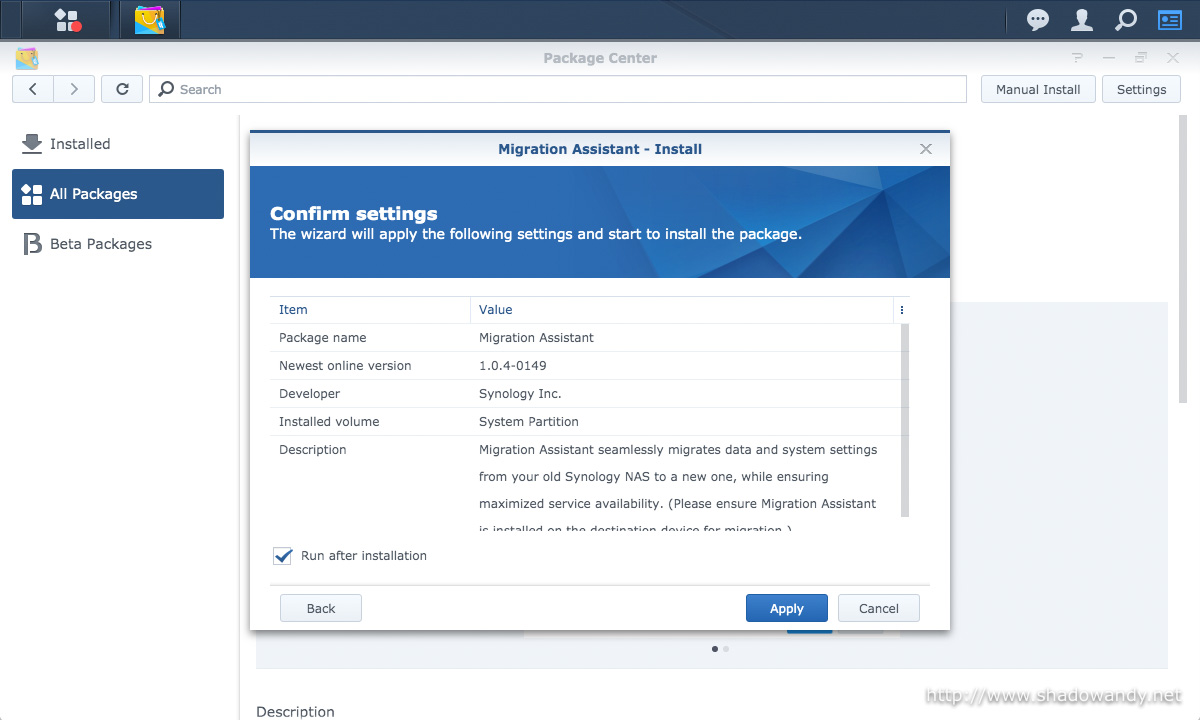
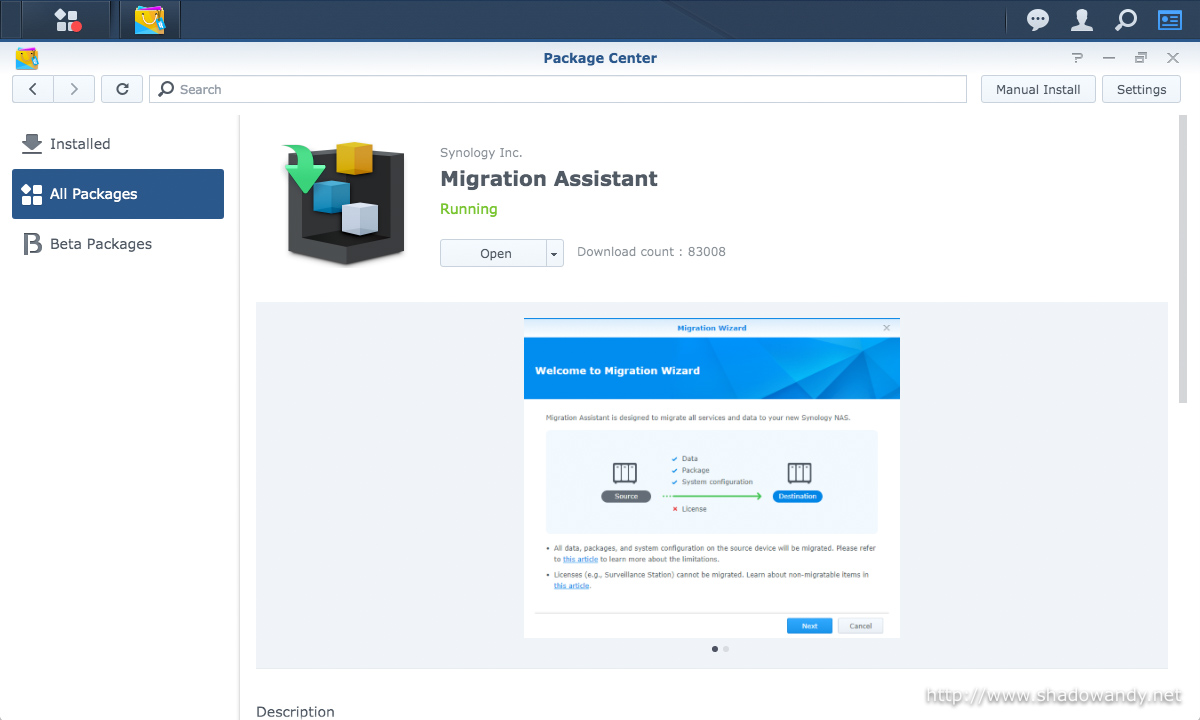
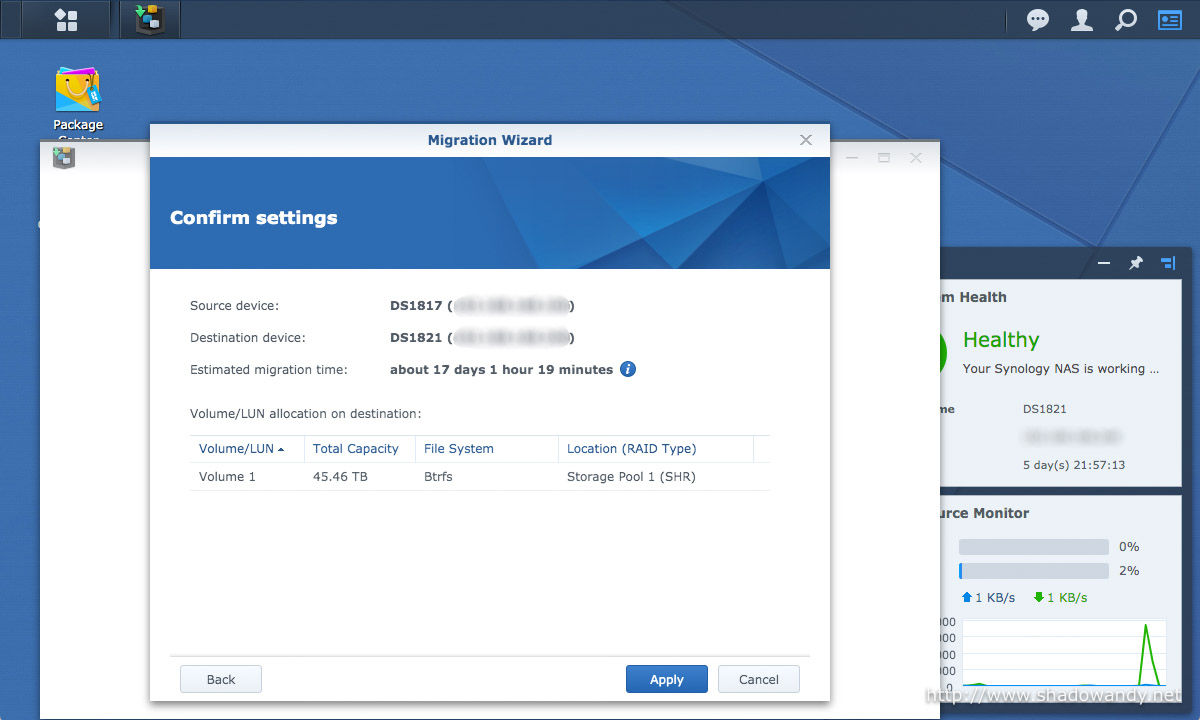
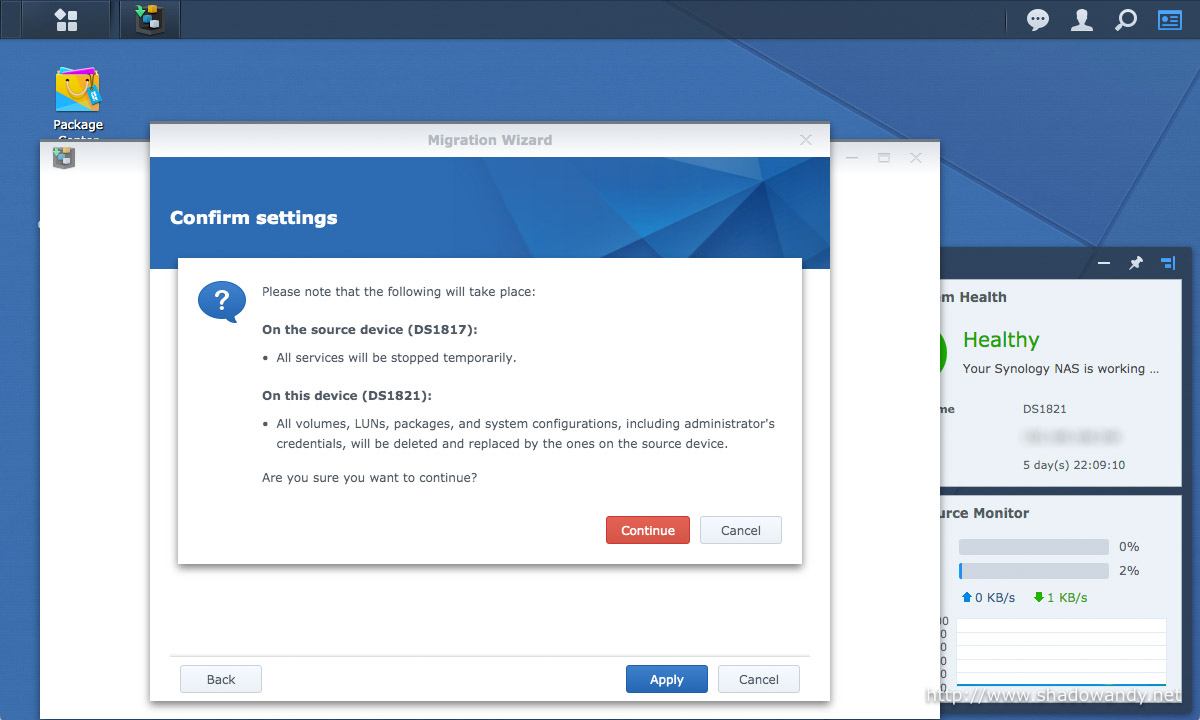
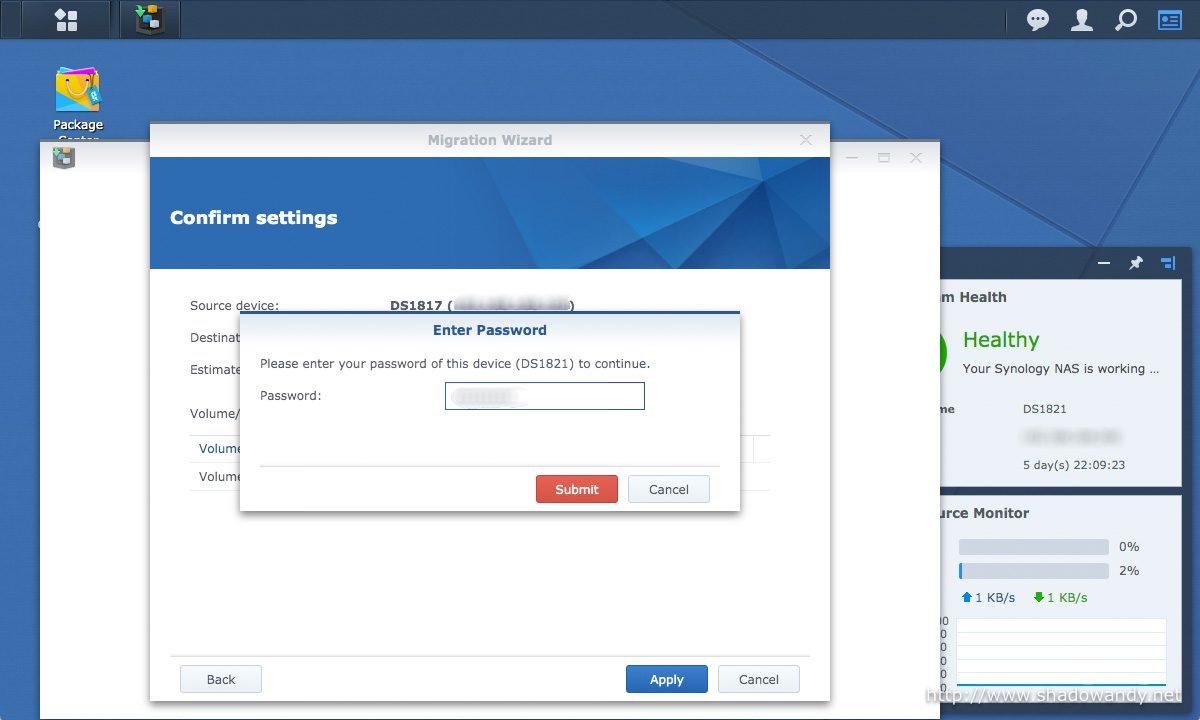
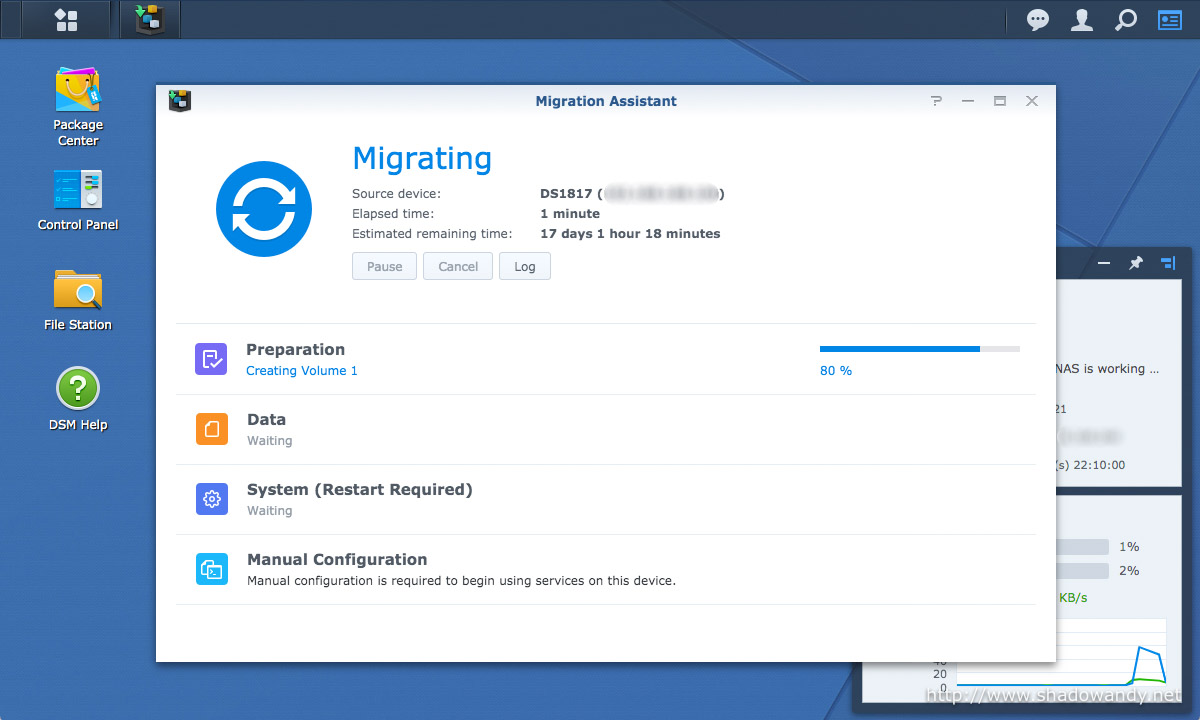
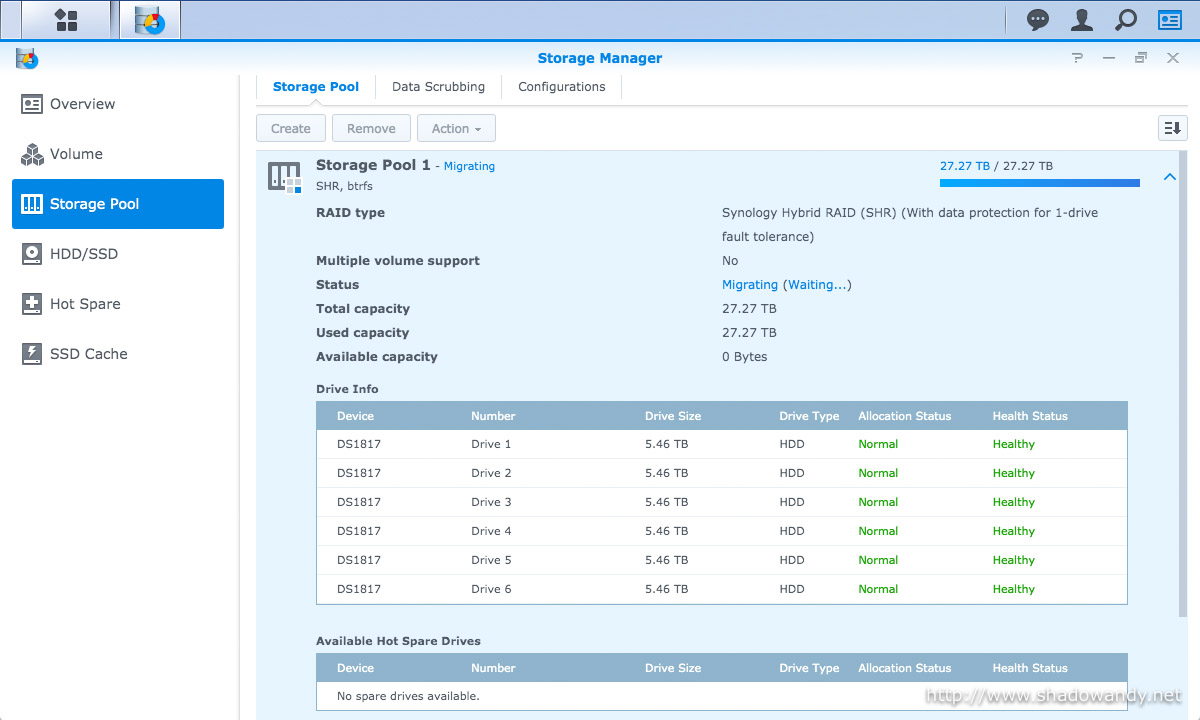
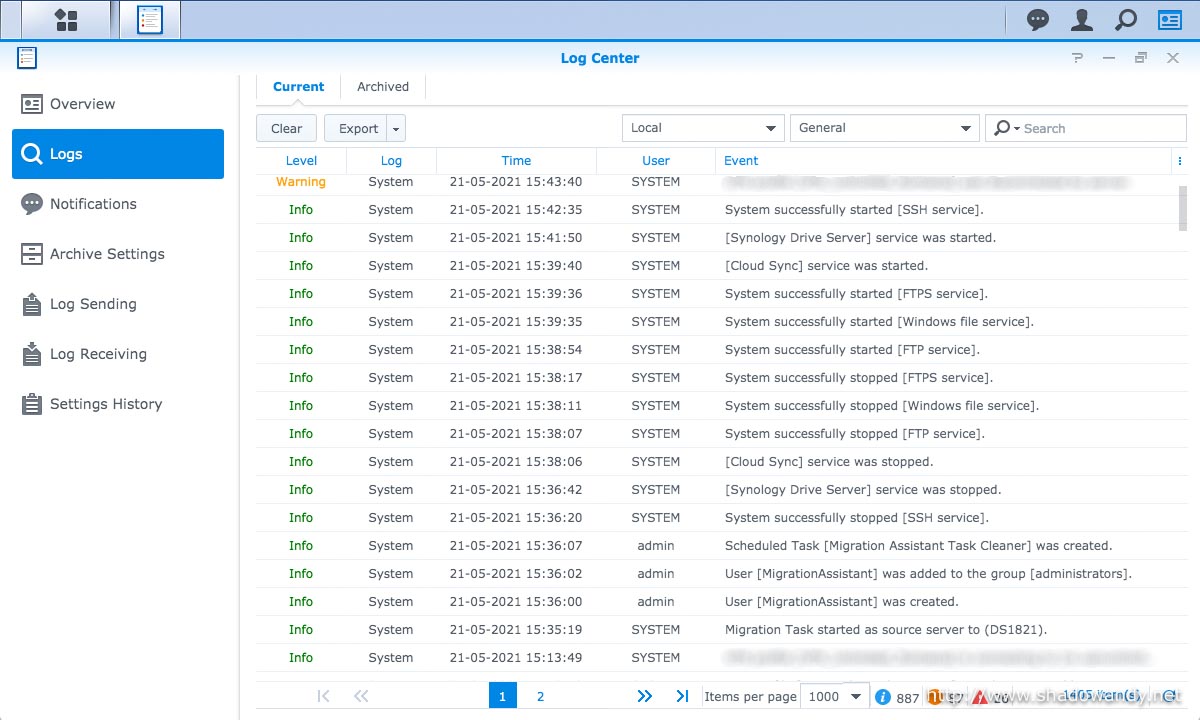
Guide on using the Migration Assistant

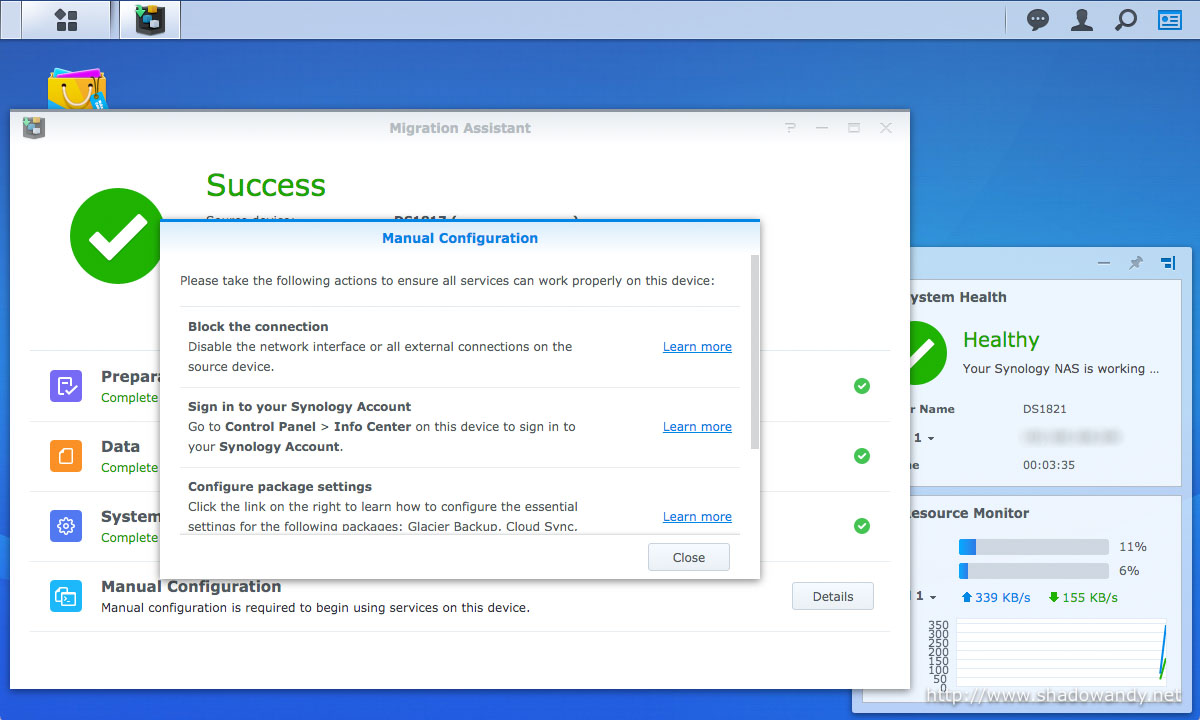
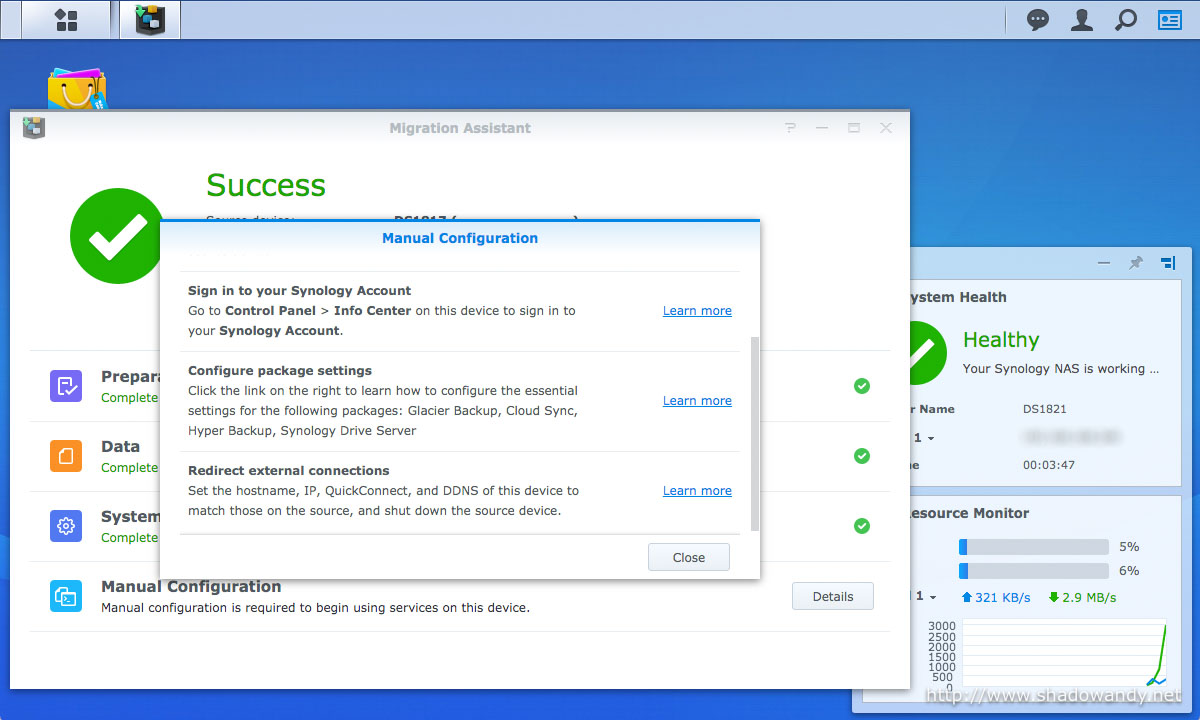
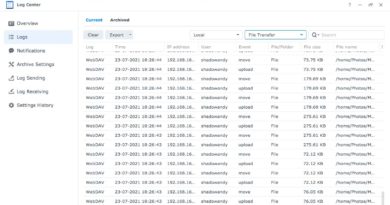
Package Center – Installing Migration Assistant on the destination NAS (DS1821+). Step 2 of Installing Migration Assistant on the destination NAS (DS1821+). Step 3 of Installing Migration Assistant on the destination NAS (DS1821+). Installed the Migration Assistant on the destination NAS (DS1821+). Running the Migration Assistant. Supplying information of the source NAS (DS1817+). Results of the initial system check. Initial estimation of migration time. 17 days! I almost fainted. The services on source NAS is temporarily stopped to snapshot their settings. They are subsequently started automatically and continue to run during migration. Supplying the administrator password to the destination NAS (DS1821+). Wiping and creating the volume on destination NAS (DS1821+). Preparing the syncing environment. Migrating the data from source NAS to destination NAS. The source NAS (DS1817+) highlighted the volume in migrating status. The storage pool on the destination NAS (DS1821+) in migration status. The storage pool on the source NAS (DS1817+) in migration status. The logs on source NAS (DS1817+) shows a new user has been created for this migration. It also show the temporary stopping and restarting of services. After the data migration, you can choose to transfer the services to the destination NAS (DS1821+). Checking for and re-syncing any data inconsistencies. Restarting. Information on Manual Configuration. Information on Manual Configuration. The migration from DS1817+ to DS1821+ using Migration Assistant completed successfully. The migration from DS1817+ to DS1821+ using Migration Assistant completed successfully.