DIY Bokeh Kit – Creating creative Bokeh

Bokeh, in photography, is the way the lens renders out-of-focus points of lights into soft-edged circles. It usually gives a nice soft background effect to your pictures. You can create creative bokeh by changing how light enter the lens. In this guide, we will DIY a Bokeh kit for creative shaped bokeh out of a Pringles cap.
The DIY Bokeh Kit
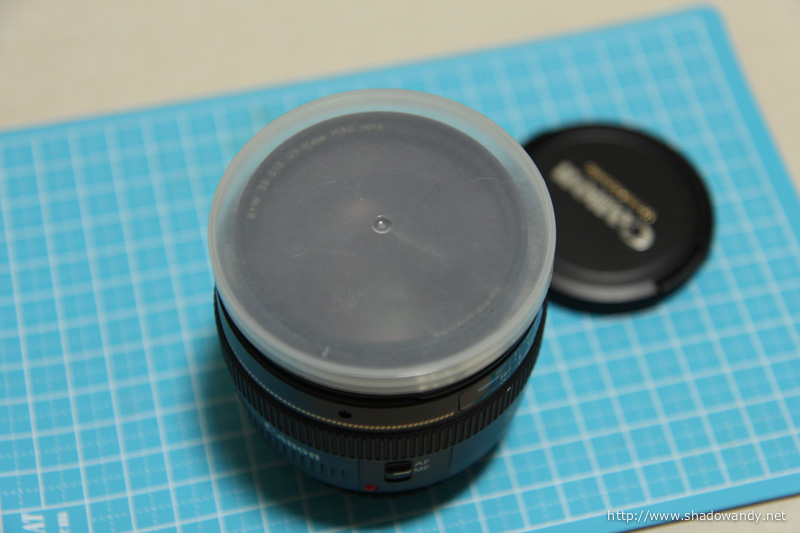
The Bokeh filter holder (modified Pringles cap) will attach to the lens filter thread securely. As it attaches to the lens filter thread, you can freely rotate the pattern to suit your orientation (e.g. portrait, landscape shots).
Bokeh filters of various cutout patterns can be attached onto the Bokeh filter holder with ease. Decide to change the bokeh effect? Simply slide out the current bokeh filter and slide in the next one.
Sounds interesting? Lets start doing your own Bokeh Kit – the bokeh holder and filter.
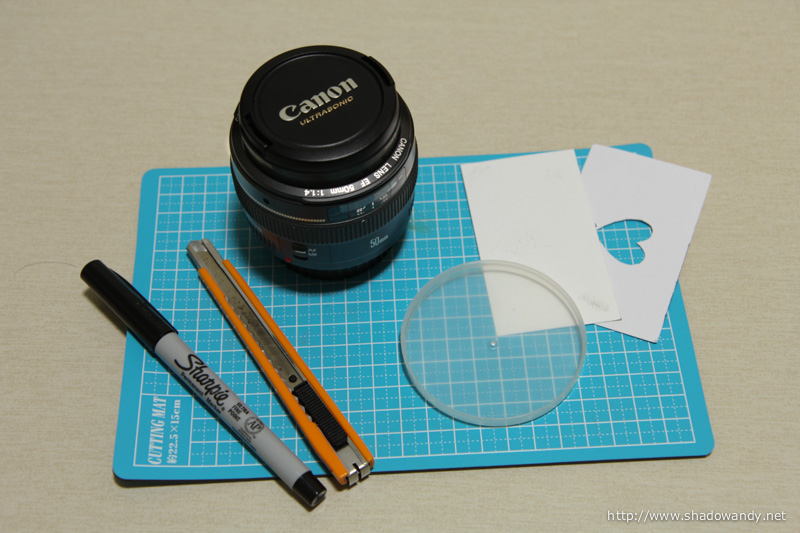
Things you will need
- A nice wide aperture lens like Canon EF 50mm f/1.4, Nikon 50mm f/1.4, Sigma 30mm f/1.4, etc.
- Pringles cap
- Cards (as Bokeh filters)
- Pen knife
- Sharpie pen
- Cutting mat (optional)
Making the Bokeh filter holder
In this guide, I will be making a bokeh filter holder for the Canon EF 50mm f/1.4 (58mm filter thread). For lens with other filter thread size, just vary the lens attachment point accordingly.
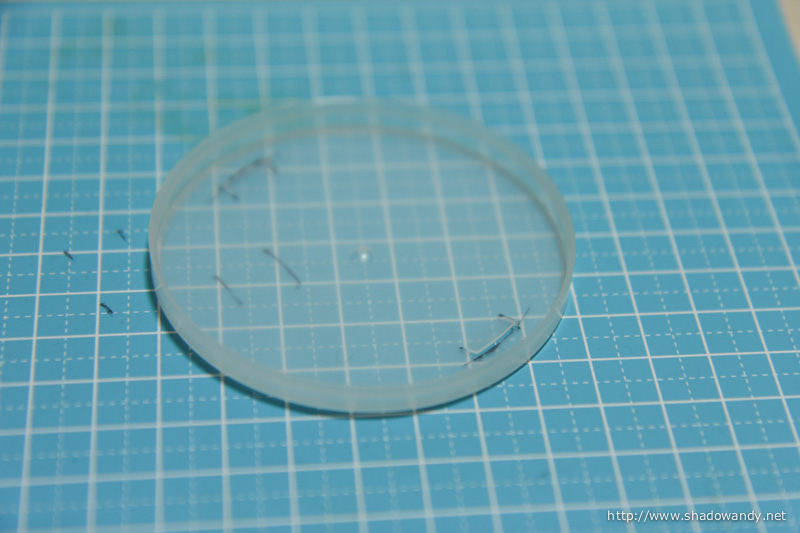
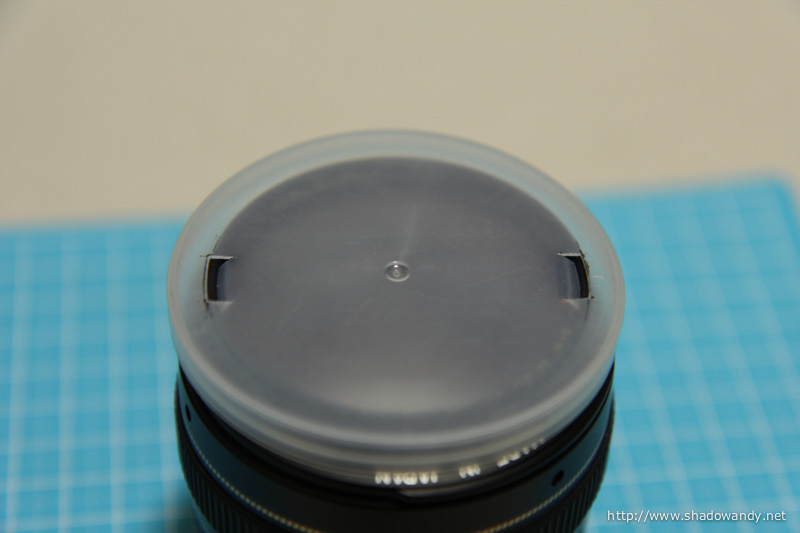
Flaps to attach the Bokeh filter holder to Lens
Firstly, we will mark out the attachment points to the lens / UV filter. These two attachment points (or flaps) will secure the filter holder to the front of the lens by clipping onto the filter threads.
You can roughly gauge where to cut the flaps by outlining the lens filter rim and trim it from there.

Cut along the solid lines and bend the two flaps slightly inwards (towards the cutting board) so that it can clip onto the filter threads. If it is too tight or causing the holder to bend, trim the flaps slightly until it fits snugly / slightly bend.
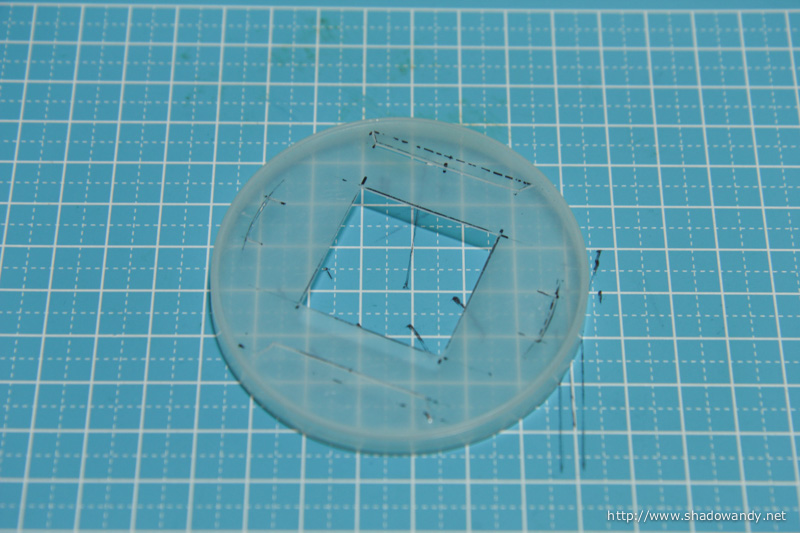
Slots to hold on to the Bokeh effect filters
The second step is to cut the flaps / slots to hold the bokeh effect filters in place. Mark them out using a appropriate sized card (e.g. name cards are just the right size for this).
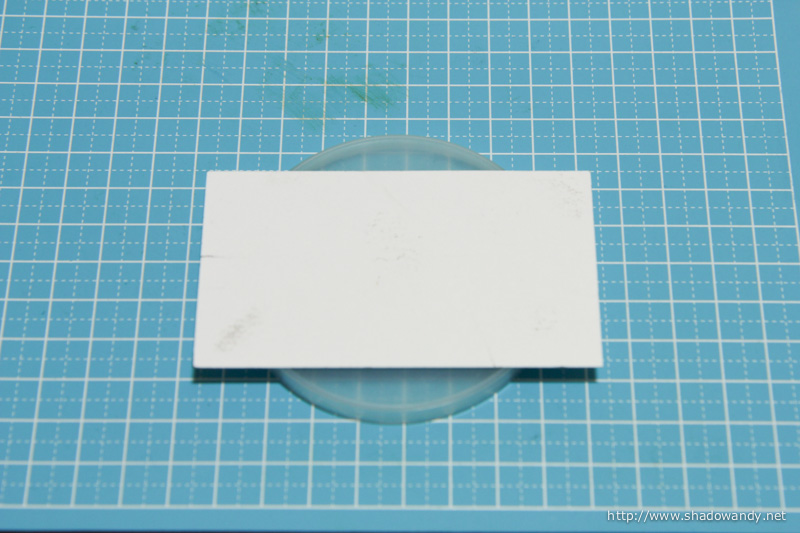
After marking out the slots, carefully cut along the solid lines.
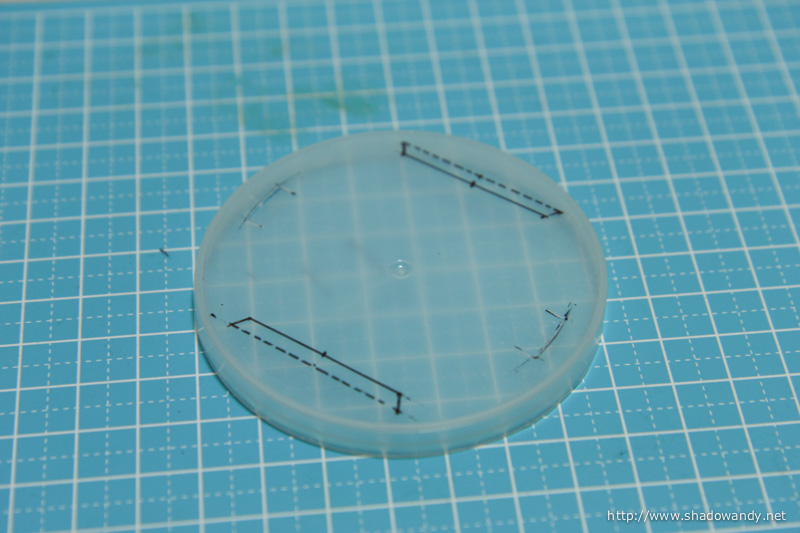
Finally, cut a hole in the middle of the Pringles cap to allow light to pass through. Experiment with different sizes. The smaller the hole, the lesser light goes through it and the lens slows down.
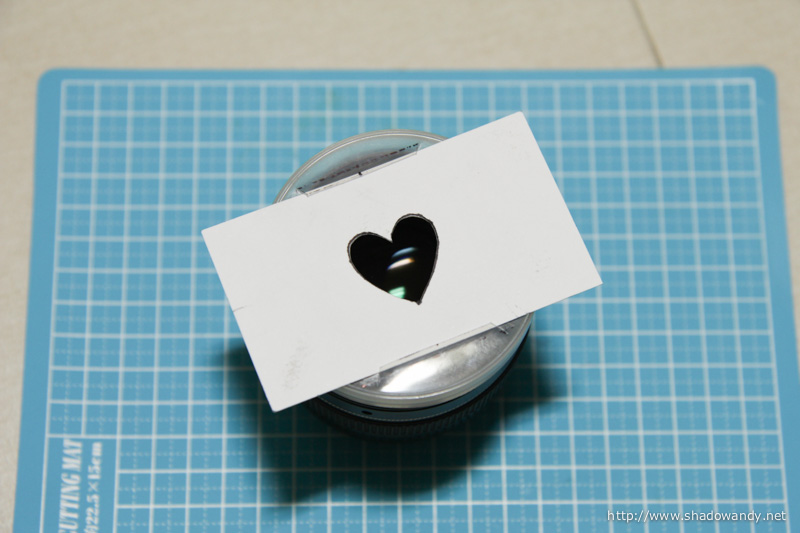
Creating the Bokeh effect filter

This is the easy part. Simply think of the design you want your bokeh to be and cut it out using the penknife. Just ensure that the shape is smaller than the hole in the bokeh holder.
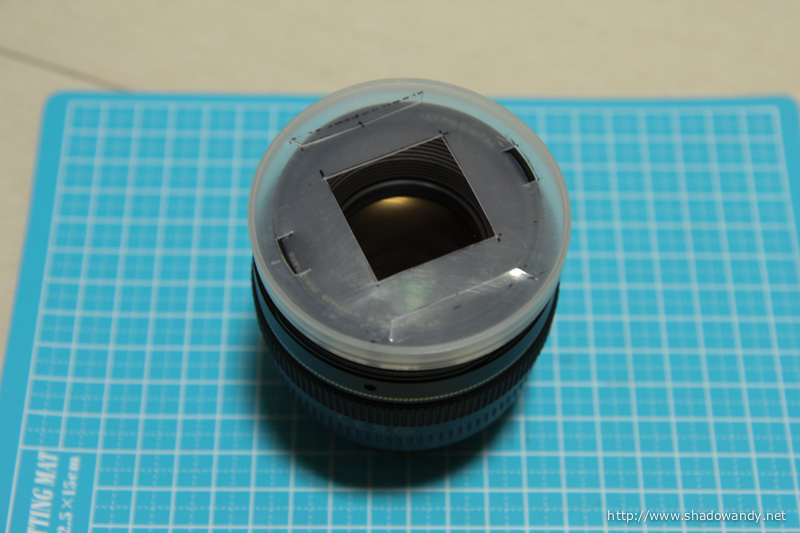
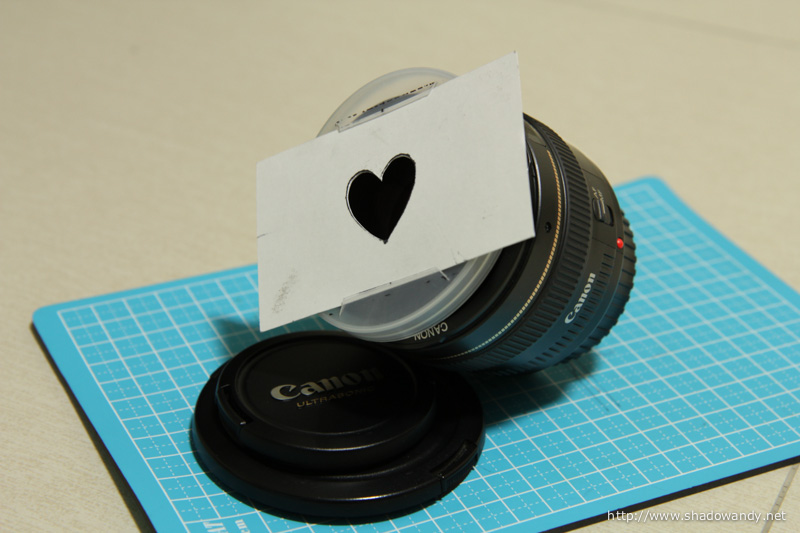
Your own DIY Bokeh kit
Putting all the pieces together and you get your own DIY bokeh kit!
Have fun experimenting with different filter shapes. Well, words (e.g. “Love”, “Merry X’Mas”) work fine too. Instead of cutting a shaped hole for light to pass through. You can make use of transparent plastic sheet and colour the areas you don’t wish light to pass through.
Have fun shooting with bokeh!
Picture Gallery